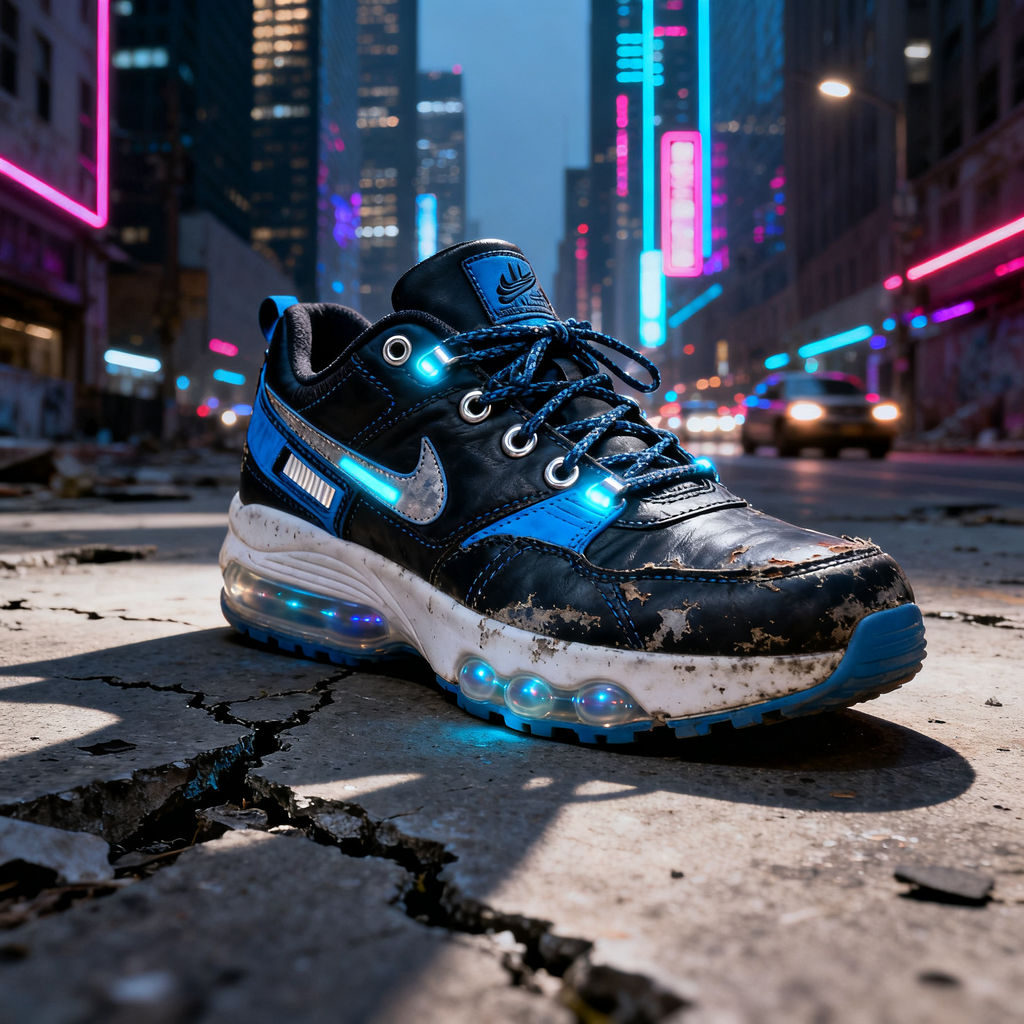
Object
a weathered low-top sneaker: scuffed black leather upper with royal-blue overlays, a chrome side swoosh stripe, blue-flecked laces through silver metal eyelets, glowing cyan LED accents at the lace tips and along the stripe, white midsole with a translucent air-bubble window, light-blue rubber outsole
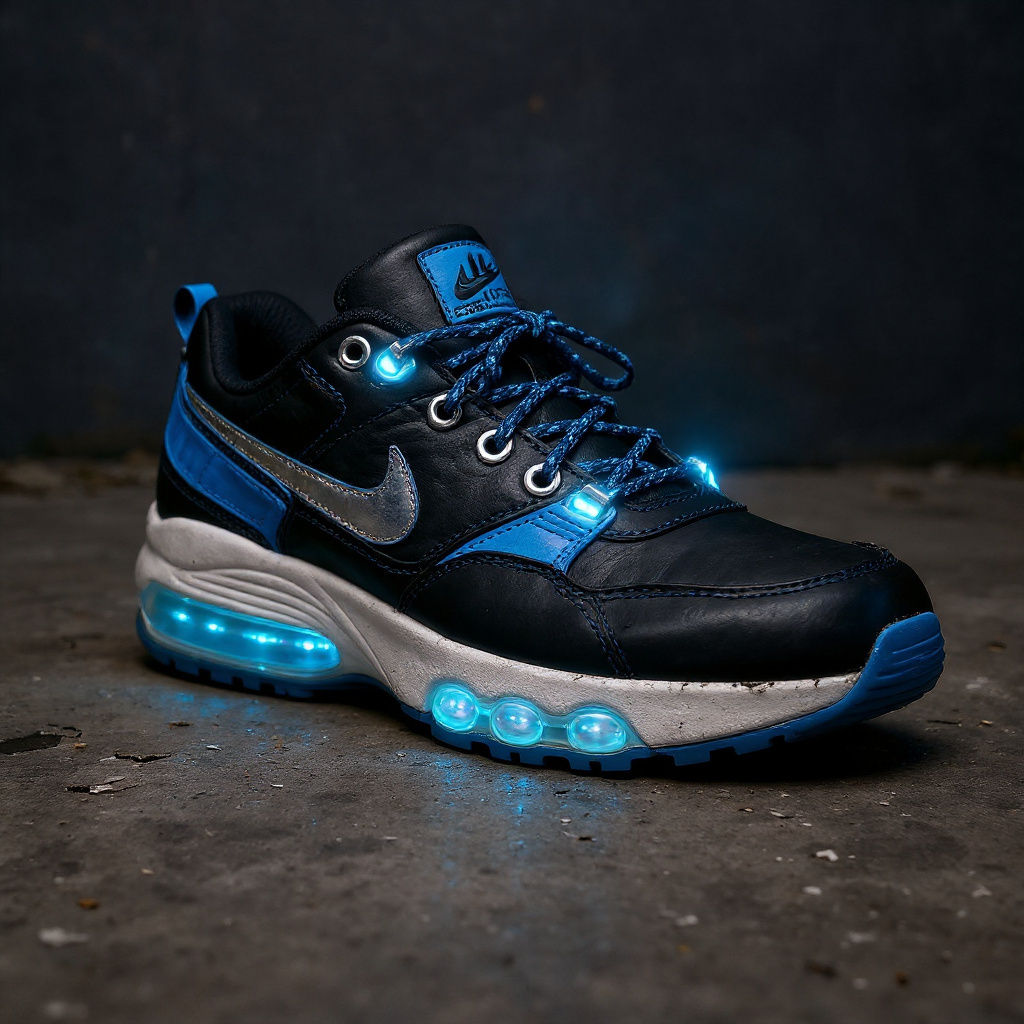
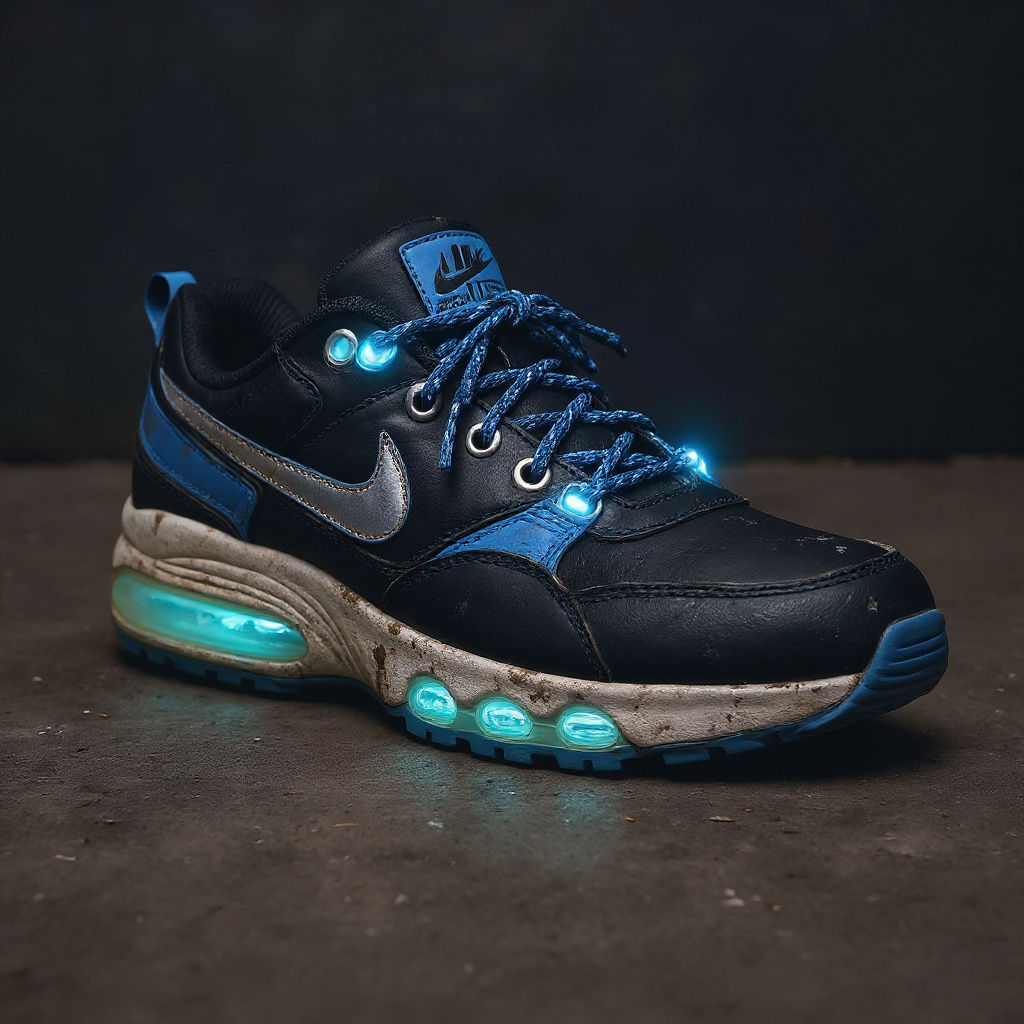
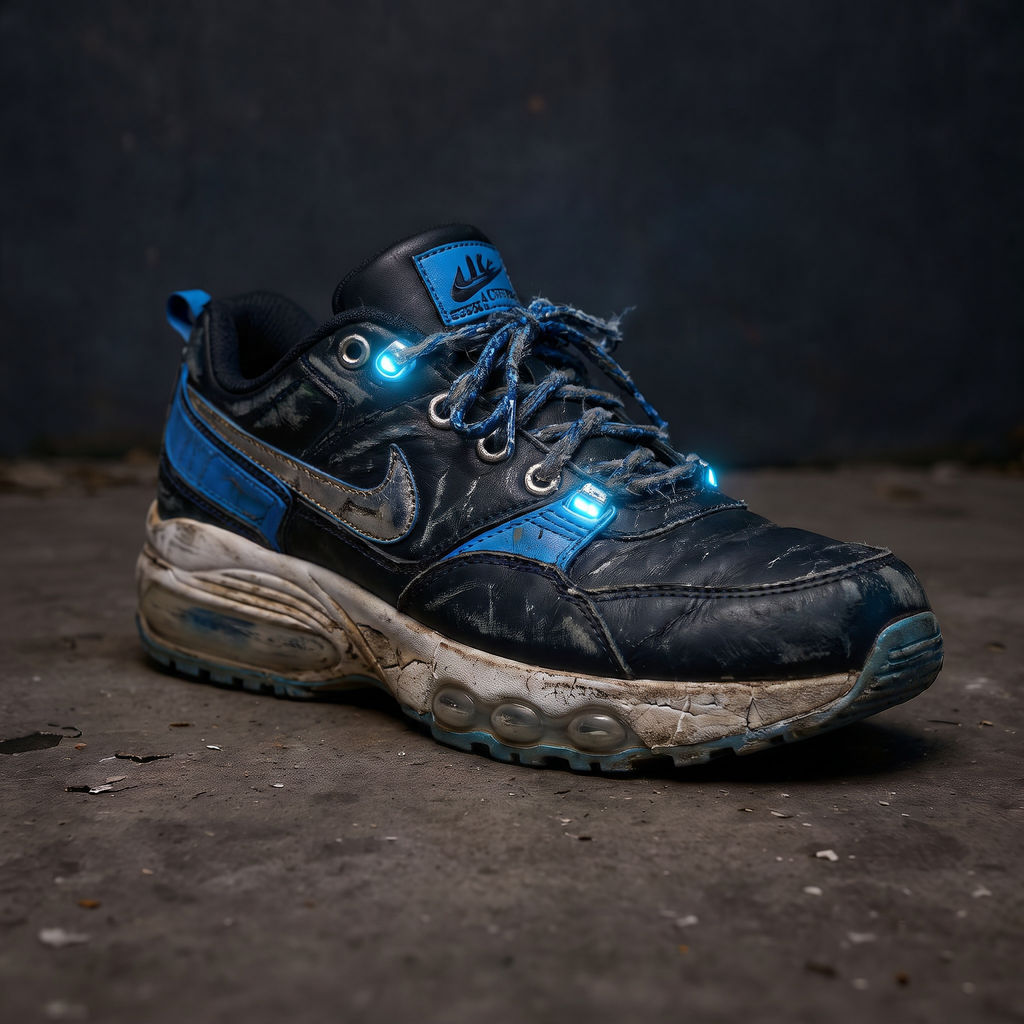
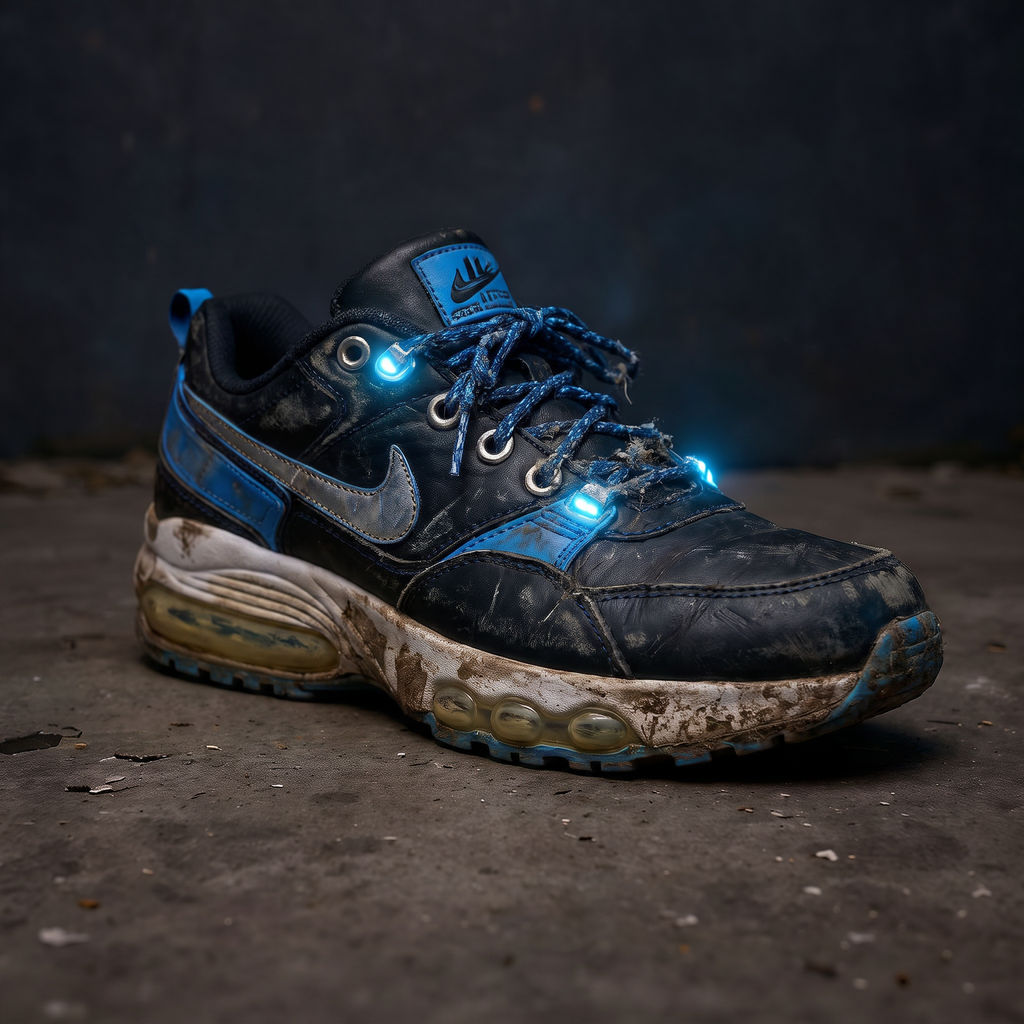
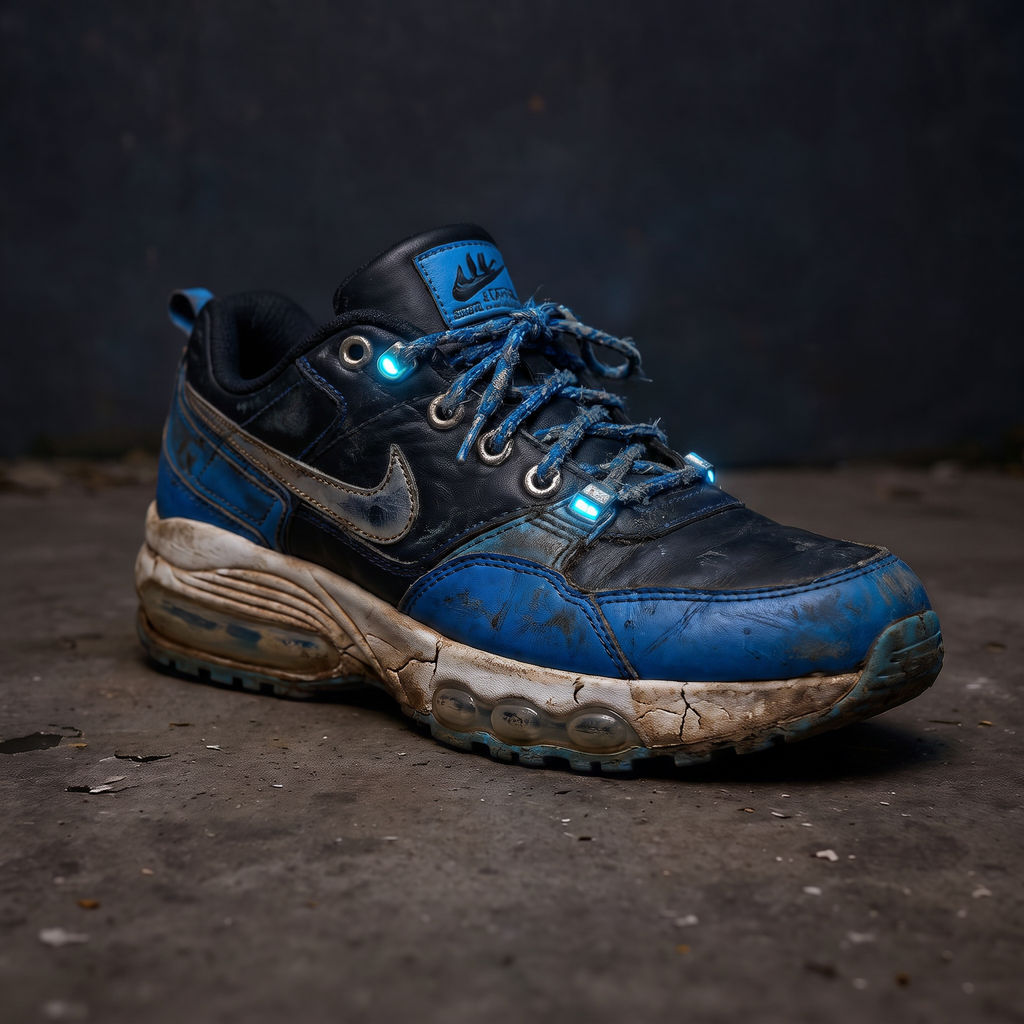
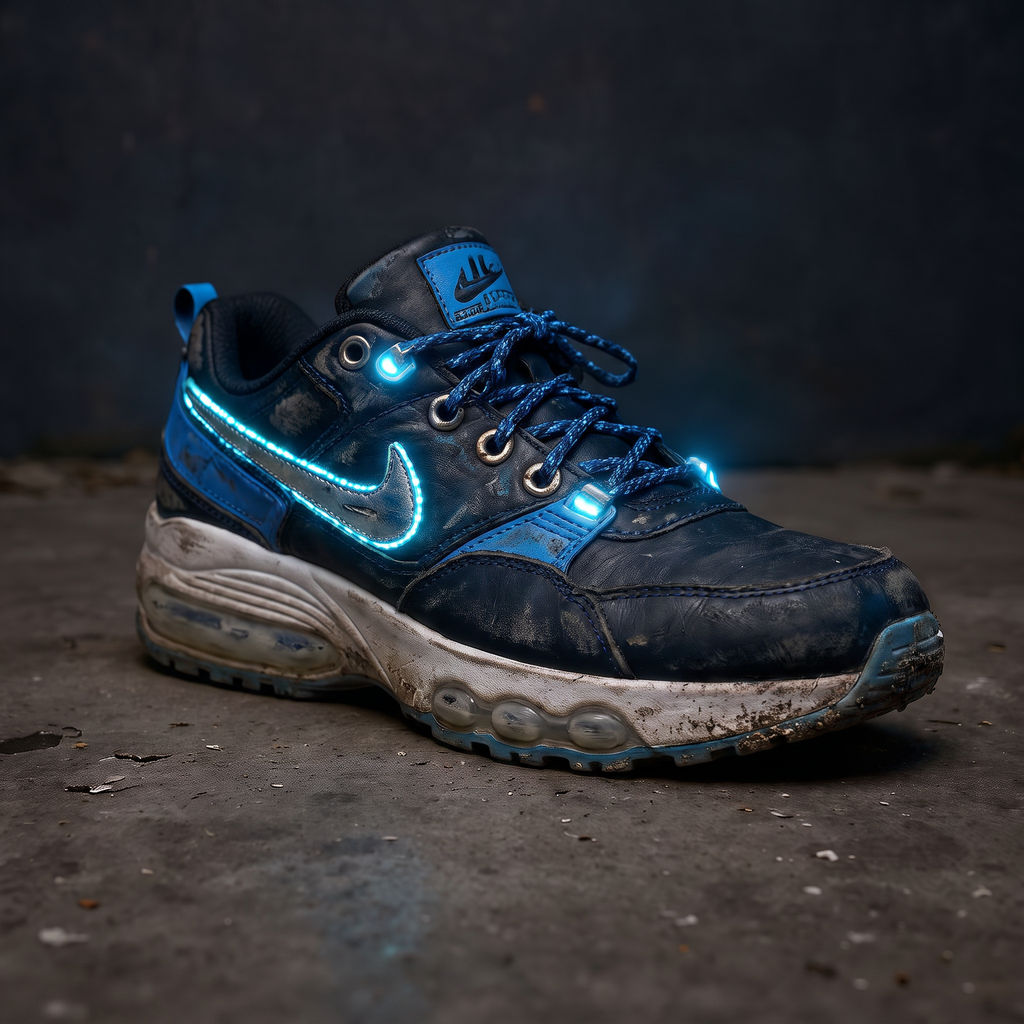
A single object photo becomes a studio plate, a 3/4 render, a clay preview, orthographic elevations, and a turntable clip.

Blockout and Retopology
Modelers run an image to 3D model pass on a single product photo, then block out geometry against the orthographic elevations instead of eyeballing proportions.

Product Concept Reviews
Product and industrial design teams use image to 3D model AI to show stakeholders a clay preview and a turntable clip of a physical sample before any CAD work starts.

Shot List Reference Sheets
Art directors run an image to 3D pass on every object in a shot list, building one consistent reference sheet the whole team models and lights from.
How to use Techniques?
Discover how to utilize Image To 3D Model for different scenarios.
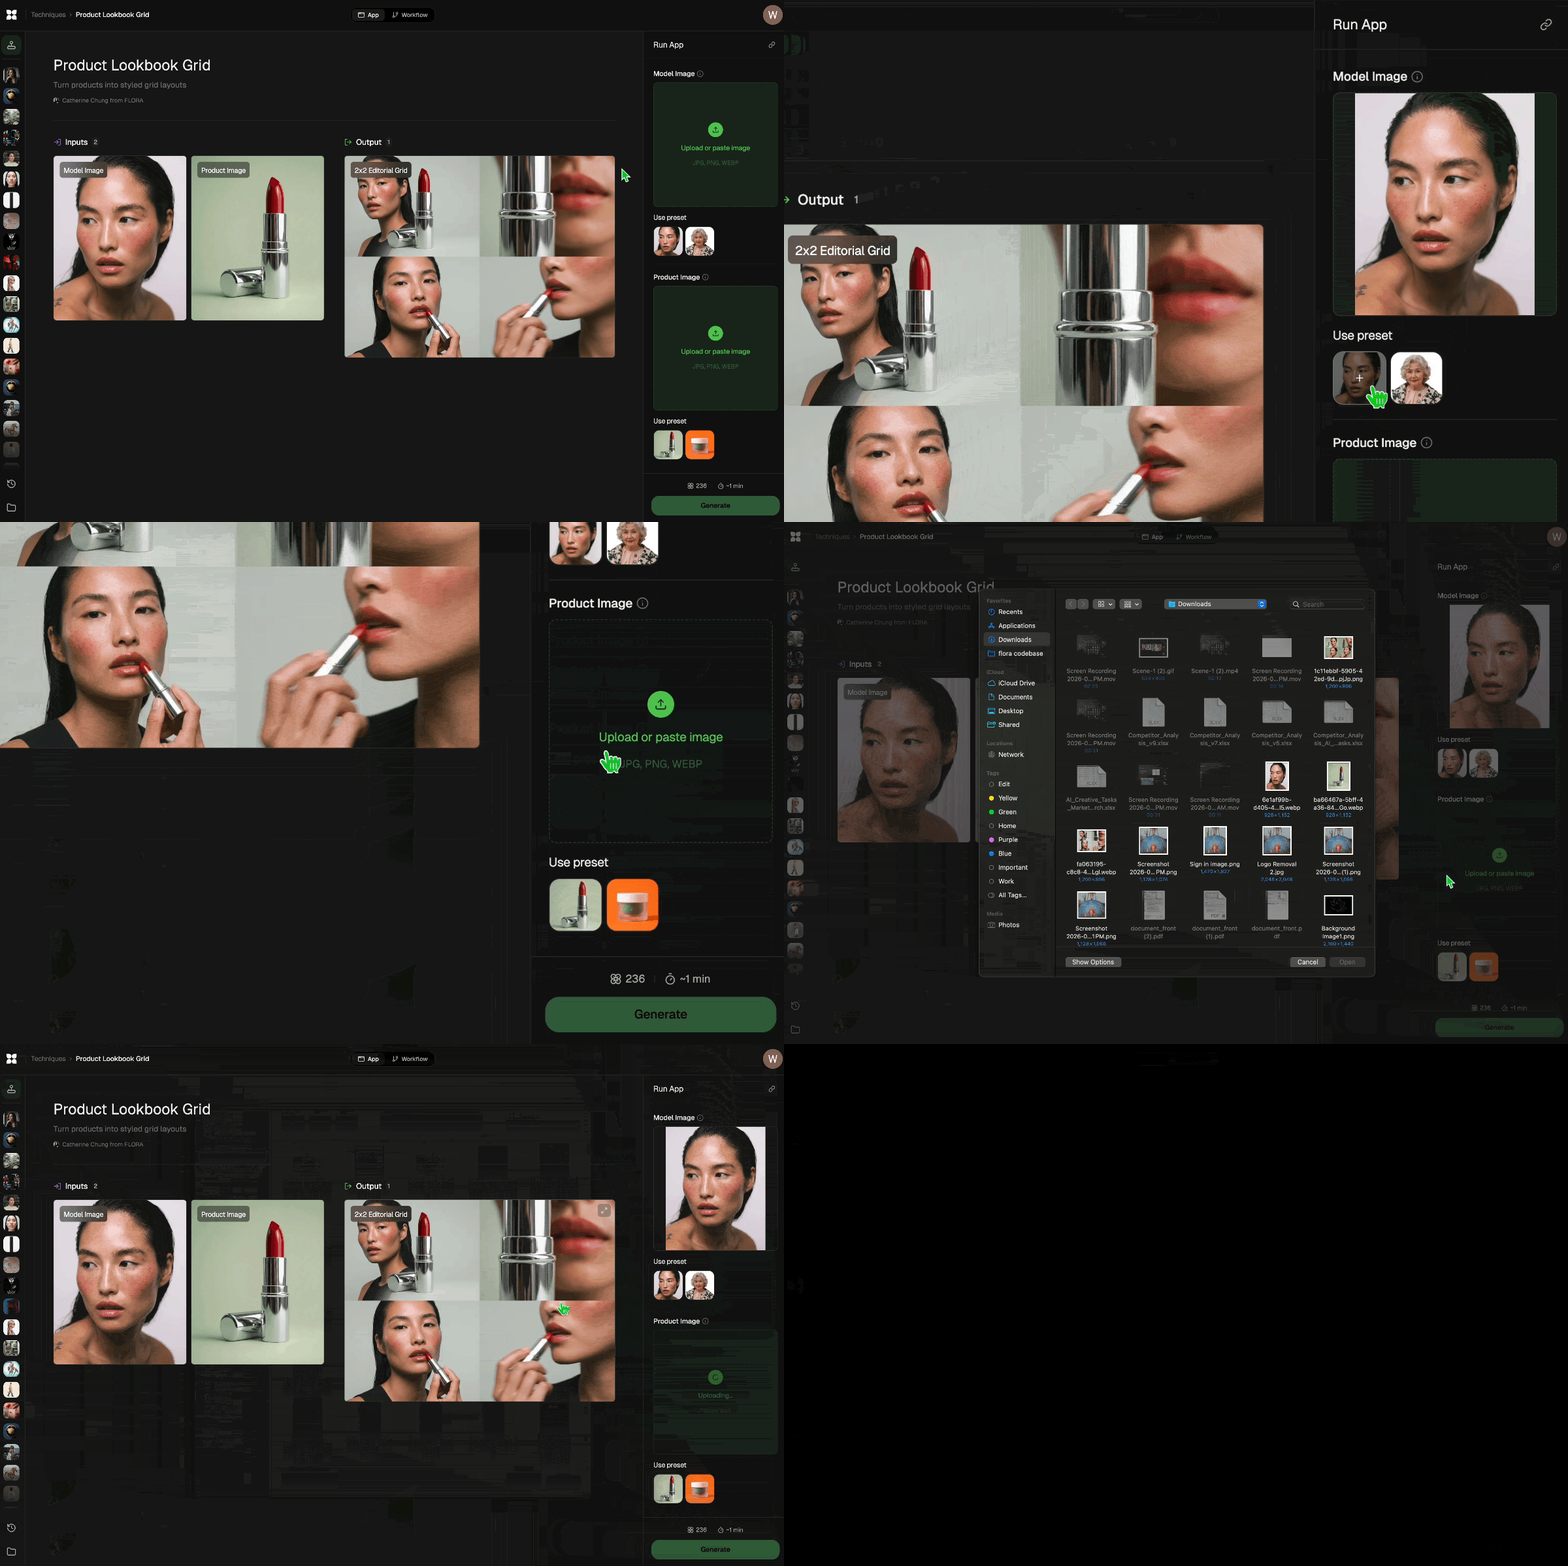
Add inputs
Upload images, videos, or type in the prompts to get started.
Generate outputs
Next, hit the "Generate" button to start generating your outputs.
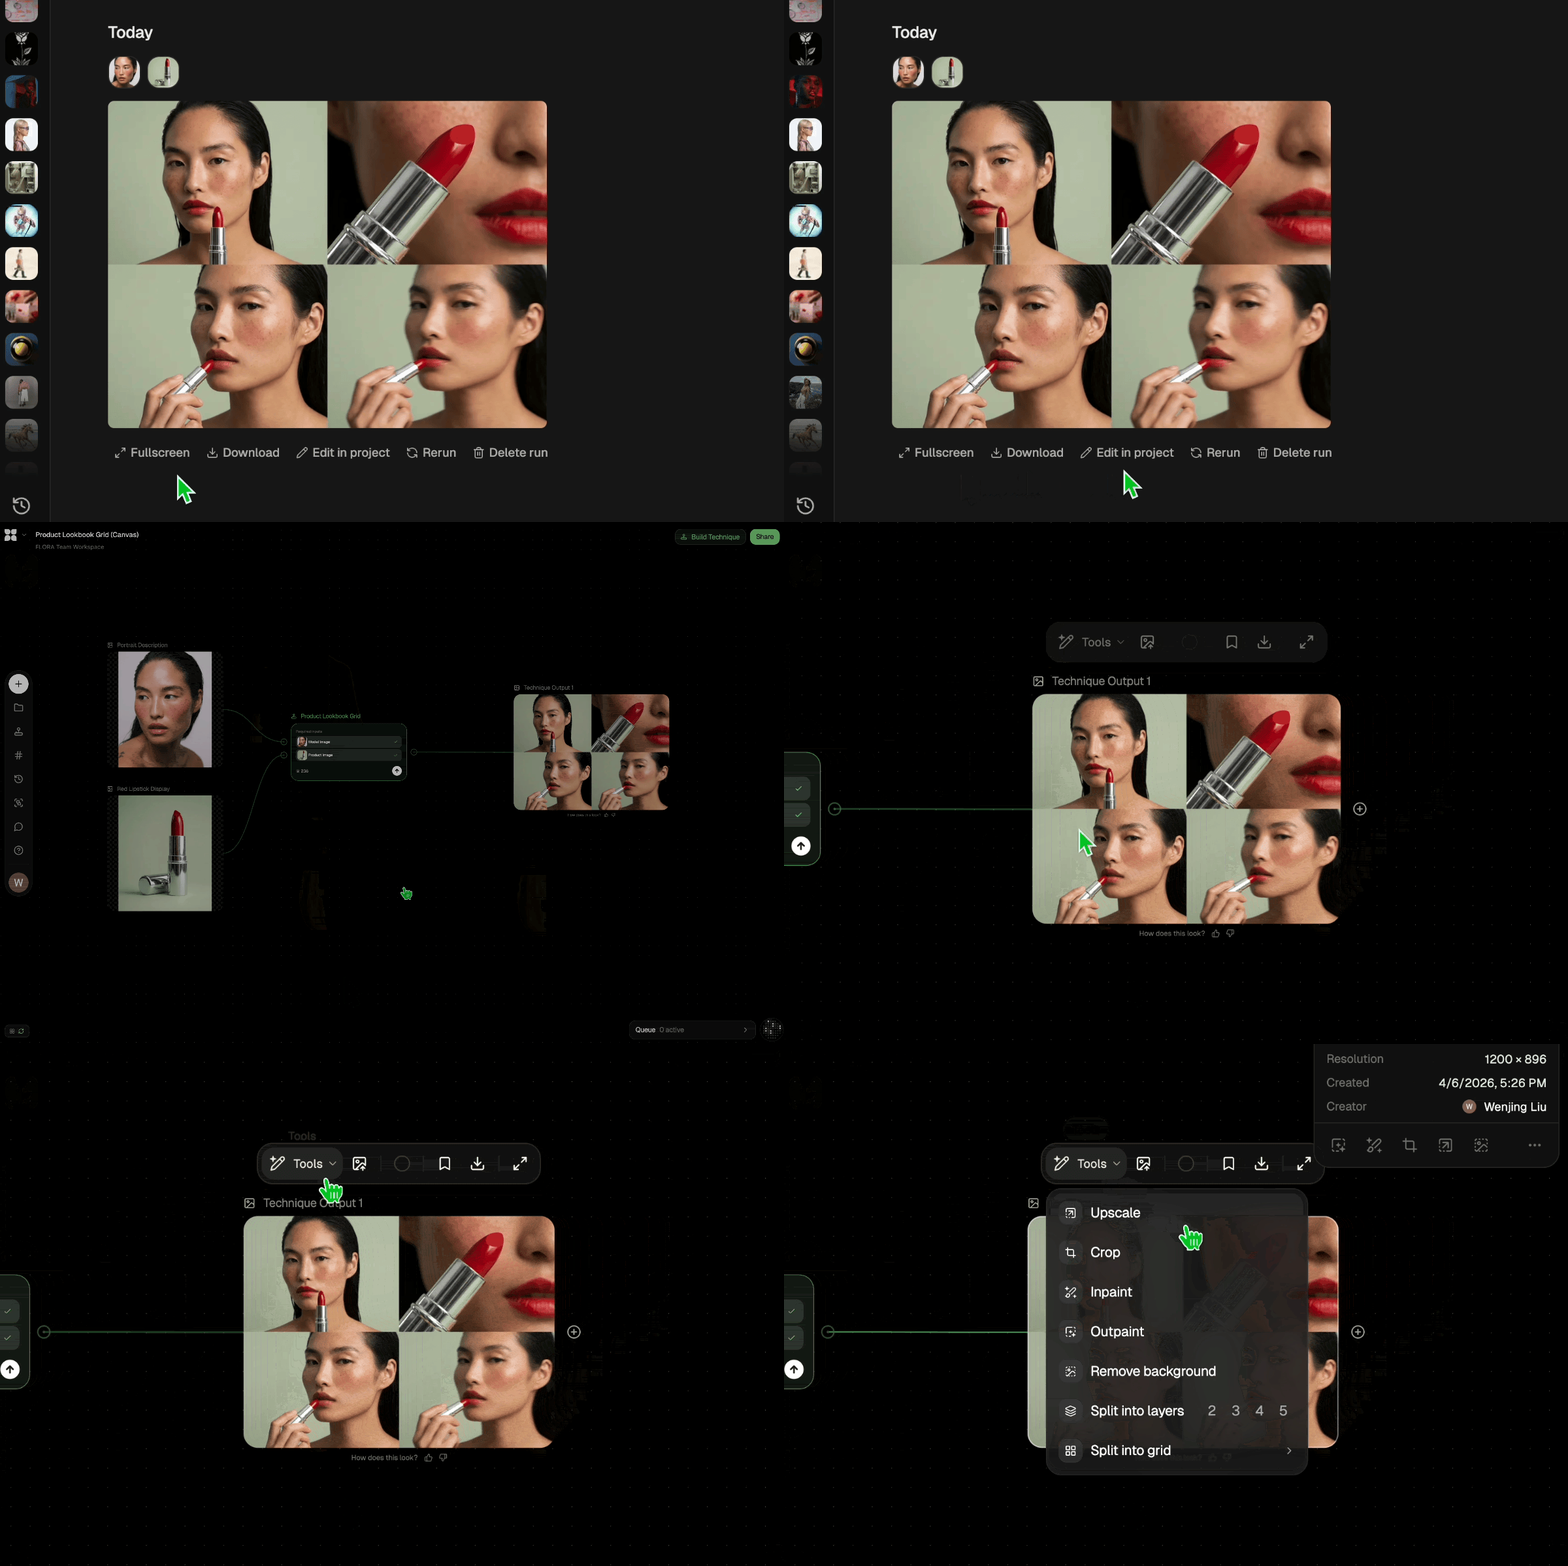
Edit and export
Refine your outputs on canvas, or download them directly.
Frequently asked questions
All you need to know about Image To 3D Model
What an image to 3D model workflow gives you
An image to 3D model workflow starts with one photograph of one object and returns a set of matched views: a clean studio plate, a three-quarter asset render, an untextured clay preview, front, side and back orthographic elevations, and a short turntable clip. All of them show the same object at the same proportions, with the colors and surface details carried over from your photo.
Holding that consistency is the difficult part. Ask a general image model for the same chair from the side and you will often get a different chair, slightly wider, with the arms in the wrong place. A reference sheet only works if every angle agrees with every other one. You can try FLORA free and run one of your own product shots through to see how it holds up.
Why you get elevations instead of one hero render
Modelers build against reference planes. Front, side and back views get dropped into Blender, Maya or Cinema 4D as image planes, and geometry gets pulled to match them. Those three views are shot flat and square for exactly that reason: perspective distortion makes a silhouette impossible to trace accurately, however good the image looks on its own.
The clay preview solves a different problem. Color and material flatter an object, and they cover up mistakes in its form. Strip both away and you are left with silhouette, proportion, and the way one surface rolls into the next, which is what you are judging during a blockout.
The turntable clip is the one to send to people who do not model. Nobody outside the 3D team reads an orthographic drawing comfortably, but anyone can watch an object rotate and tell you whether the back looks wrong.
How the AI fills in the sides it never saw
Your photo shows one face of the object. Everything behind it has to be reasoned about, and image to 3D model AI does that from what it has learned across millions of objects rather than from anything it measures on yours.
Three things happen:
- It identifies the object. The model works out what the thing is, separates it from its surroundings, and reads the material, the lighting and the cues that tell it how big the object is.
- It extends the form. Recognizing a lounge chair, a sneaker or a bottle carries strong assumptions about what the back of one looks like, and the model builds the unseen geometry from those.
- It keeps every view tied to the same object. Each output is generated against one shared description, so proportions and detailing hold from the studio plate through to the last frame of the turntable.
Where the guesswork shows up
Opaque objects with a clear outline come back reliably. Furniture, footwear, packaging, hardware and consumer products all read well, because the edge between object and background is unambiguous.
Glass, chrome, mesh and fur are harder. With those, form has to be inferred from reflections and fine detail, and small errors in that read compound across the elevations. Photographs taken against a busy backdrop or under hard directional light cause similar trouble, since shadow edges get mistaken for object edges.
Then there is anything the camera could not see at all. If a bag was photographed with its back against a wall, the back elevation is an educated guess. It will look plausible, and it may well be close, but check it before you build to it. The clay preview is usually where a bad assumption becomes obvious first, so read that against the elevations early.
The same job, described a dozen ways
Vocabulary shifts depending on where you sit in the pipeline:
- "Image to 3D"
- "Photo to 3D"
- "Turn a product shot into a turnaround"
- "Generate orthographic references from an image"
A concept artist asking for a turnaround and a product designer asking for elevations are after the same thing: enough angles of one object to build or review it without booking a photoshoot.
Where the views go next
An image to 3D model run is the first step in a longer job. Most of them feed into something else:
- Prep the input. A shot with a cluttered backdrop gives softer edges, so remove the background or put the object on a plain white plate before the run.
- Upscale the elevations so they hold up when loaded as image planes and zoomed into.
- Pull a color palette off the studio plate to keep materials consistent later on.
- Once the look is signed off, add motion with the product animator or product motion.
- Put the object in a setting with room render, or work it into an architectural render if it belongs in a building.
All of it runs on one canvas, so the reference sheet, the cleanup, the upscale and the motion pass sit side by side instead of spread across four applications. The full range of models sits behind the FLORA AI image generator, and our roundup of the best AI image generators covers how they compare.
Related techniques
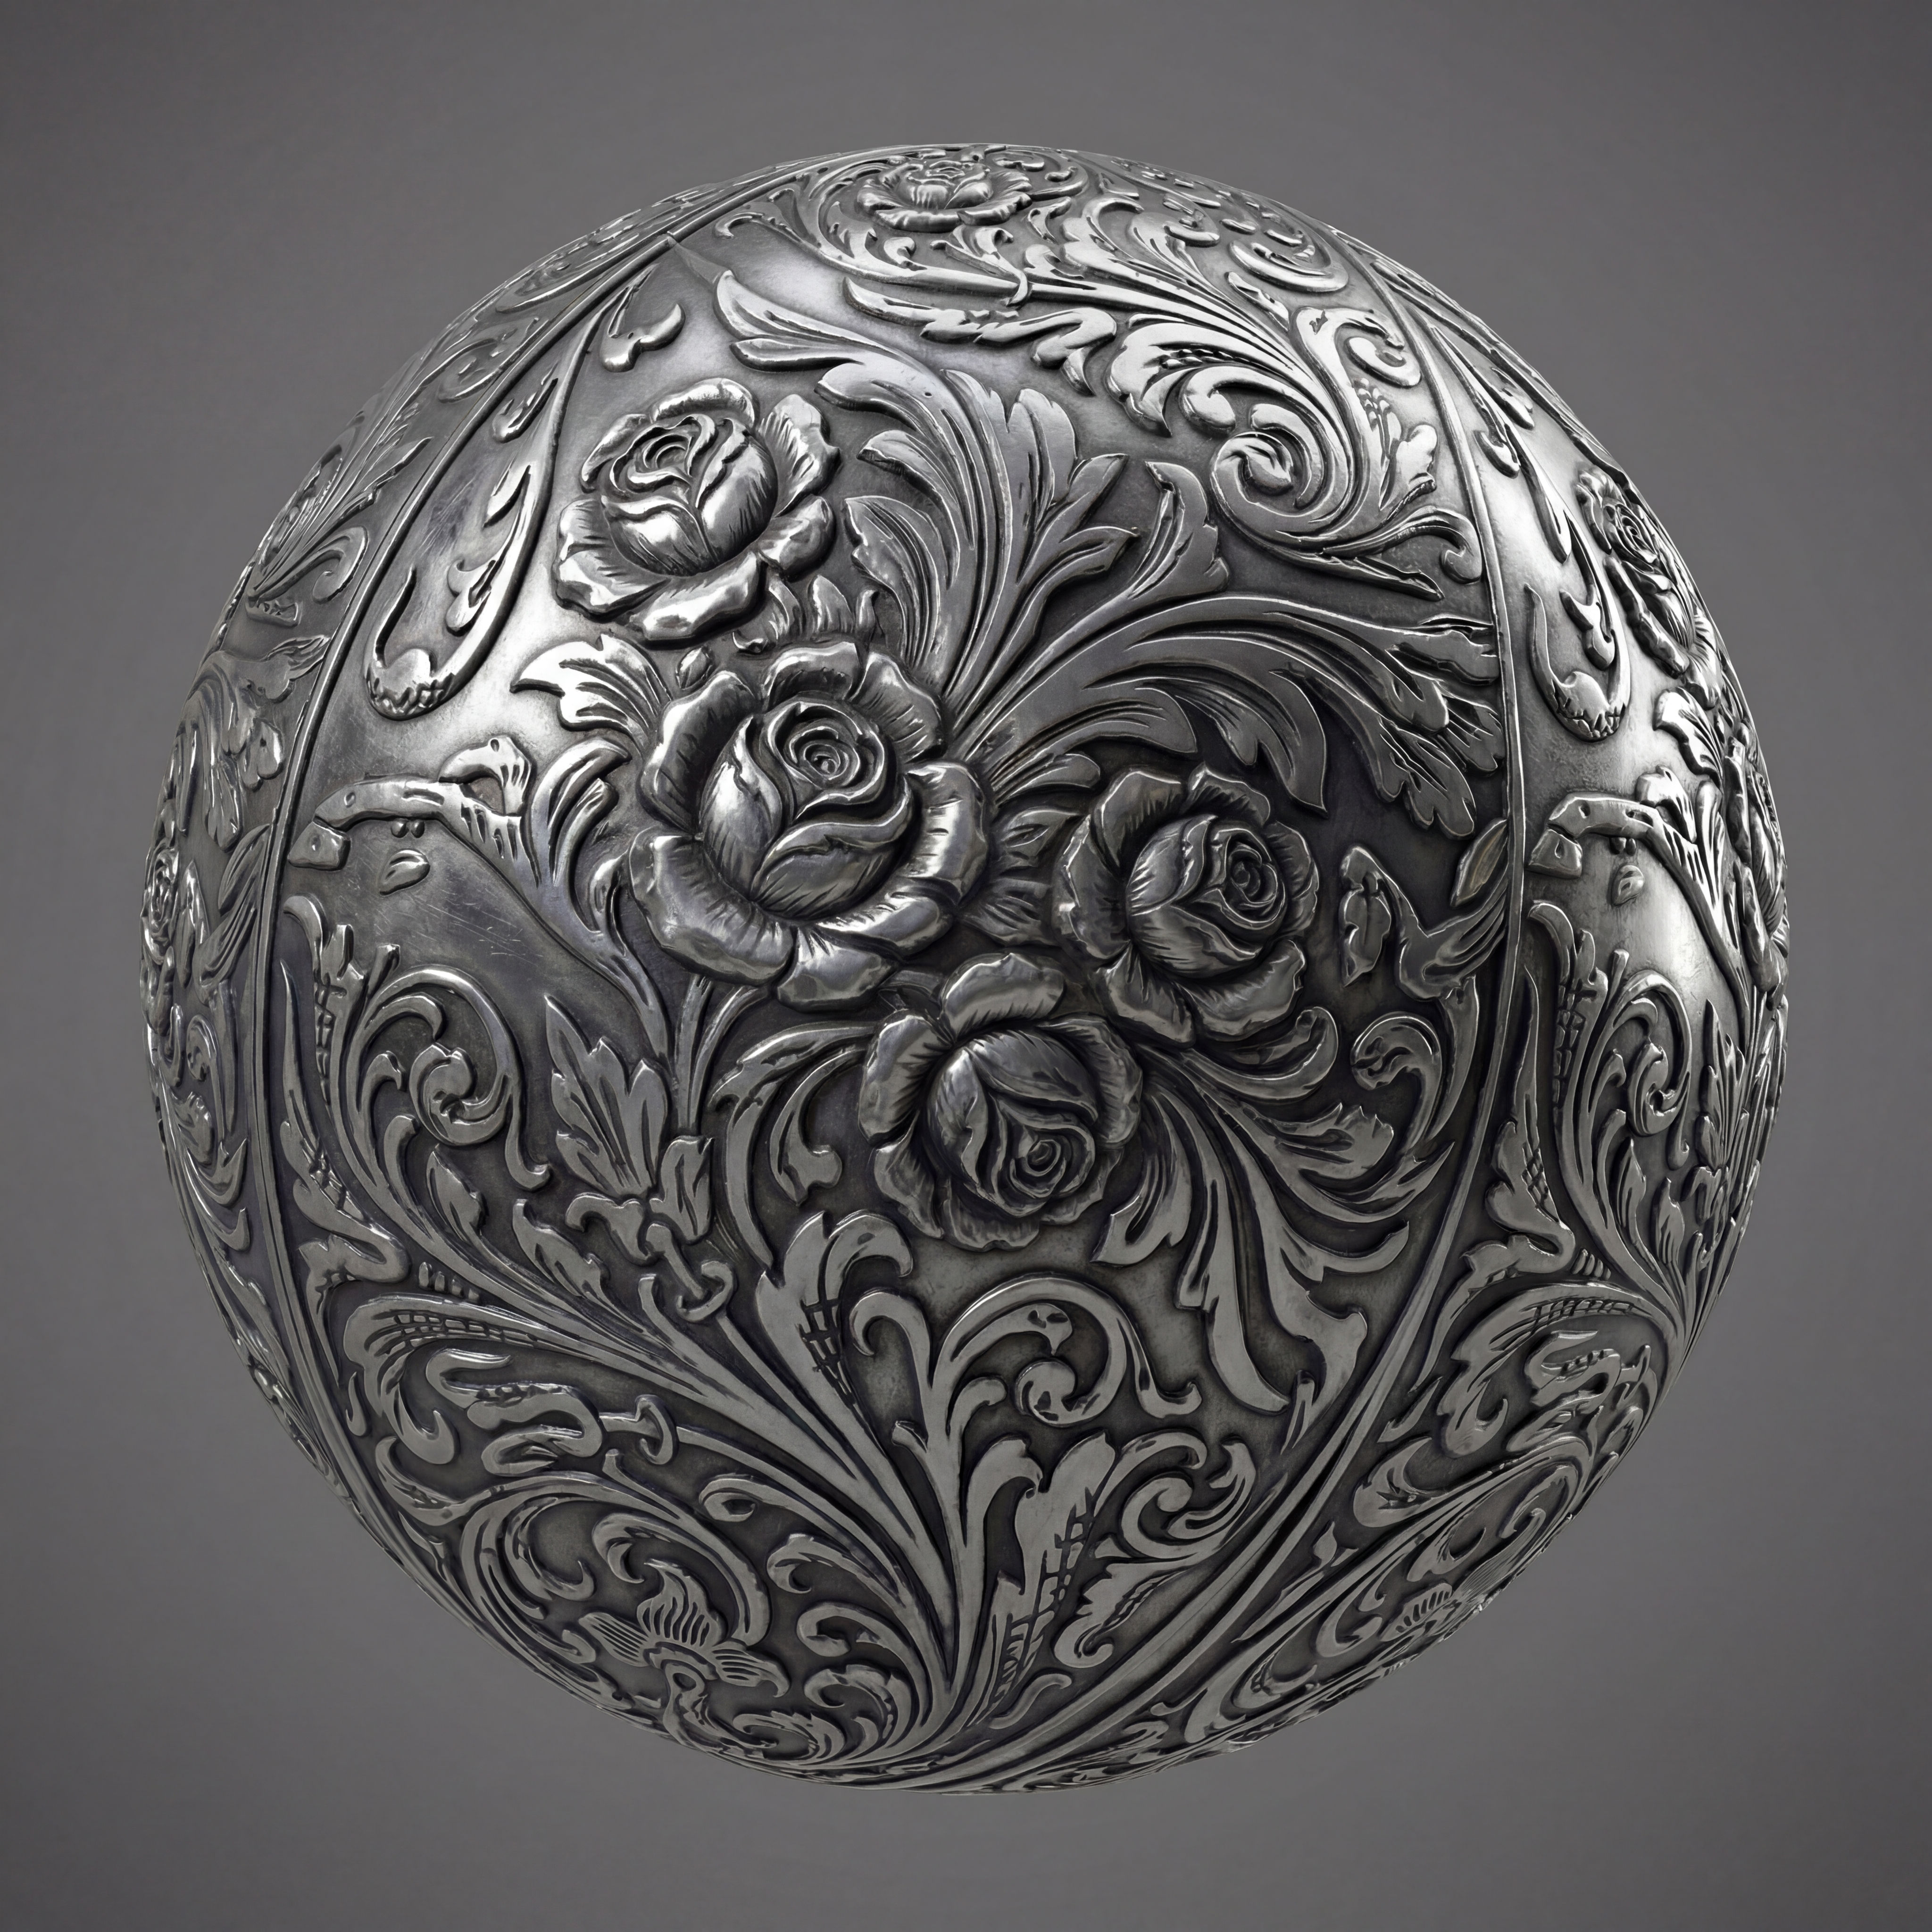 Texture Pack ExtractorExtracts the main material of an object in an image and transforms it into usable textures for 3D projects
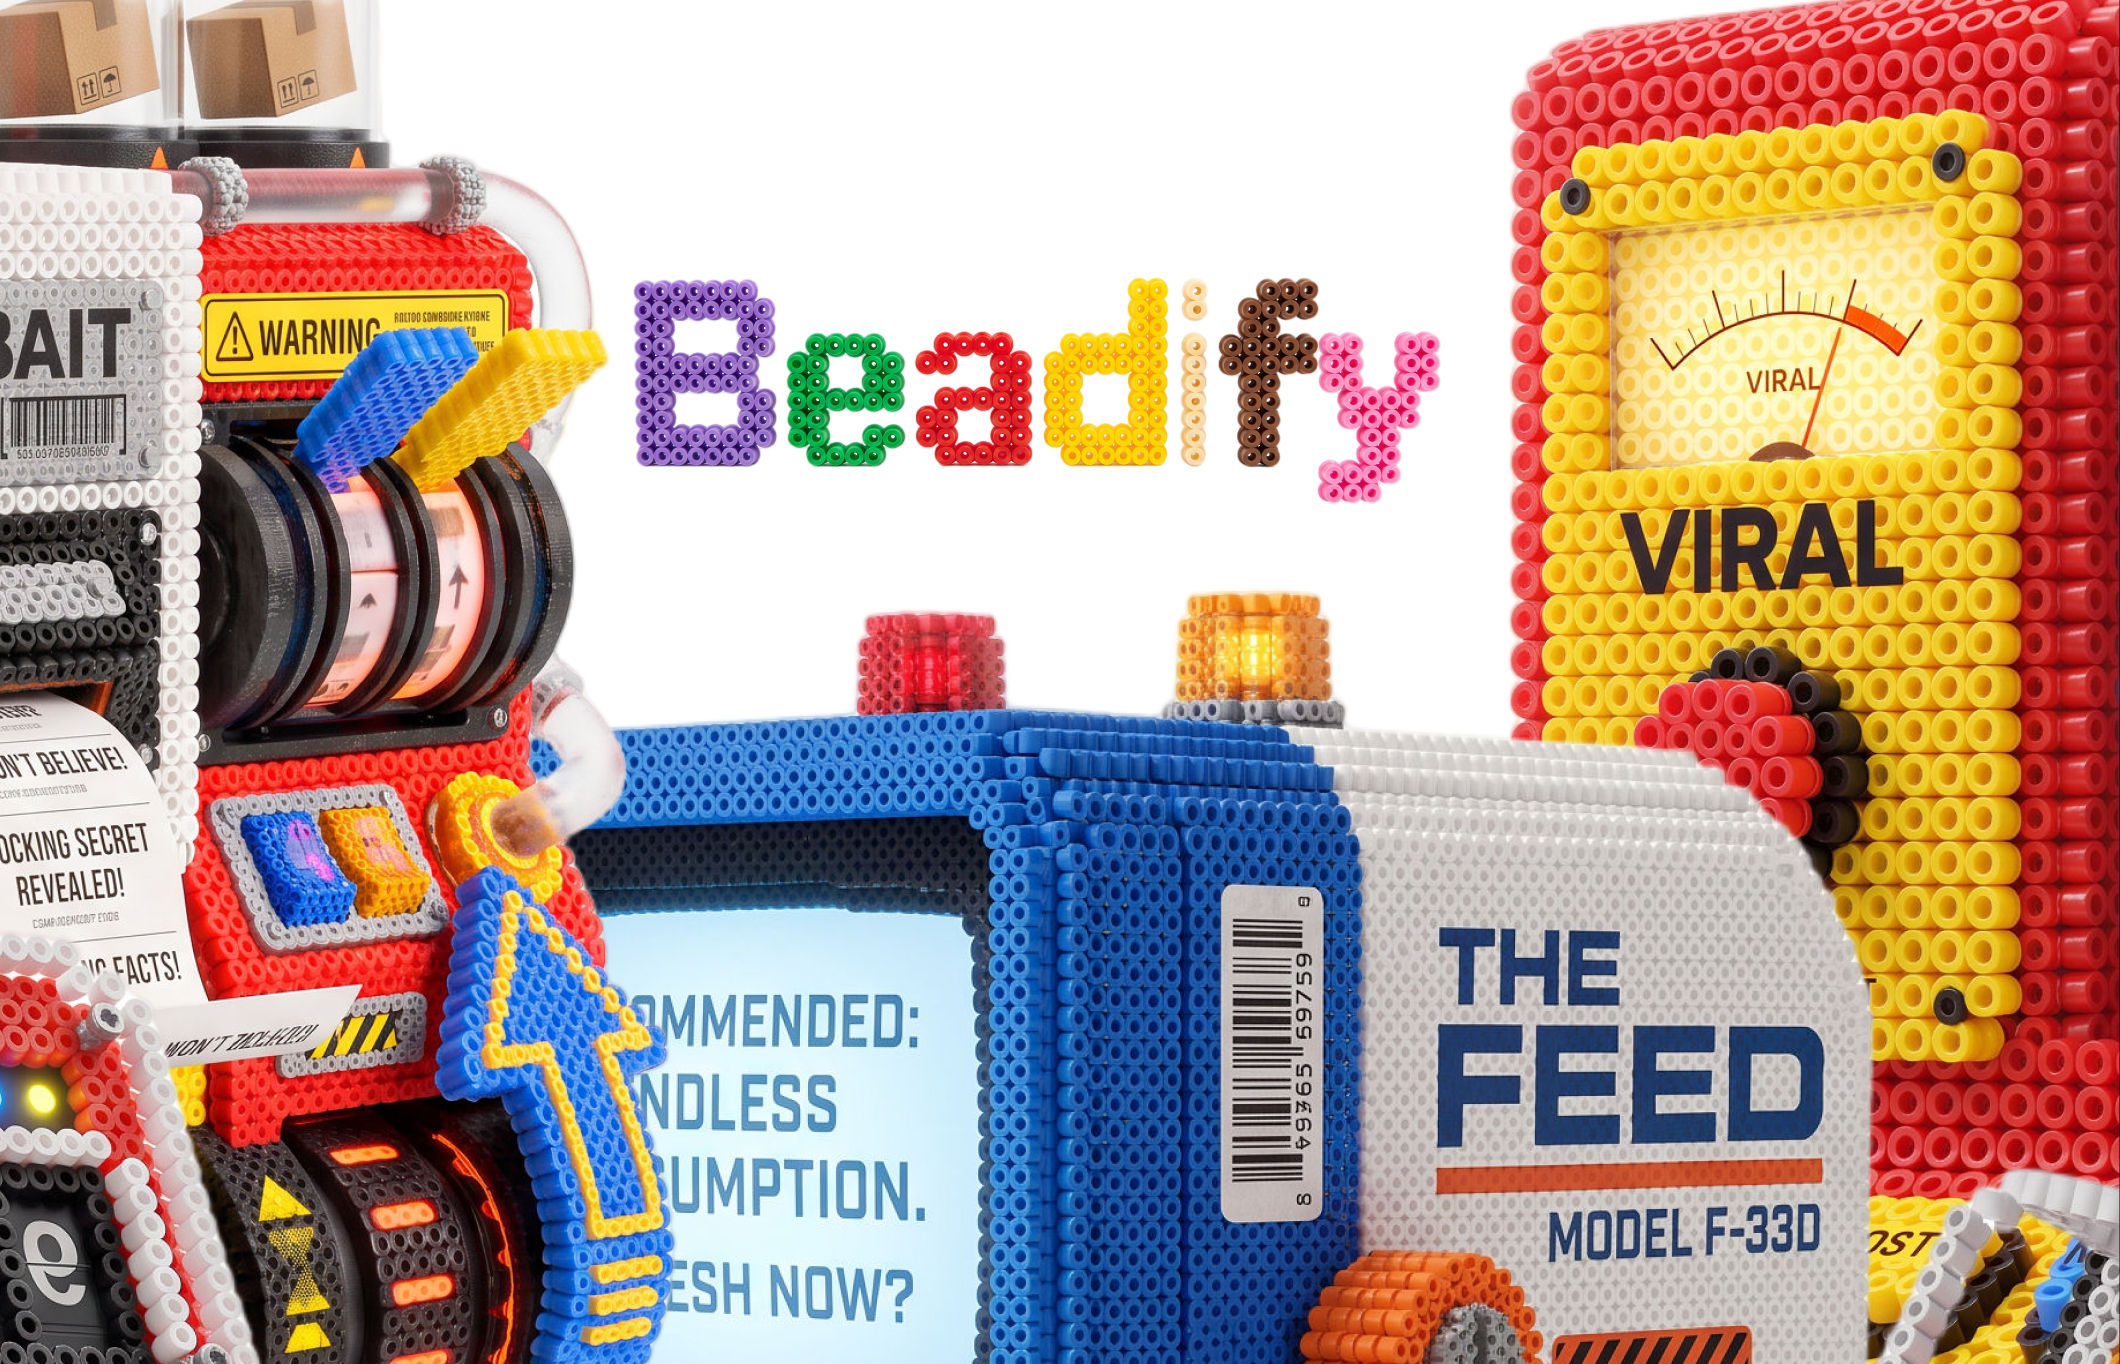 BeadifyTurn any object or 3D render into a physical Perler bead mosaic. Upload a photo — get back a beaded version of it
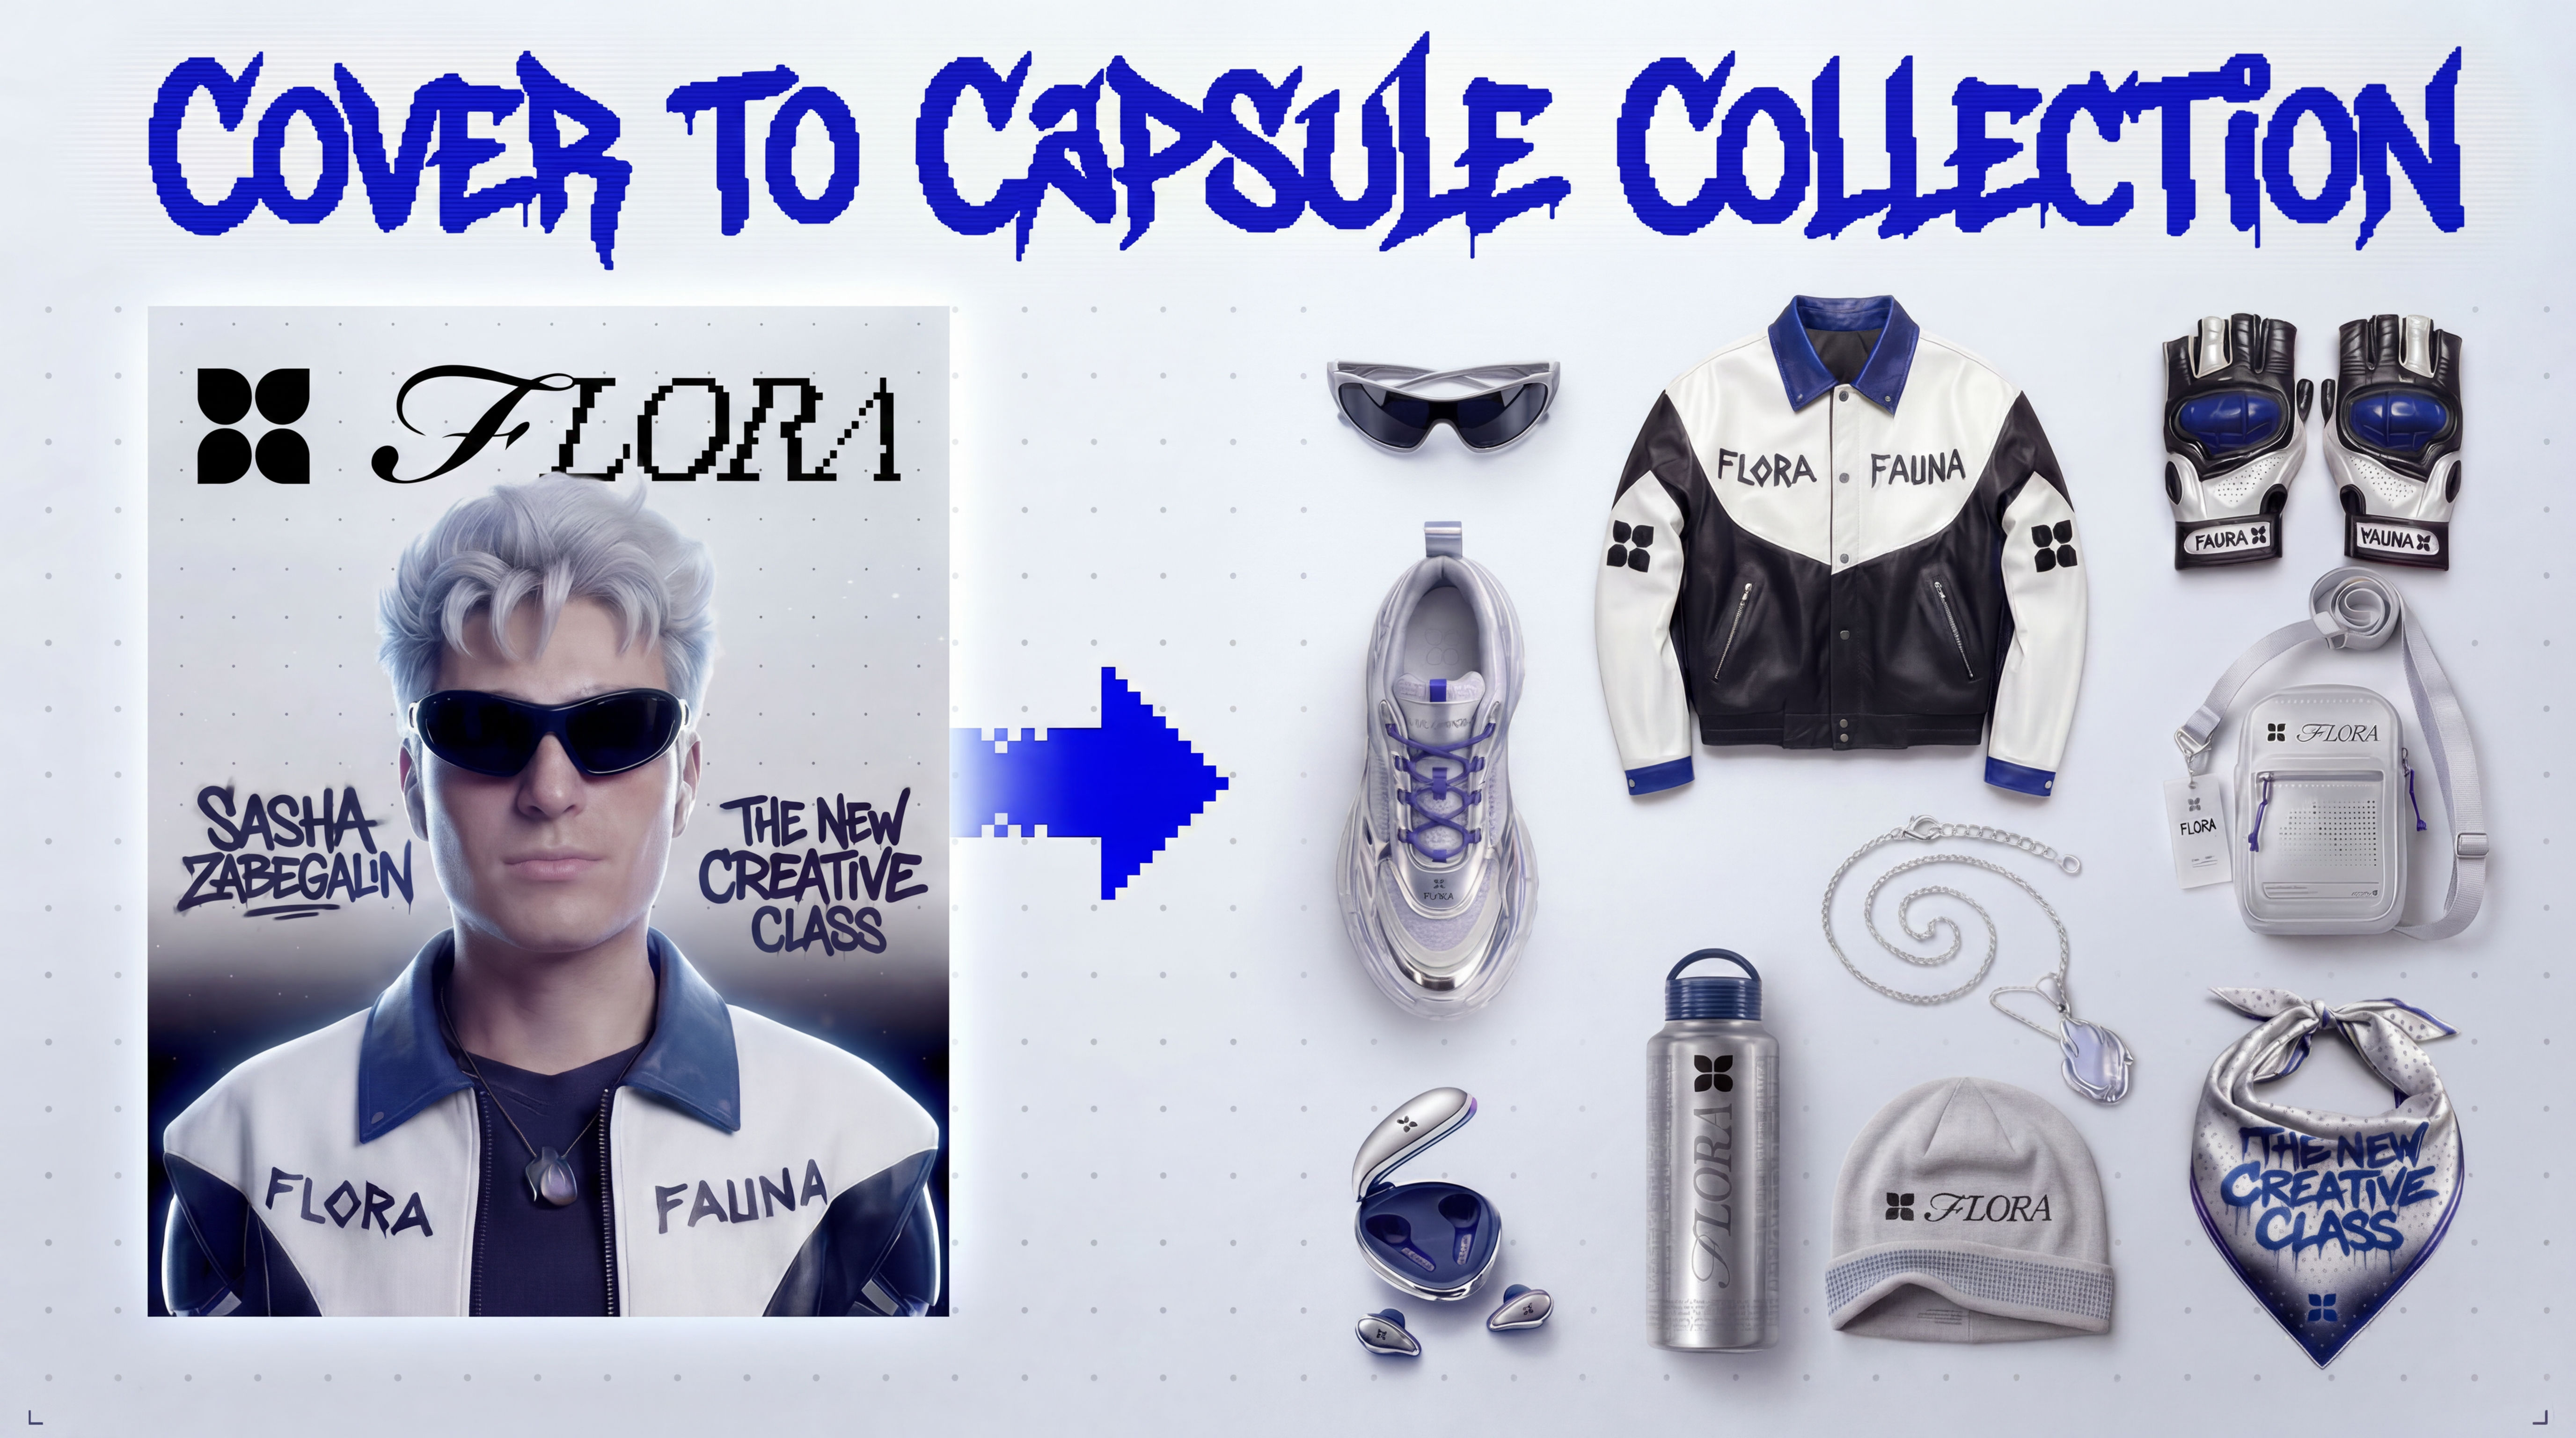 Cover to Capsule CollectionTurn any magazine cover into a 12-piece capsule collection.
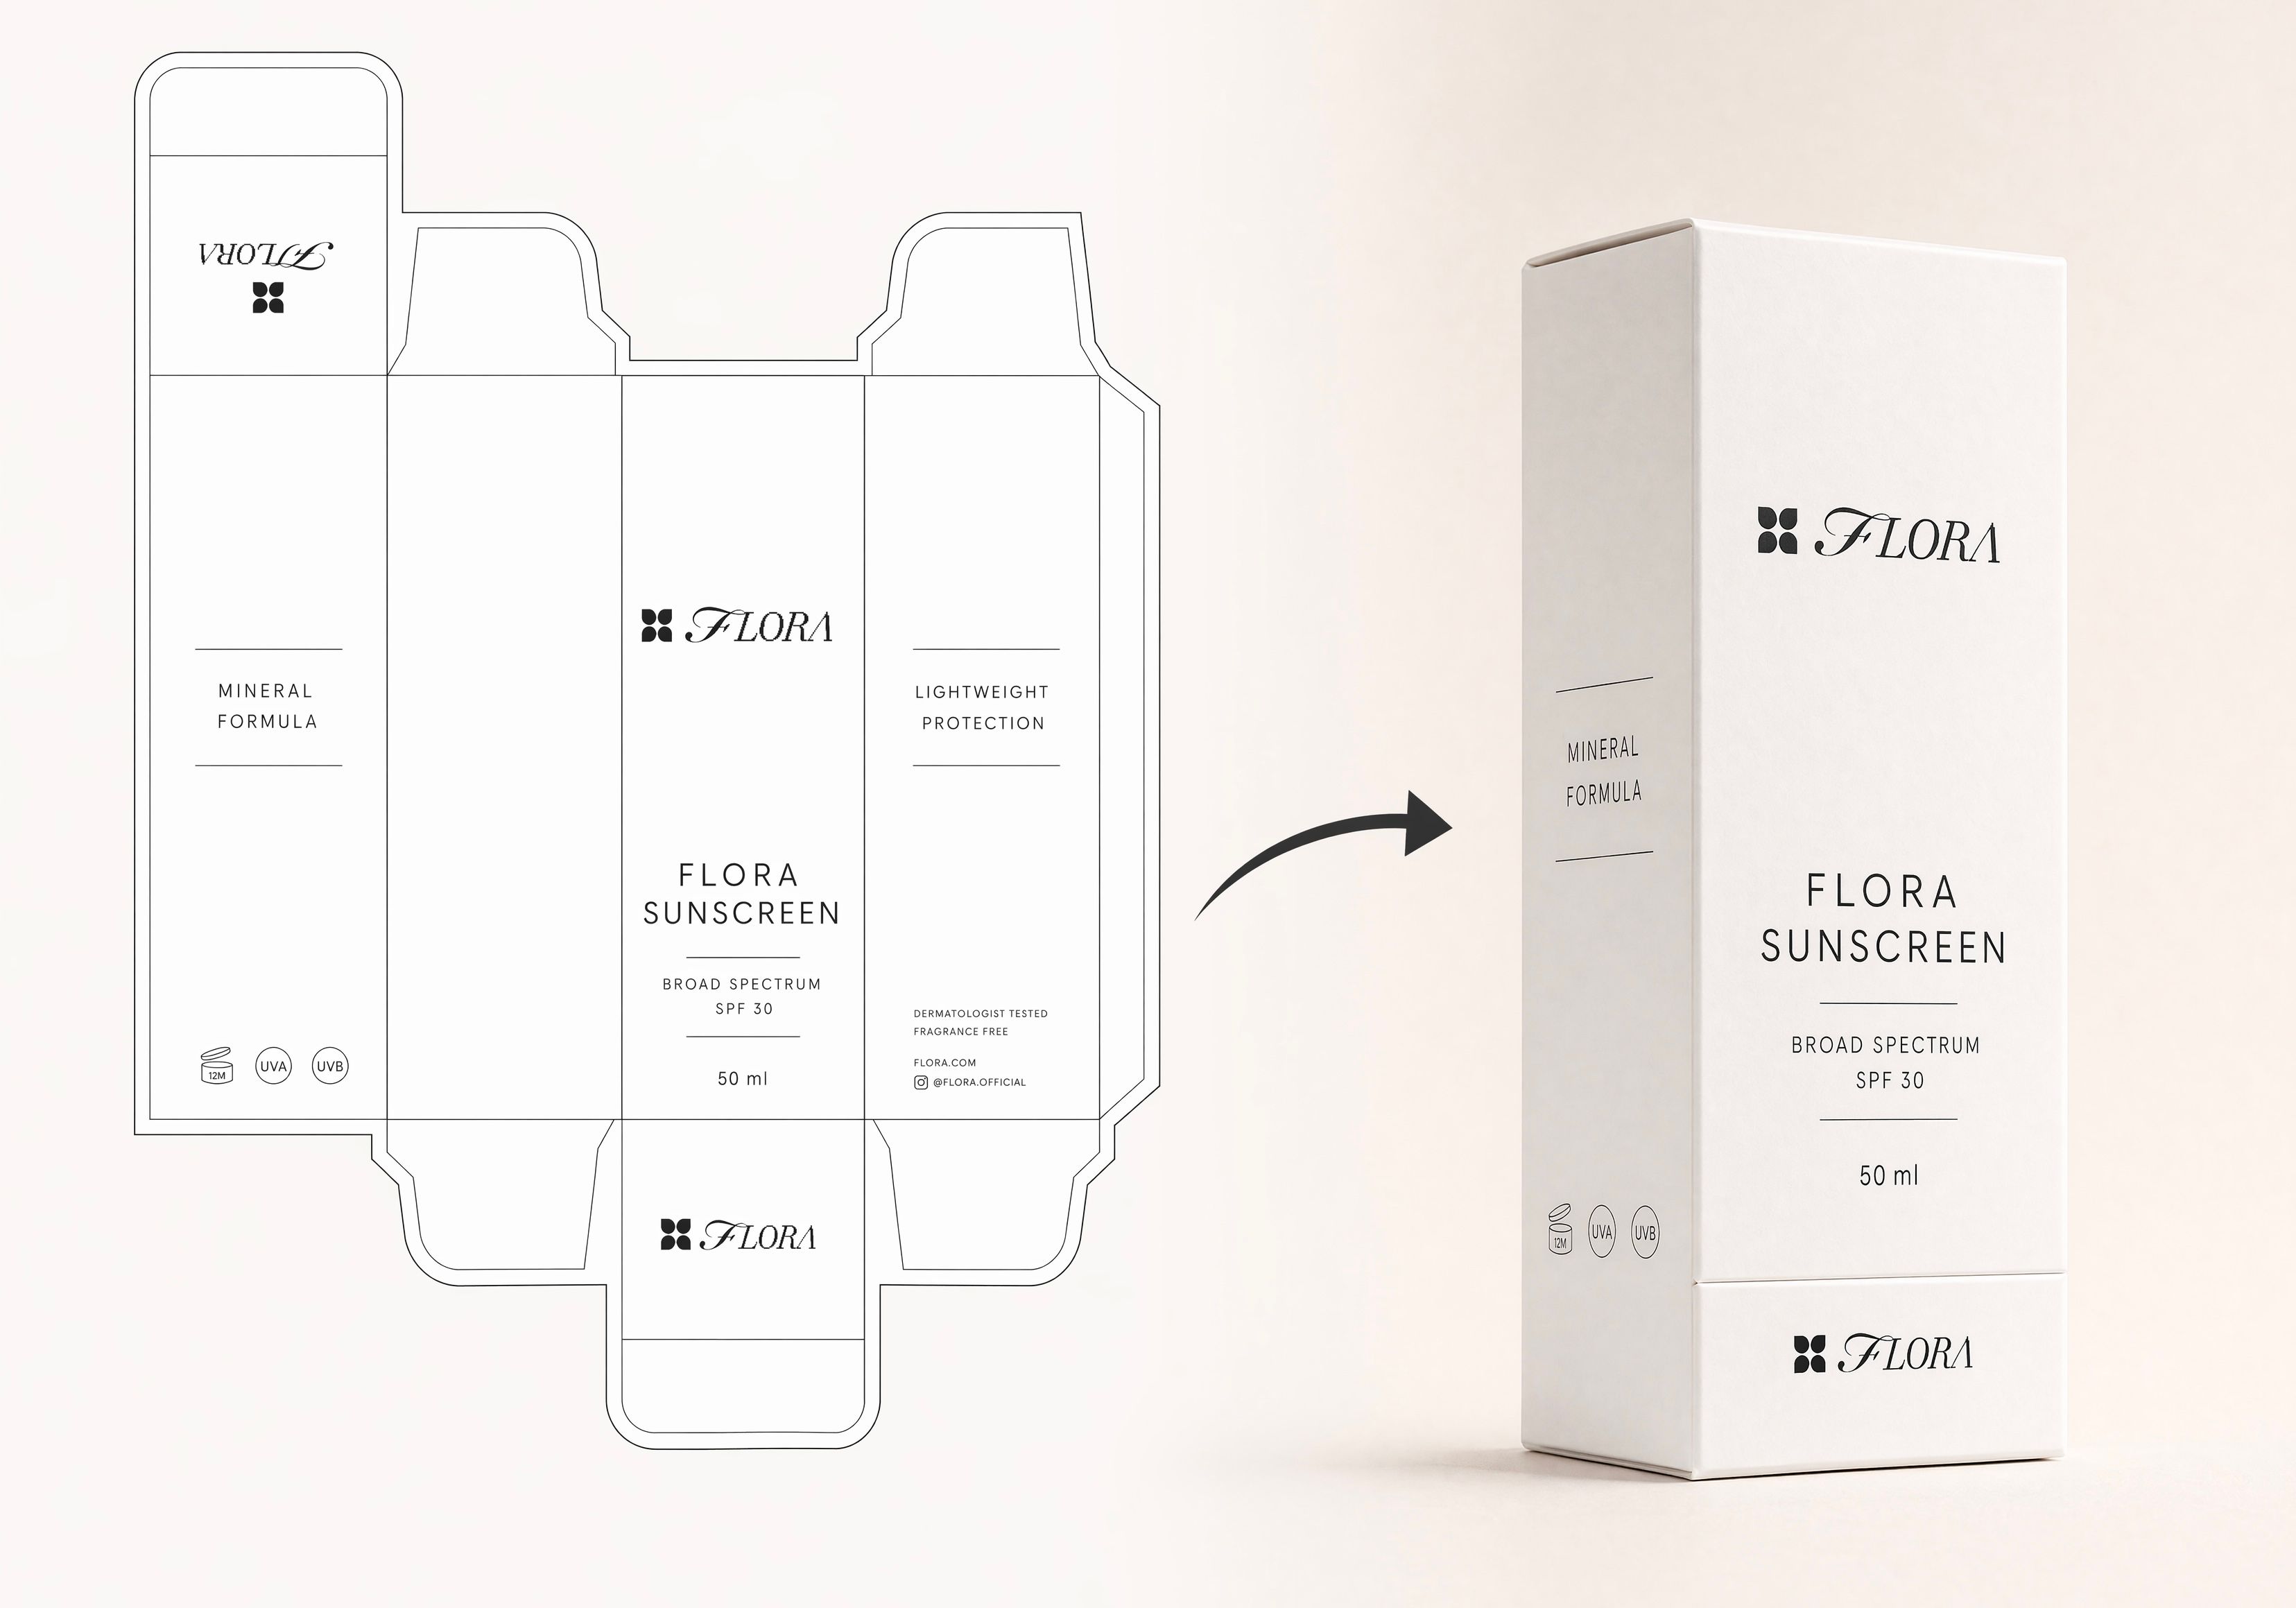 Dieline to 3D PackageTurn any flat package dieline into a production-ready 3D package render.
 Rosé RamblerMake your own custom Cannes Character, presented by Red Antler x FLORA
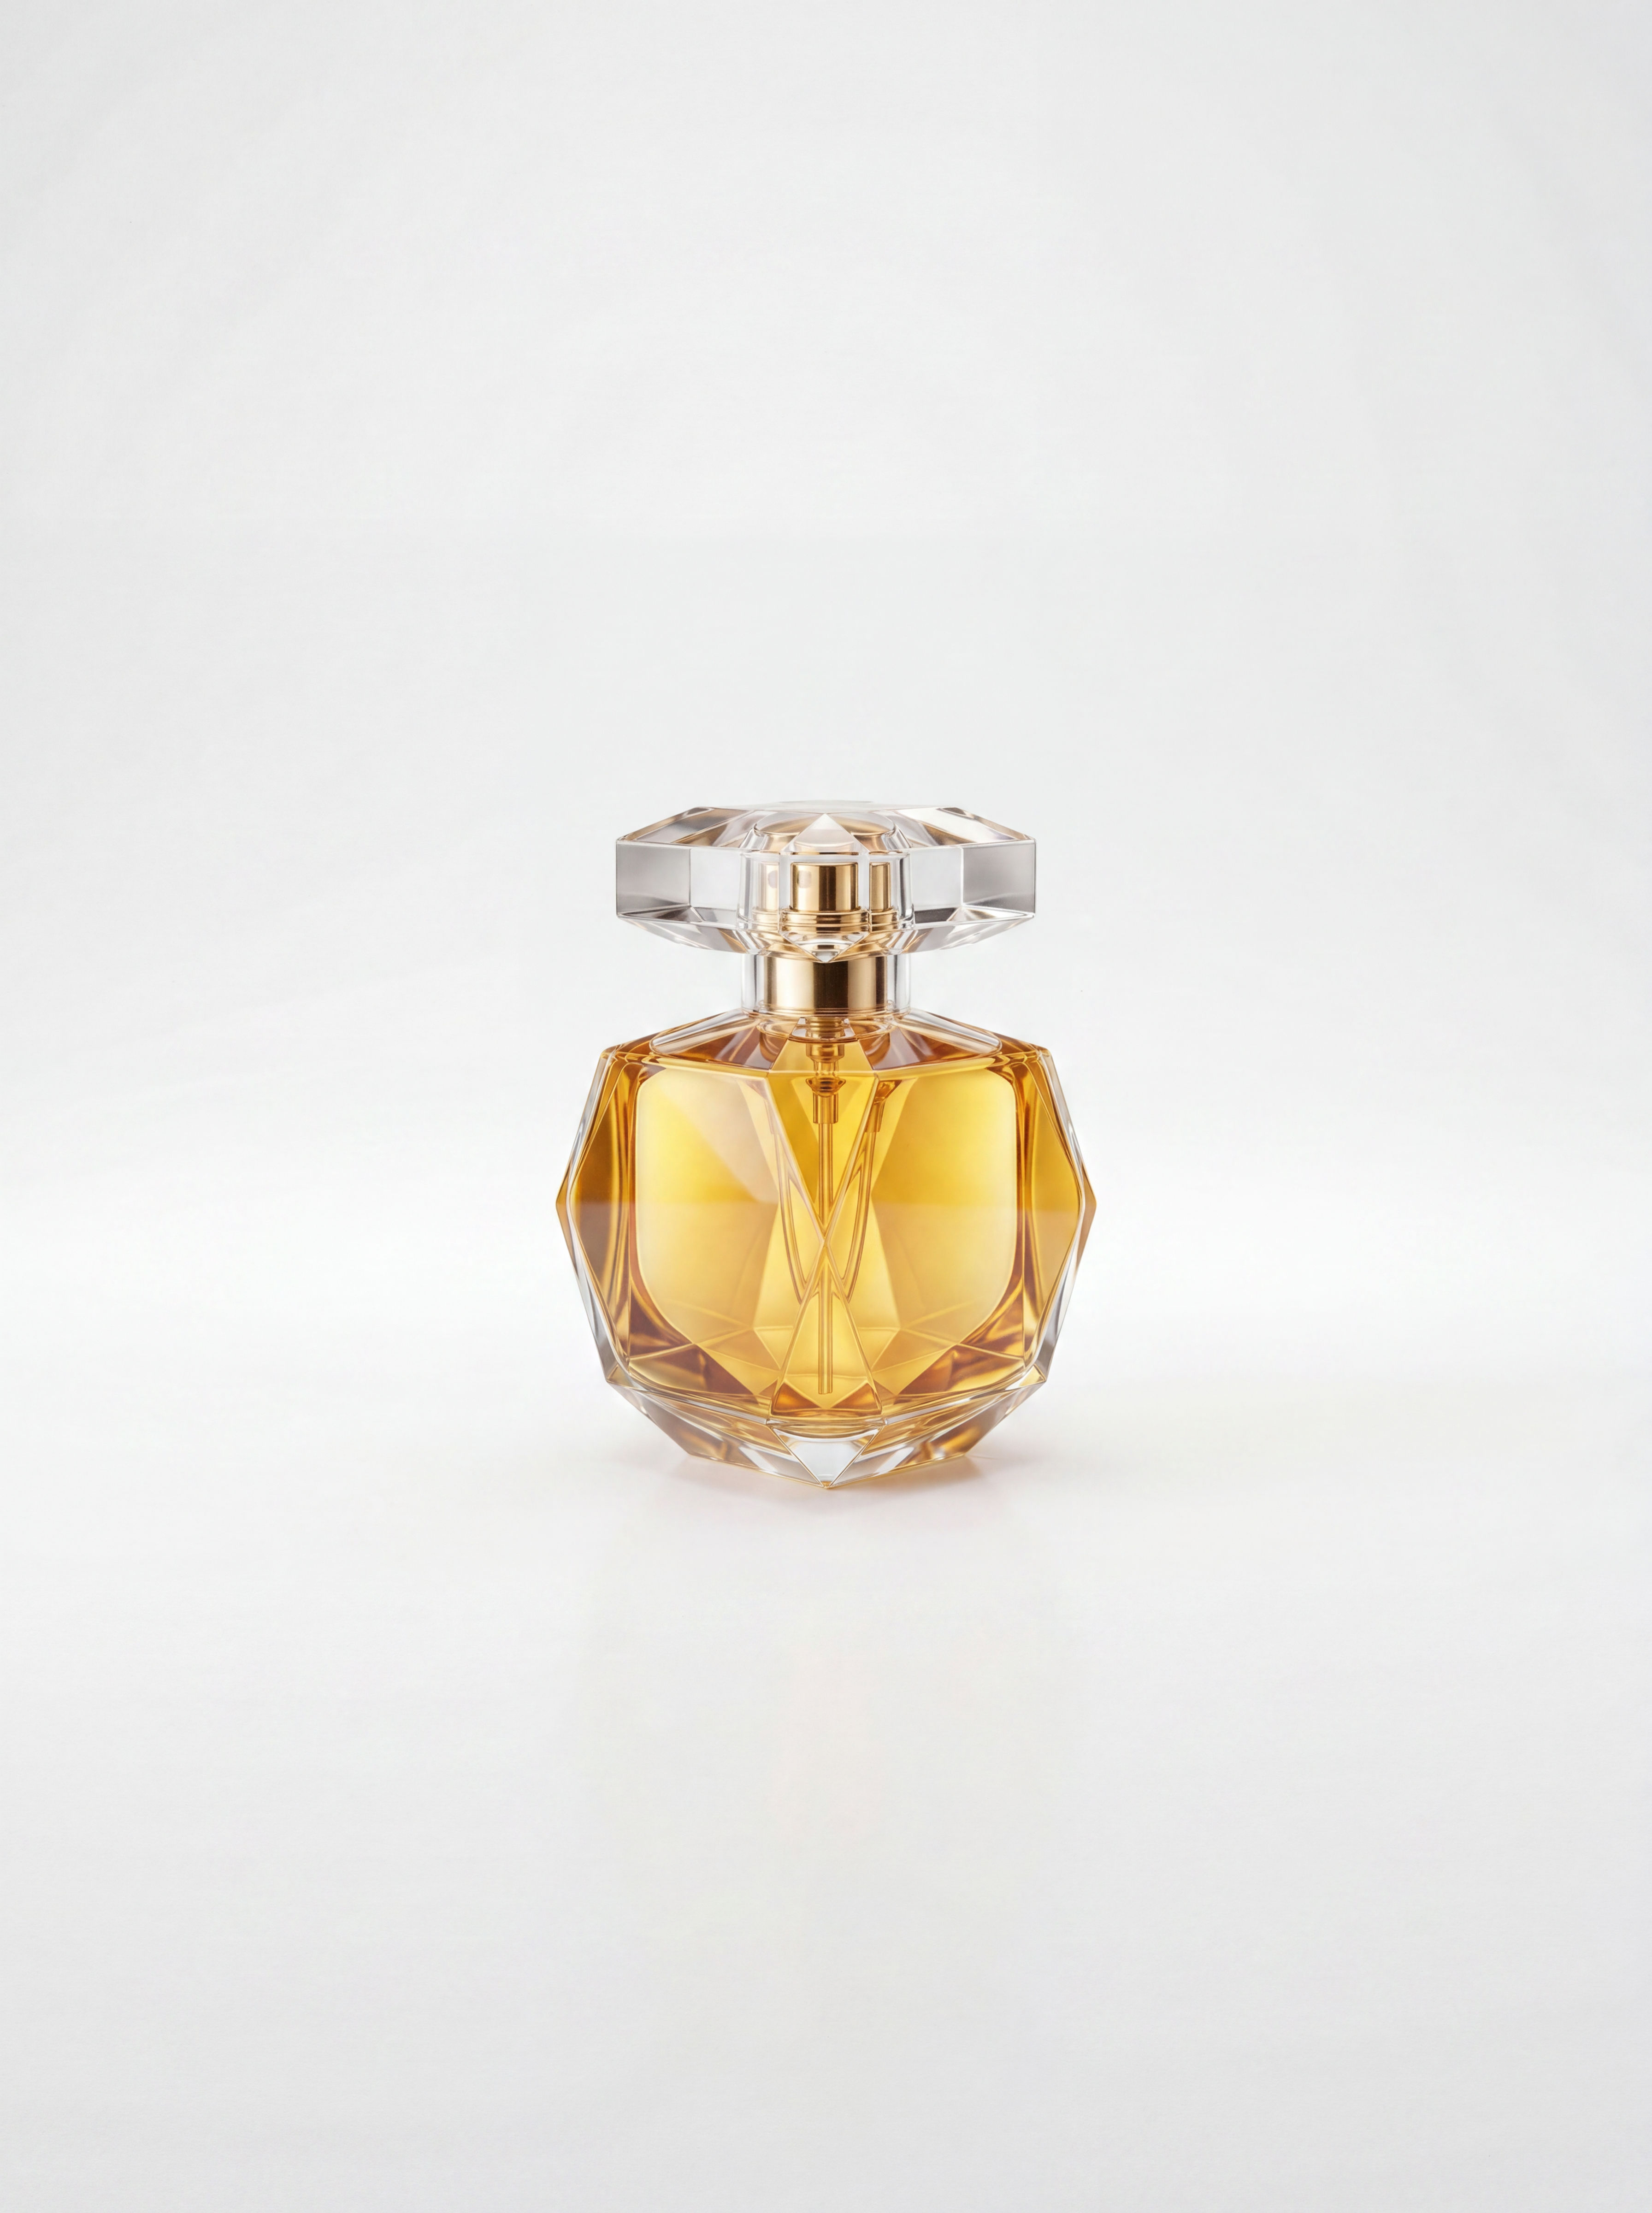 Sketch to Photorealistic Product RendererUpload any product sketch and a style reference.
Get 9 photorealistic renders — rare angles, texture
close-up, top, bottom and underside shots.
Any product. Label-free. Production-ready.
Sketch to Photorealistic Product RendererUpload any product sketch and a style reference.
Get 9 photorealistic renders — rare angles, texture
close-up, top, bottom and underside shots.
Any product. Label-free. Production-ready.Use the Image to 3D Model Technique to Turn One Photo Into a Full Turnaround
turn ONE photo of an object into the identity-locked view set a 3D pipeline actually needs: a clean studio plate, a 3/4 asset render, an untextured clay/viewport preview, front/side/back orthographic elevations, and a turntable clip. Useful for: product designers, 3D artists, game/AR teams and e-commerce sellers who have ONE photo of an object and need the clean, consistent multi-view coverage a photogrammetry / image-to-mesh tool (or a modeler) needs to build the geometry — with no scanner, no CAD and no Blender.

Louis Anderson