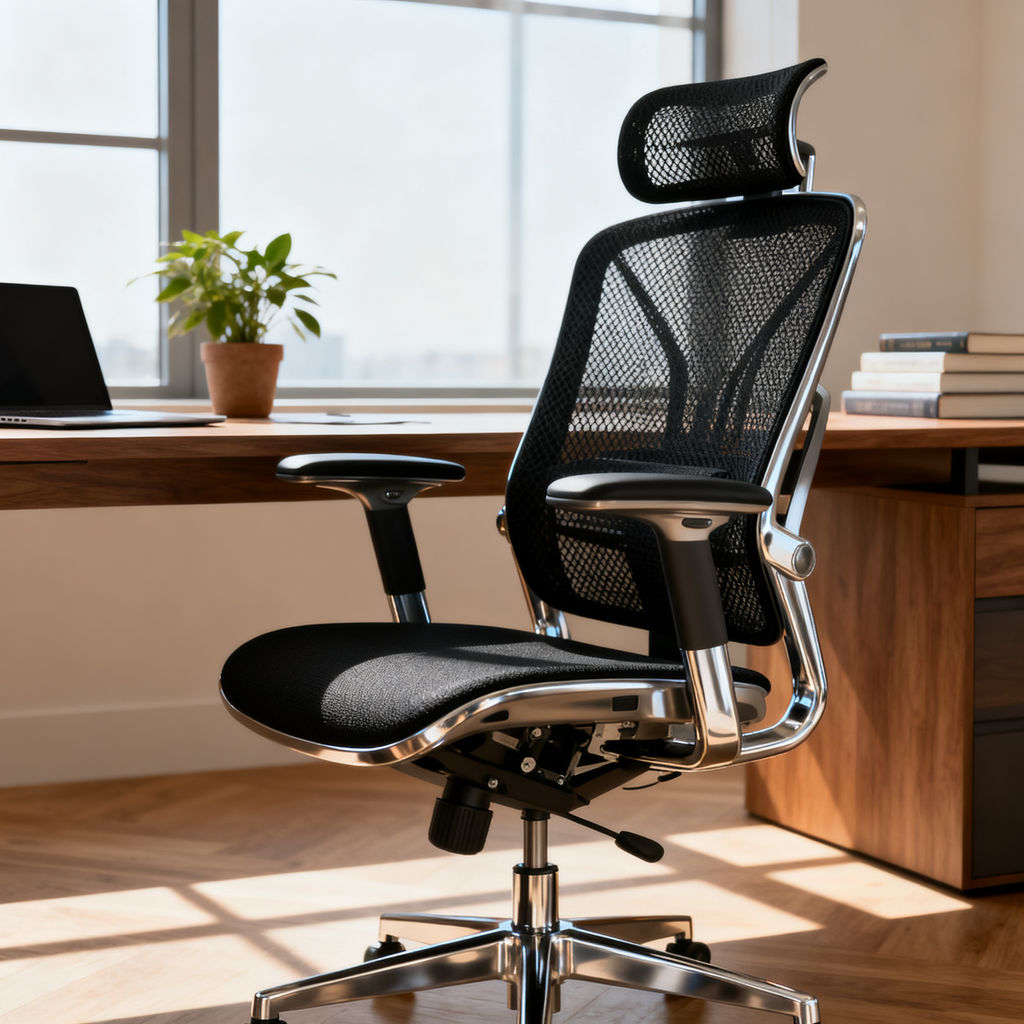
Colorway
warm sand-beige mesh with a matte champagne-gold aluminum base
Product
a modern ergonomic mesh office chair: same seat pan, same lumbar curve, same armrest shape, same five-star aluminum base and casters, same black mesh weave
Title
ERGO MESH TASK CHAIR
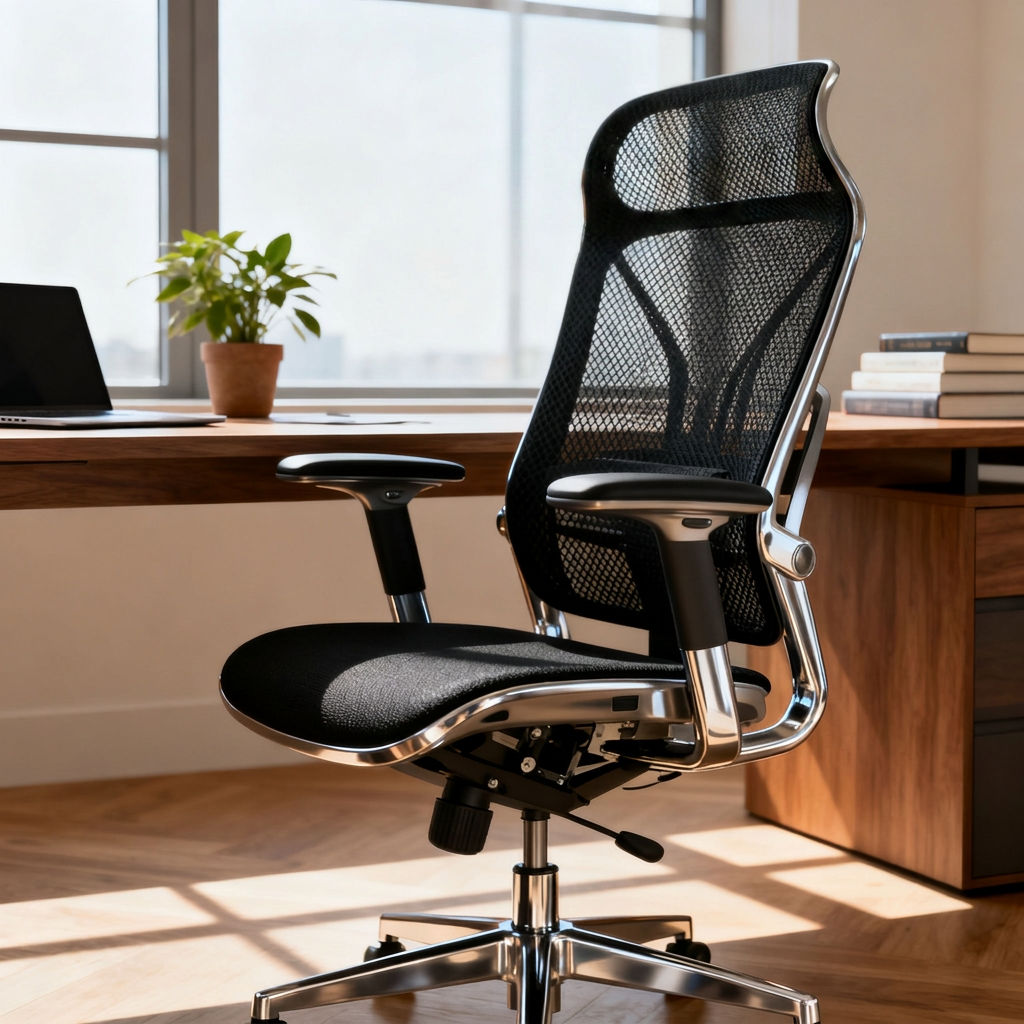
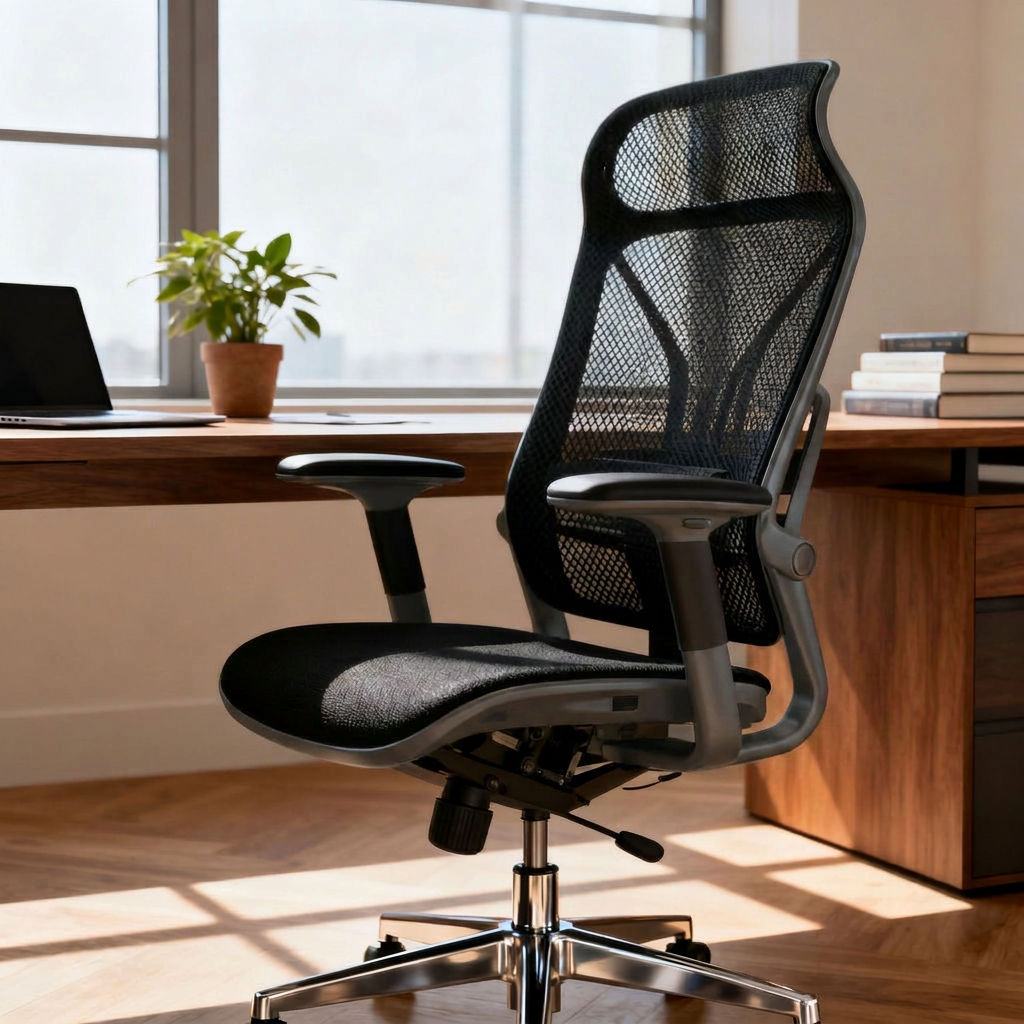
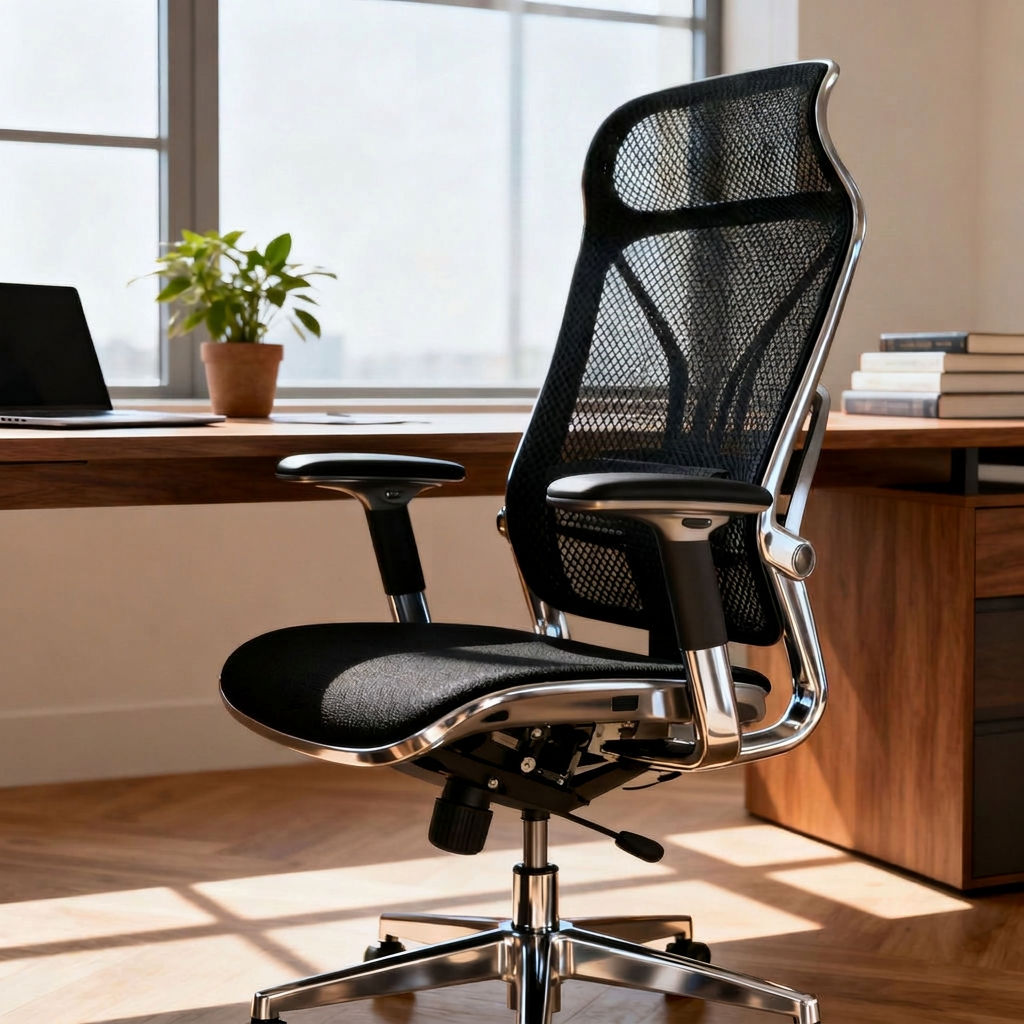

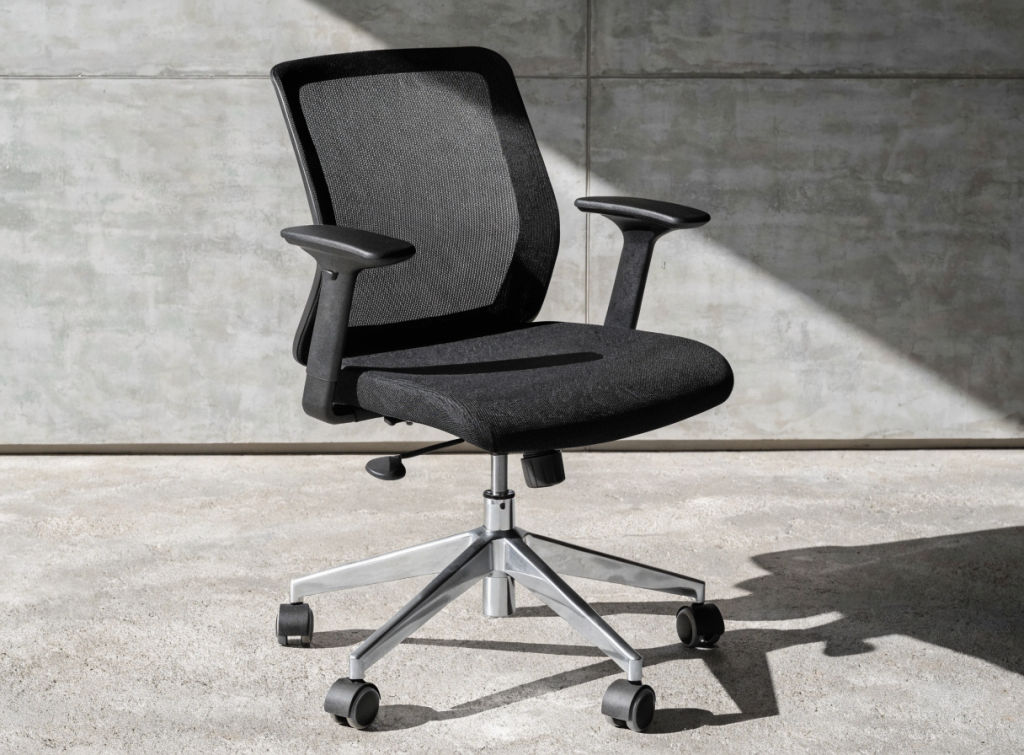
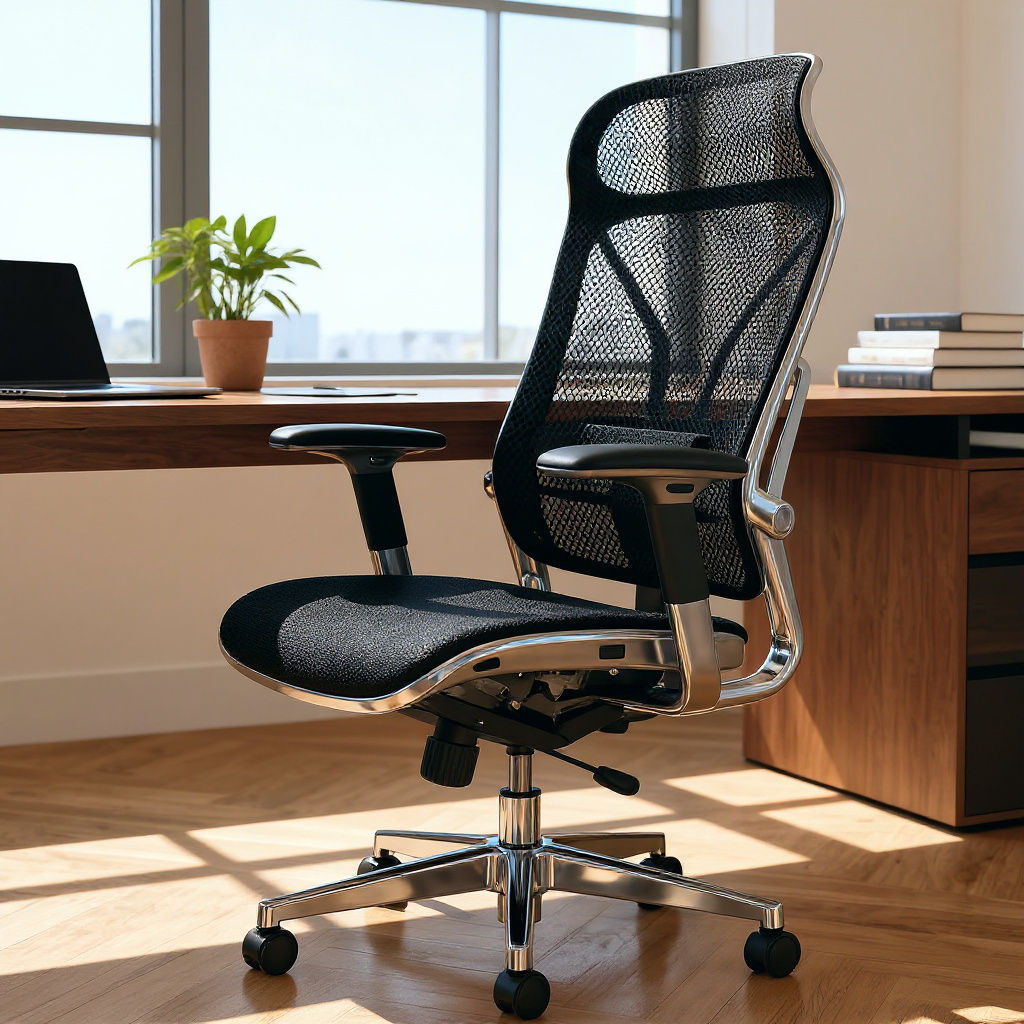
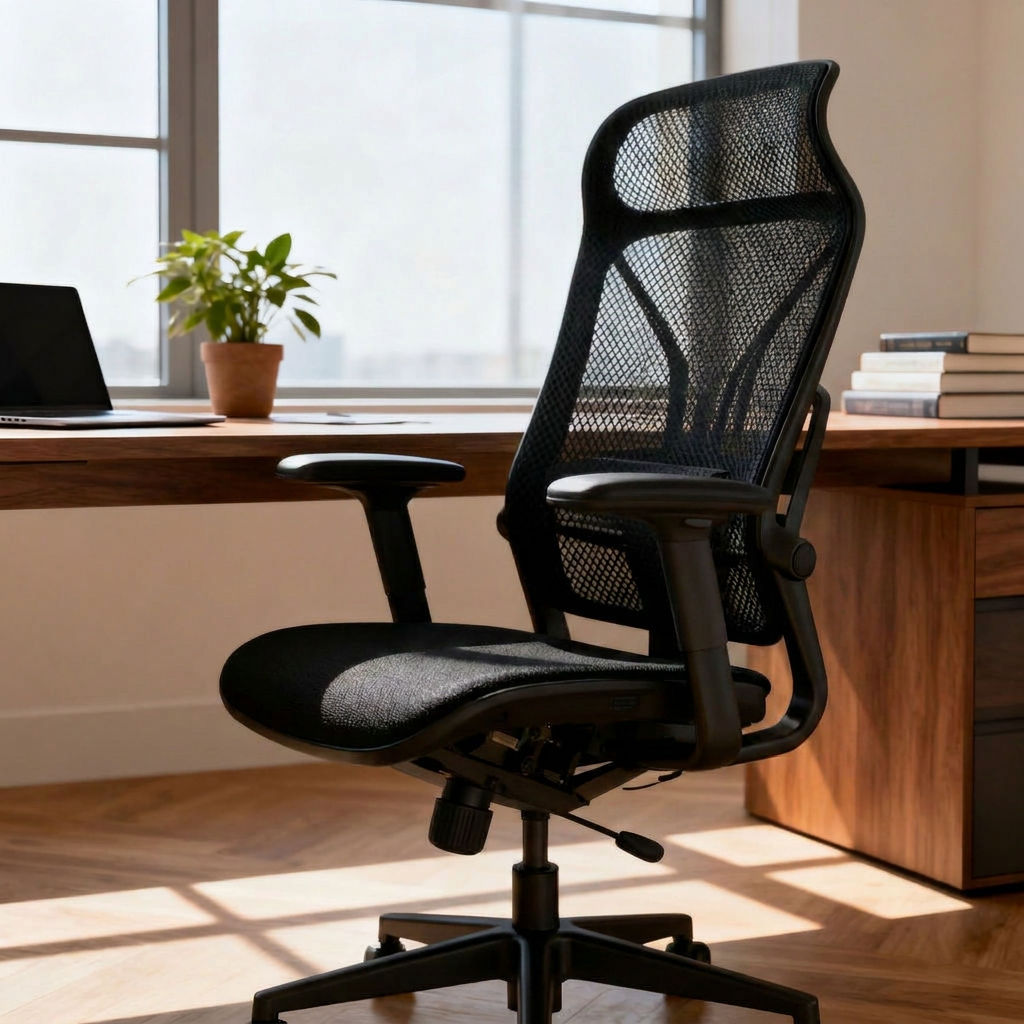
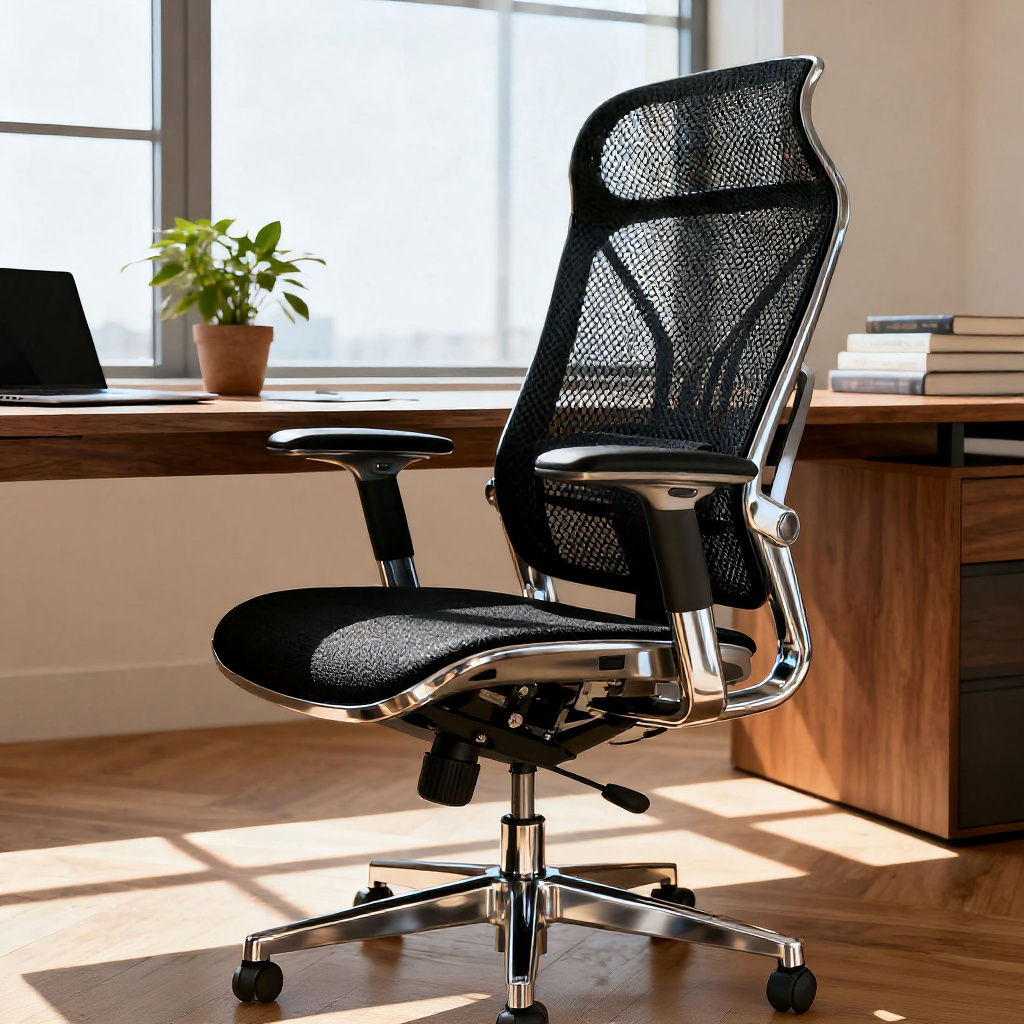
The Technique returns front, side, and back views, a clay wireframe render, and a 360° turntable video from a single image.

Product Design Reviews
Product designers without a CAD file use this 3D modeling AI step to get matched front, side, and back views of a concept for early design reviews.

Marketplace Listings
Marketplace sellers get a studio hero, a colorway variant, and a 360° turntable clip from one product shot, covering listing visuals that would otherwise need an AI 3D model maker and a render setup.

Game and AR Concepting
Game and AR teams use the clay wireframe render and orthographic views as reference sheets when briefing a 3D artist or working from a separate 3D model generator.
How to use Techniques?
Discover how to utilize AI 3D Model Generator for different scenarios.
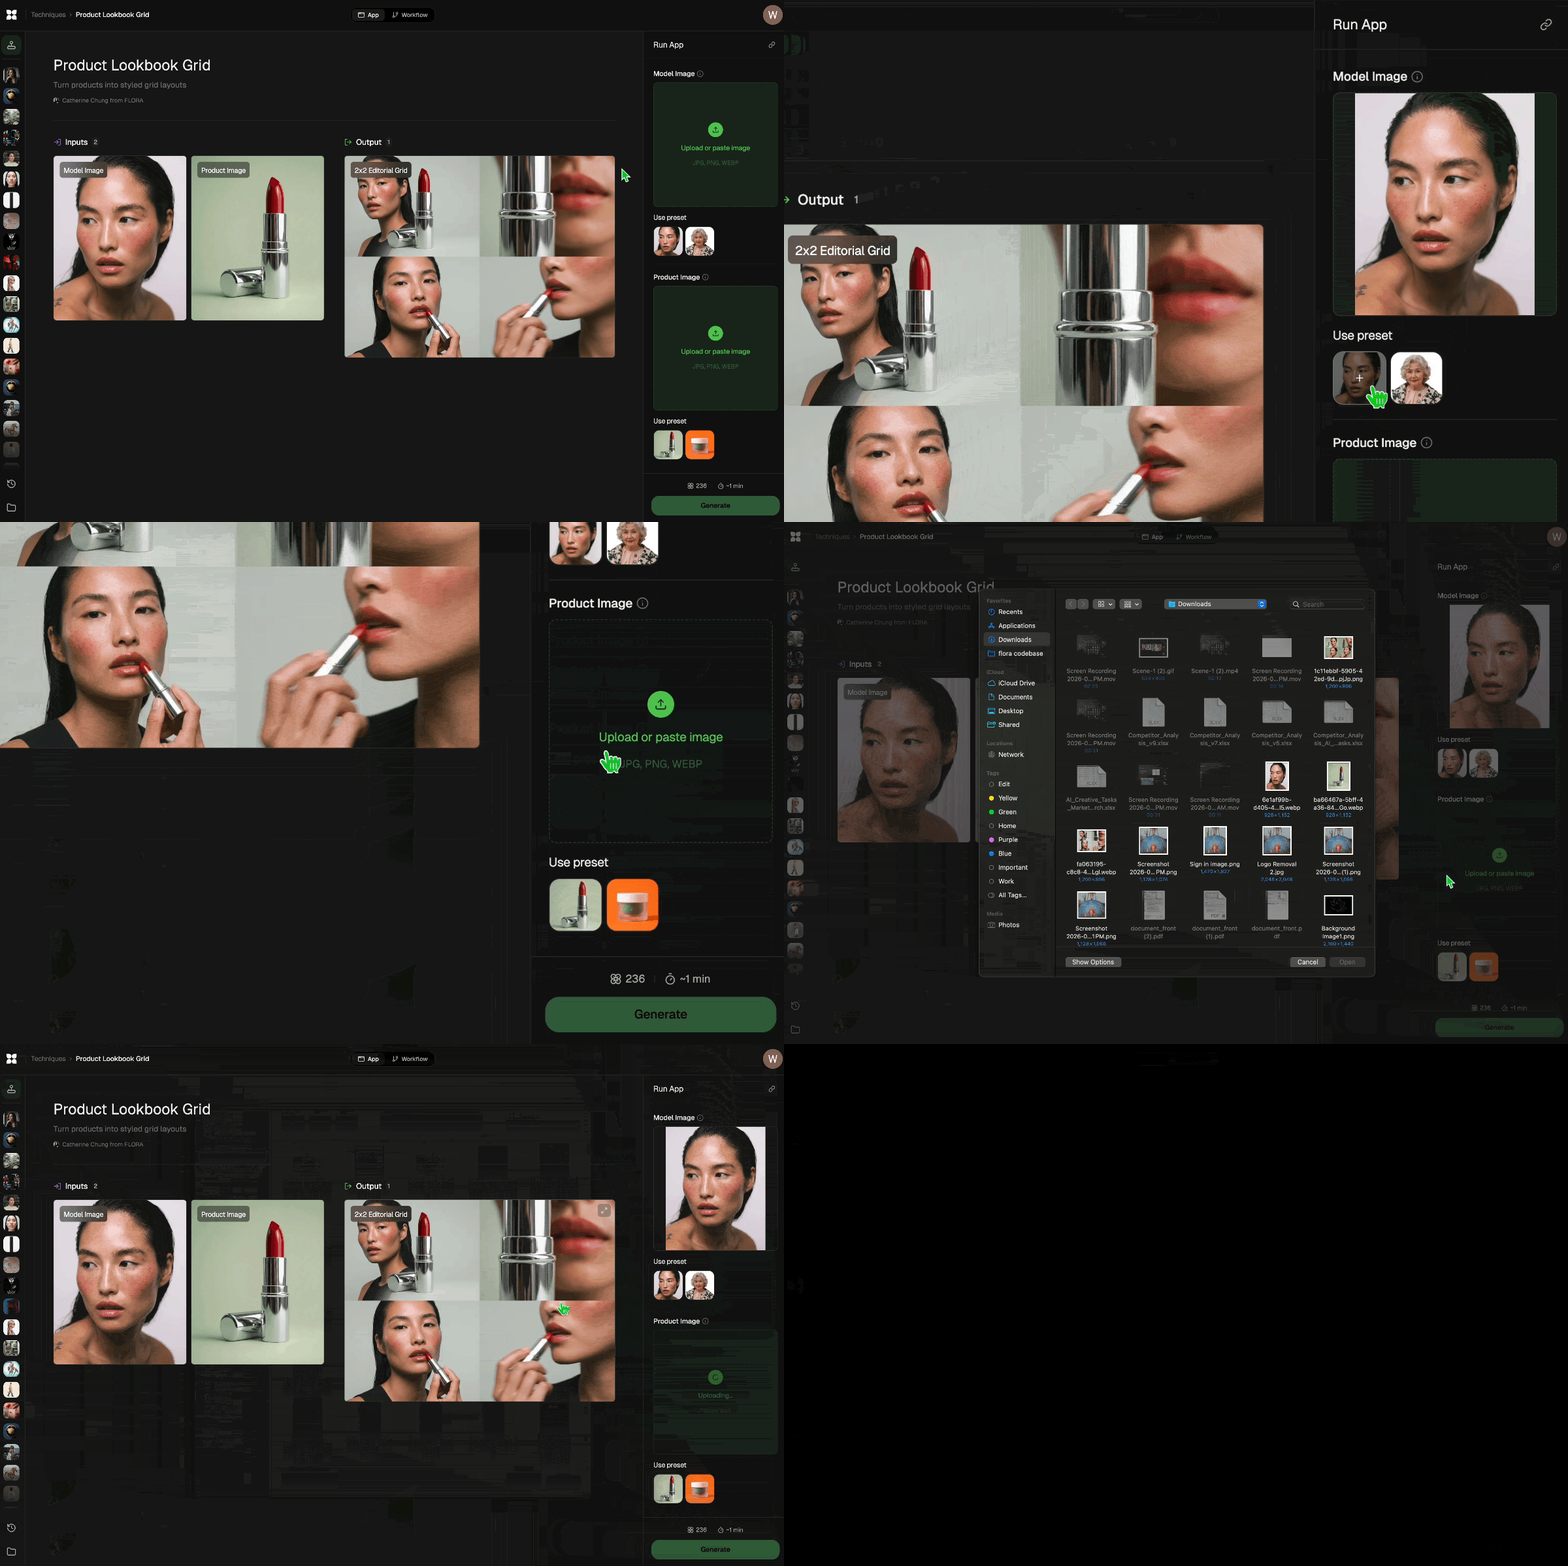
Add inputs
Upload images, videos, or type in the prompts to get started.
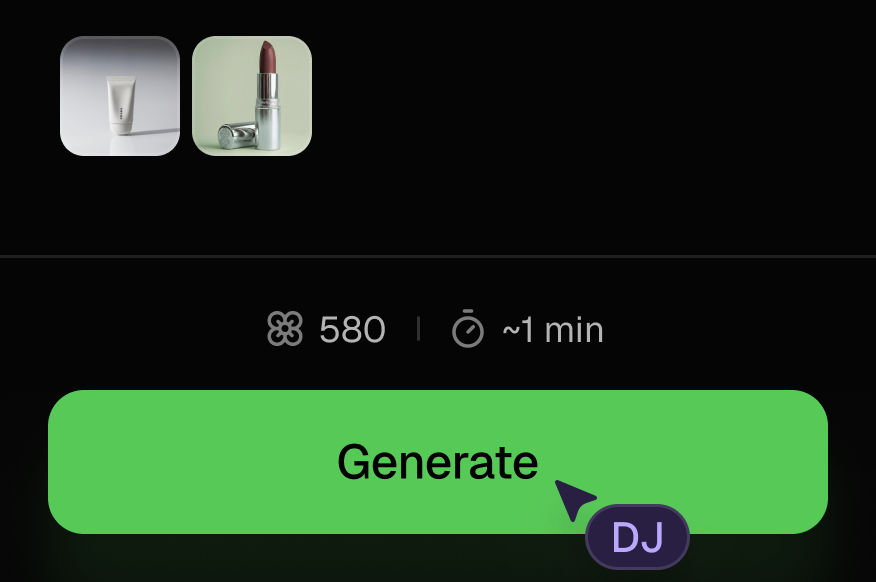
Generate outputs
Next, hit the "Generate" button to start generating your outputs.
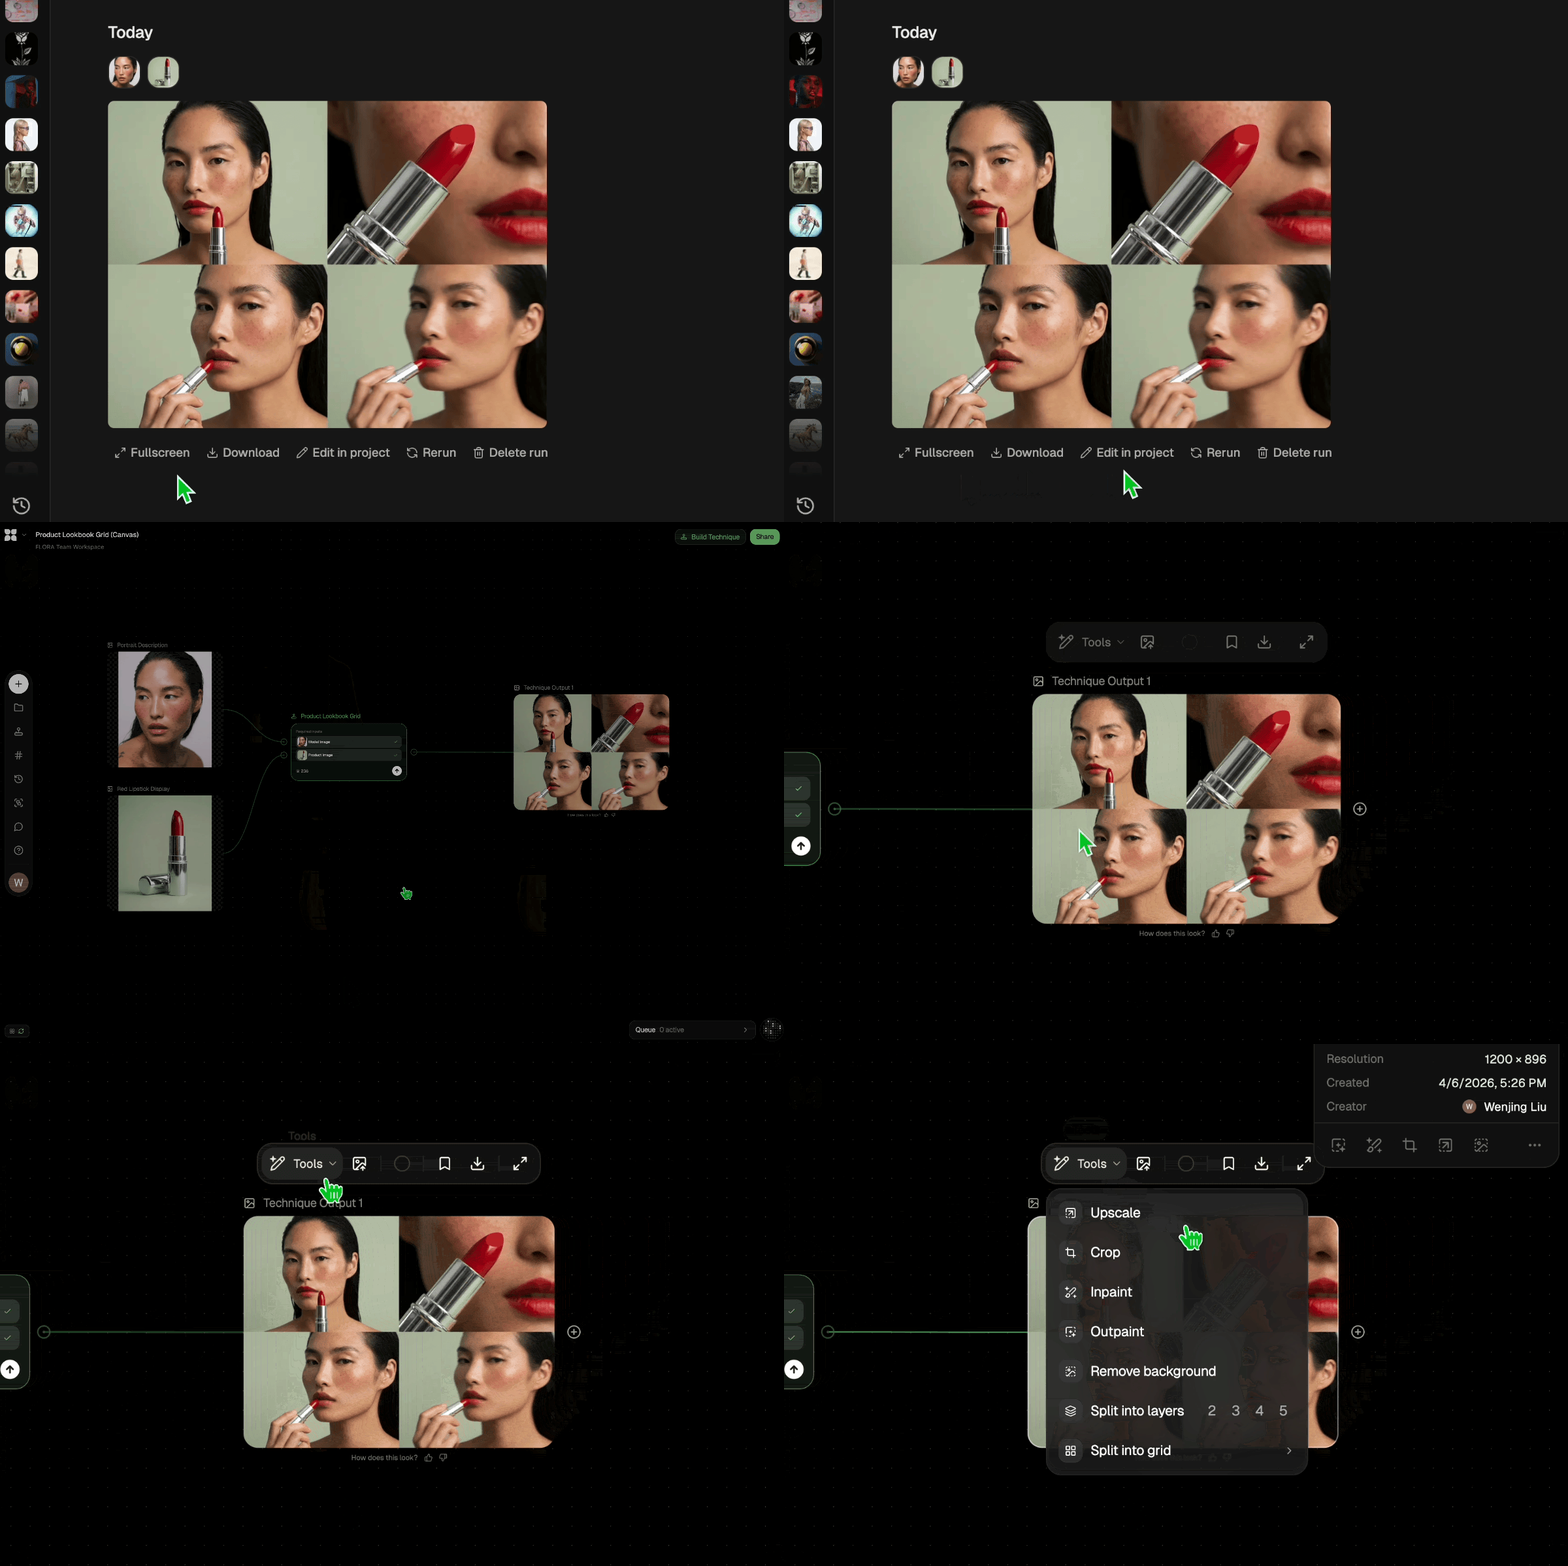
Edit and export
Refine your outputs on canvas, or download them directly.
Frequently asked questions
All you need to know about AI 3D Model Generator
What an AI 3D model generator does with a single product photo
An AI 3D model generator takes a flat photo of an object and produces the views you would normally get from a 3D model: front, side, and back elevations, a three-quarter hero shot, a clay render with a wireframe overlay, and a turntable spin. This Technique works from one product photo and three short text fields. It returns eight images and a looping 360° video, and none of the outputs is a mesh file.
To try it with your own product, create a free FLORA account and replace the preset office chair with a photo of your own. The outputs can be downloaded as they are, or moved onto the FLORA canvas if you want to keep editing them or use them with other image and video models.
Two kinds of tools use the same name
When you search for a 3D model generator, the results mix two types of product. Some tools return an AI 3D model as geometry, usually a GLB, OBJ, or STL file that you can open in Blender, import into a game engine, or send to a 3D printer. Other tools return images that look like they were rendered from a 3D model, without any geometry you can open or edit.
This Technique is the second type. If you need a printable part, or a game asset that someone will rig and animate later, look for 3D model AI tools that export meshes. If you need product views for a listing, a spec sheet, or a design review, a mesh is an extra step, since someone would still have to set up lighting and materials and render it before you had those images.
Many people who search for 3D modeling AI are in the second group. They have a usable photo of the product and no CAD file or Blender setup, and they want a set of views that could pass for studio renders.
Why each output looks the way it does
Most of the nine outputs follow conventions from product design and 3D work, which is why the set reads as a matched group rather than nine unrelated images.
The front, side, and back views are orthographic, so the camera faces each side straight on with no perspective tilt. Technical drawings and CAD elevations show objects the same way. The three views share scale and lighting, and they line up when you place them next to each other on a page. The Spec Sheet Plate adds a header card with the text from the Title field, which lets you use the views as a captioned group on a datasheet or a marketplace listing.
In 3D software, a model looks like plain grey clay with its mesh lines showing until someone applies materials. The Wireframe View copies that look. It is a flat image, but seeing the form without color or texture can make it easier to judge proportions, and it gives a 3D artist useful reference if you later commission an actual model.
The Studio Hero is a three-quarter shot on a neutral background. The Graded Hero uses the same shot with stronger contrast, deeper blacks, and a slight sheen for catalog pages. For the Colorway Variant, the Technique keeps the hero's shape and framing and changes the finish to the one you describe. The 360 Turntable is a looping video of the product rotating on its axis, intended for a product page or an AR preview.
How the Technique keeps every view consistent
Your photo only shows one side of the product, so the Technique has to fill in the far side and the back when it builds the other views. That is where multi-view generation usually goes wrong. An armrest might change shape between the front and side views, or a logo might move, and a buyer comparing the images will spot it.
The Product field helps prevent that. You describe the object and list its identity anchors, which are the form, parts, and materials that should stay the same across every view. In the office chair preset, the list covers the seat pan, the lumbar curve, the armrest shape, the five-star aluminum base, the casters, and the black mesh weave. Someone checking two views of that chair side by side would look at exactly those details. Describing your own product at a similar level of detail tells the Technique which features to hold fixed.
You only use the Colorway field for the variant image. It describes the new finish, for example the preset "warm sand-beige mesh with a matte champagne-gold aluminum base," and says nothing about shape. Because shape and finish are described in separate fields, the variant can change color while its geometry still matches the other eight outputs.
Choosing the photo you start from
All nine outputs come from the one Source image, so your choice of photo affects the result more than anything you type into the text fields. A three-quarter shot tends to work better than a straight front view, because it shows two faces of the object and leaves the Technique less to guess. Try to keep the whole product in frame and avoid backgrounds with other objects that could be read as part of it. If the product sits in a busy scene, you can run the photo through the Background Remover first. For a small or soft photo, the Image Upscaler can add resolution before you begin.
Products with a solid, well-defined silhouette usually give the most consistent sets, including furniture, footwear, small electronics, homeware, and packaging. Glass and polished chrome are harder, and so are very thin structures, because reflections and fine details tend to shift from one view to the next.
The Technique uses the same camera angles and the same list of outputs on every run. When a detail comes back wrong, try a different photo or add more specific detail to the Product description, then run it again. To edit a single view, open that output on the FLORA canvas.
The different ways people search for this
People searching for this kind of result use a wide range of phrases. Some look for an AI 3D generator or an AI 3D model maker, while others type 3D model generator AI, 3D models AI generator, 3D AI model generator, or 3D modeling AI generator. Most of them want to see a real product from every side, starting from one photo, in images that look rendered. An AI 3D model generator that produces product views and a turntable meets that need. If the project needs a file you can edit in 3D software, you will need a mesh tool instead.
Where the set goes after you generate it
Product teams often need more assets from the same product once the views are done, and you can make them from the outputs on the FLORA canvas. For a marketplace that requires a plain backdrop, run the hero shot through the White Background Technique. Product Recolor can show finishes beyond the one colorway in the set. If you want motion other than the turntable spin, Product Animator and Product Motion are the nearest Techniques to try.
To place the product in a lifestyle scene, an ad, or a campaign image, open the AI image generator or the AI video generator and use the Studio Hero as a reference image. For rooms and buildings, SketchUp rendering is a closer fit than this Technique, which is built around single objects. Anything you make from the set stays on the same canvas as the original outputs.
If you need orthographic reference views for a modeler instead of a marketing set, the image to 3D model Technique returns a full turnaround from one photo.
Related techniques
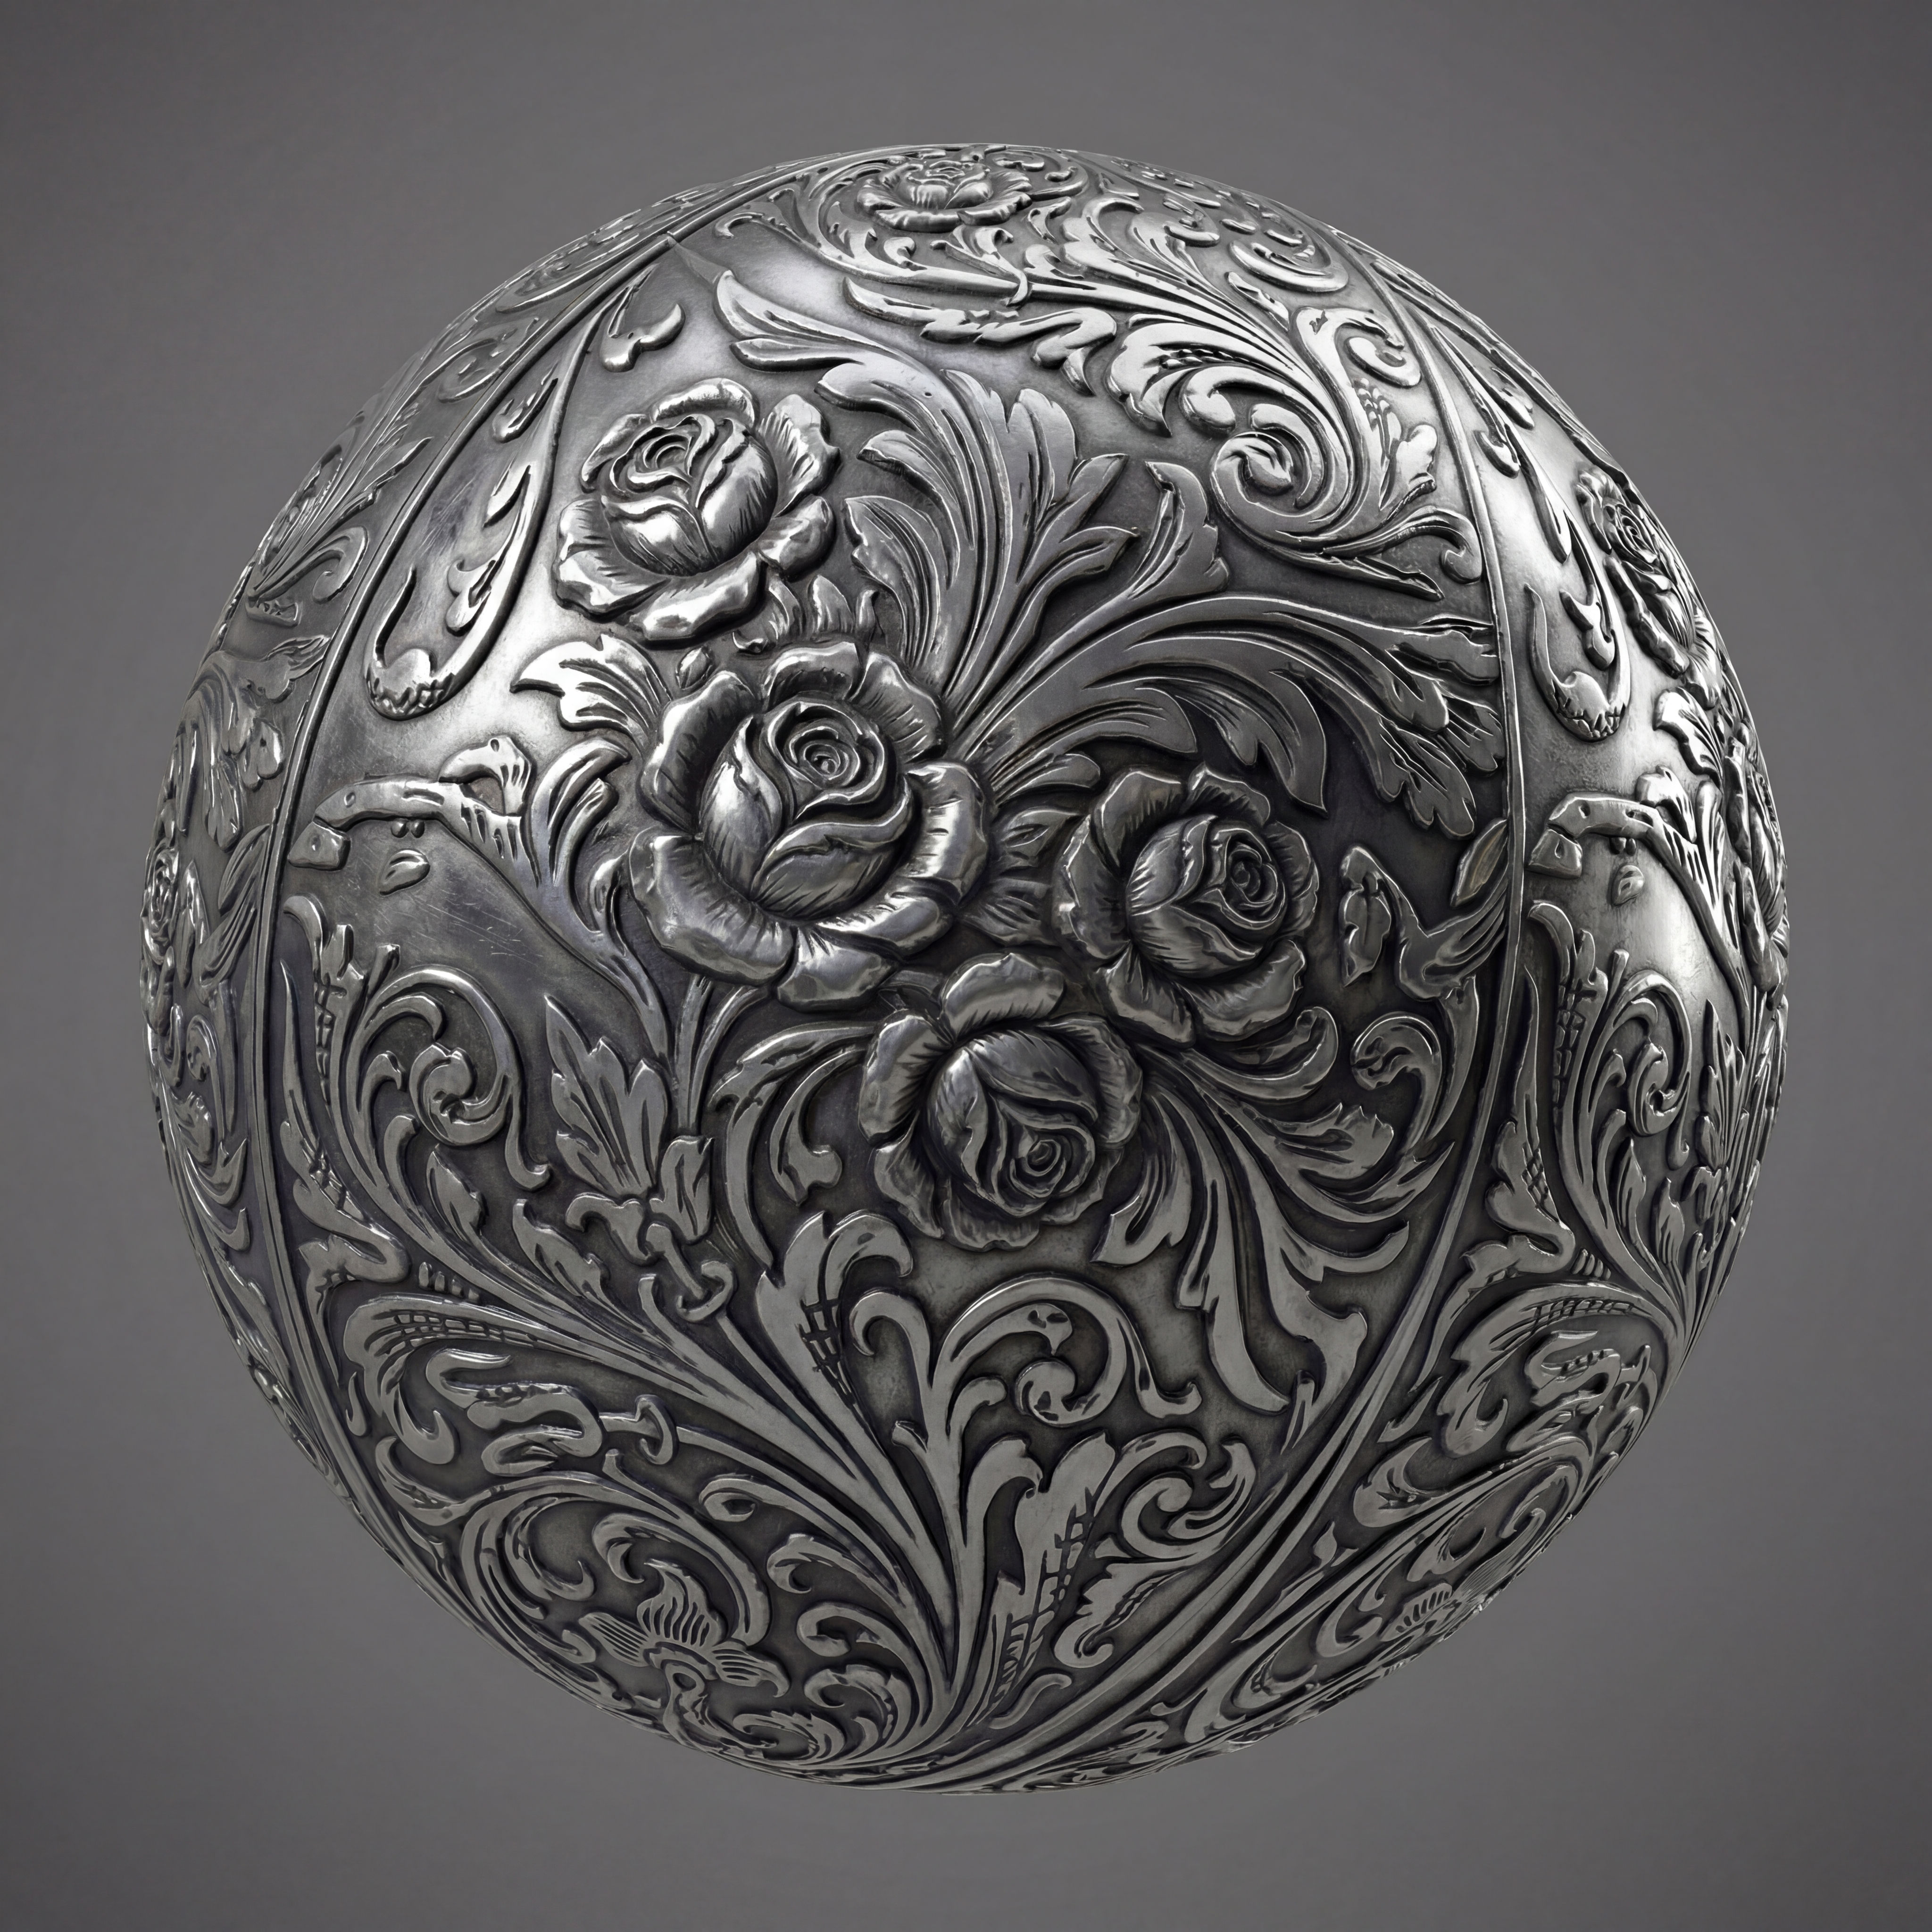 Texture Pack ExtractorExtracts the main material of an object in an image and transforms it into usable textures for 3D projects
 BeadifyTurn any object or 3D render into a physical Perler bead mosaic. Upload a photo — get back a beaded version of it
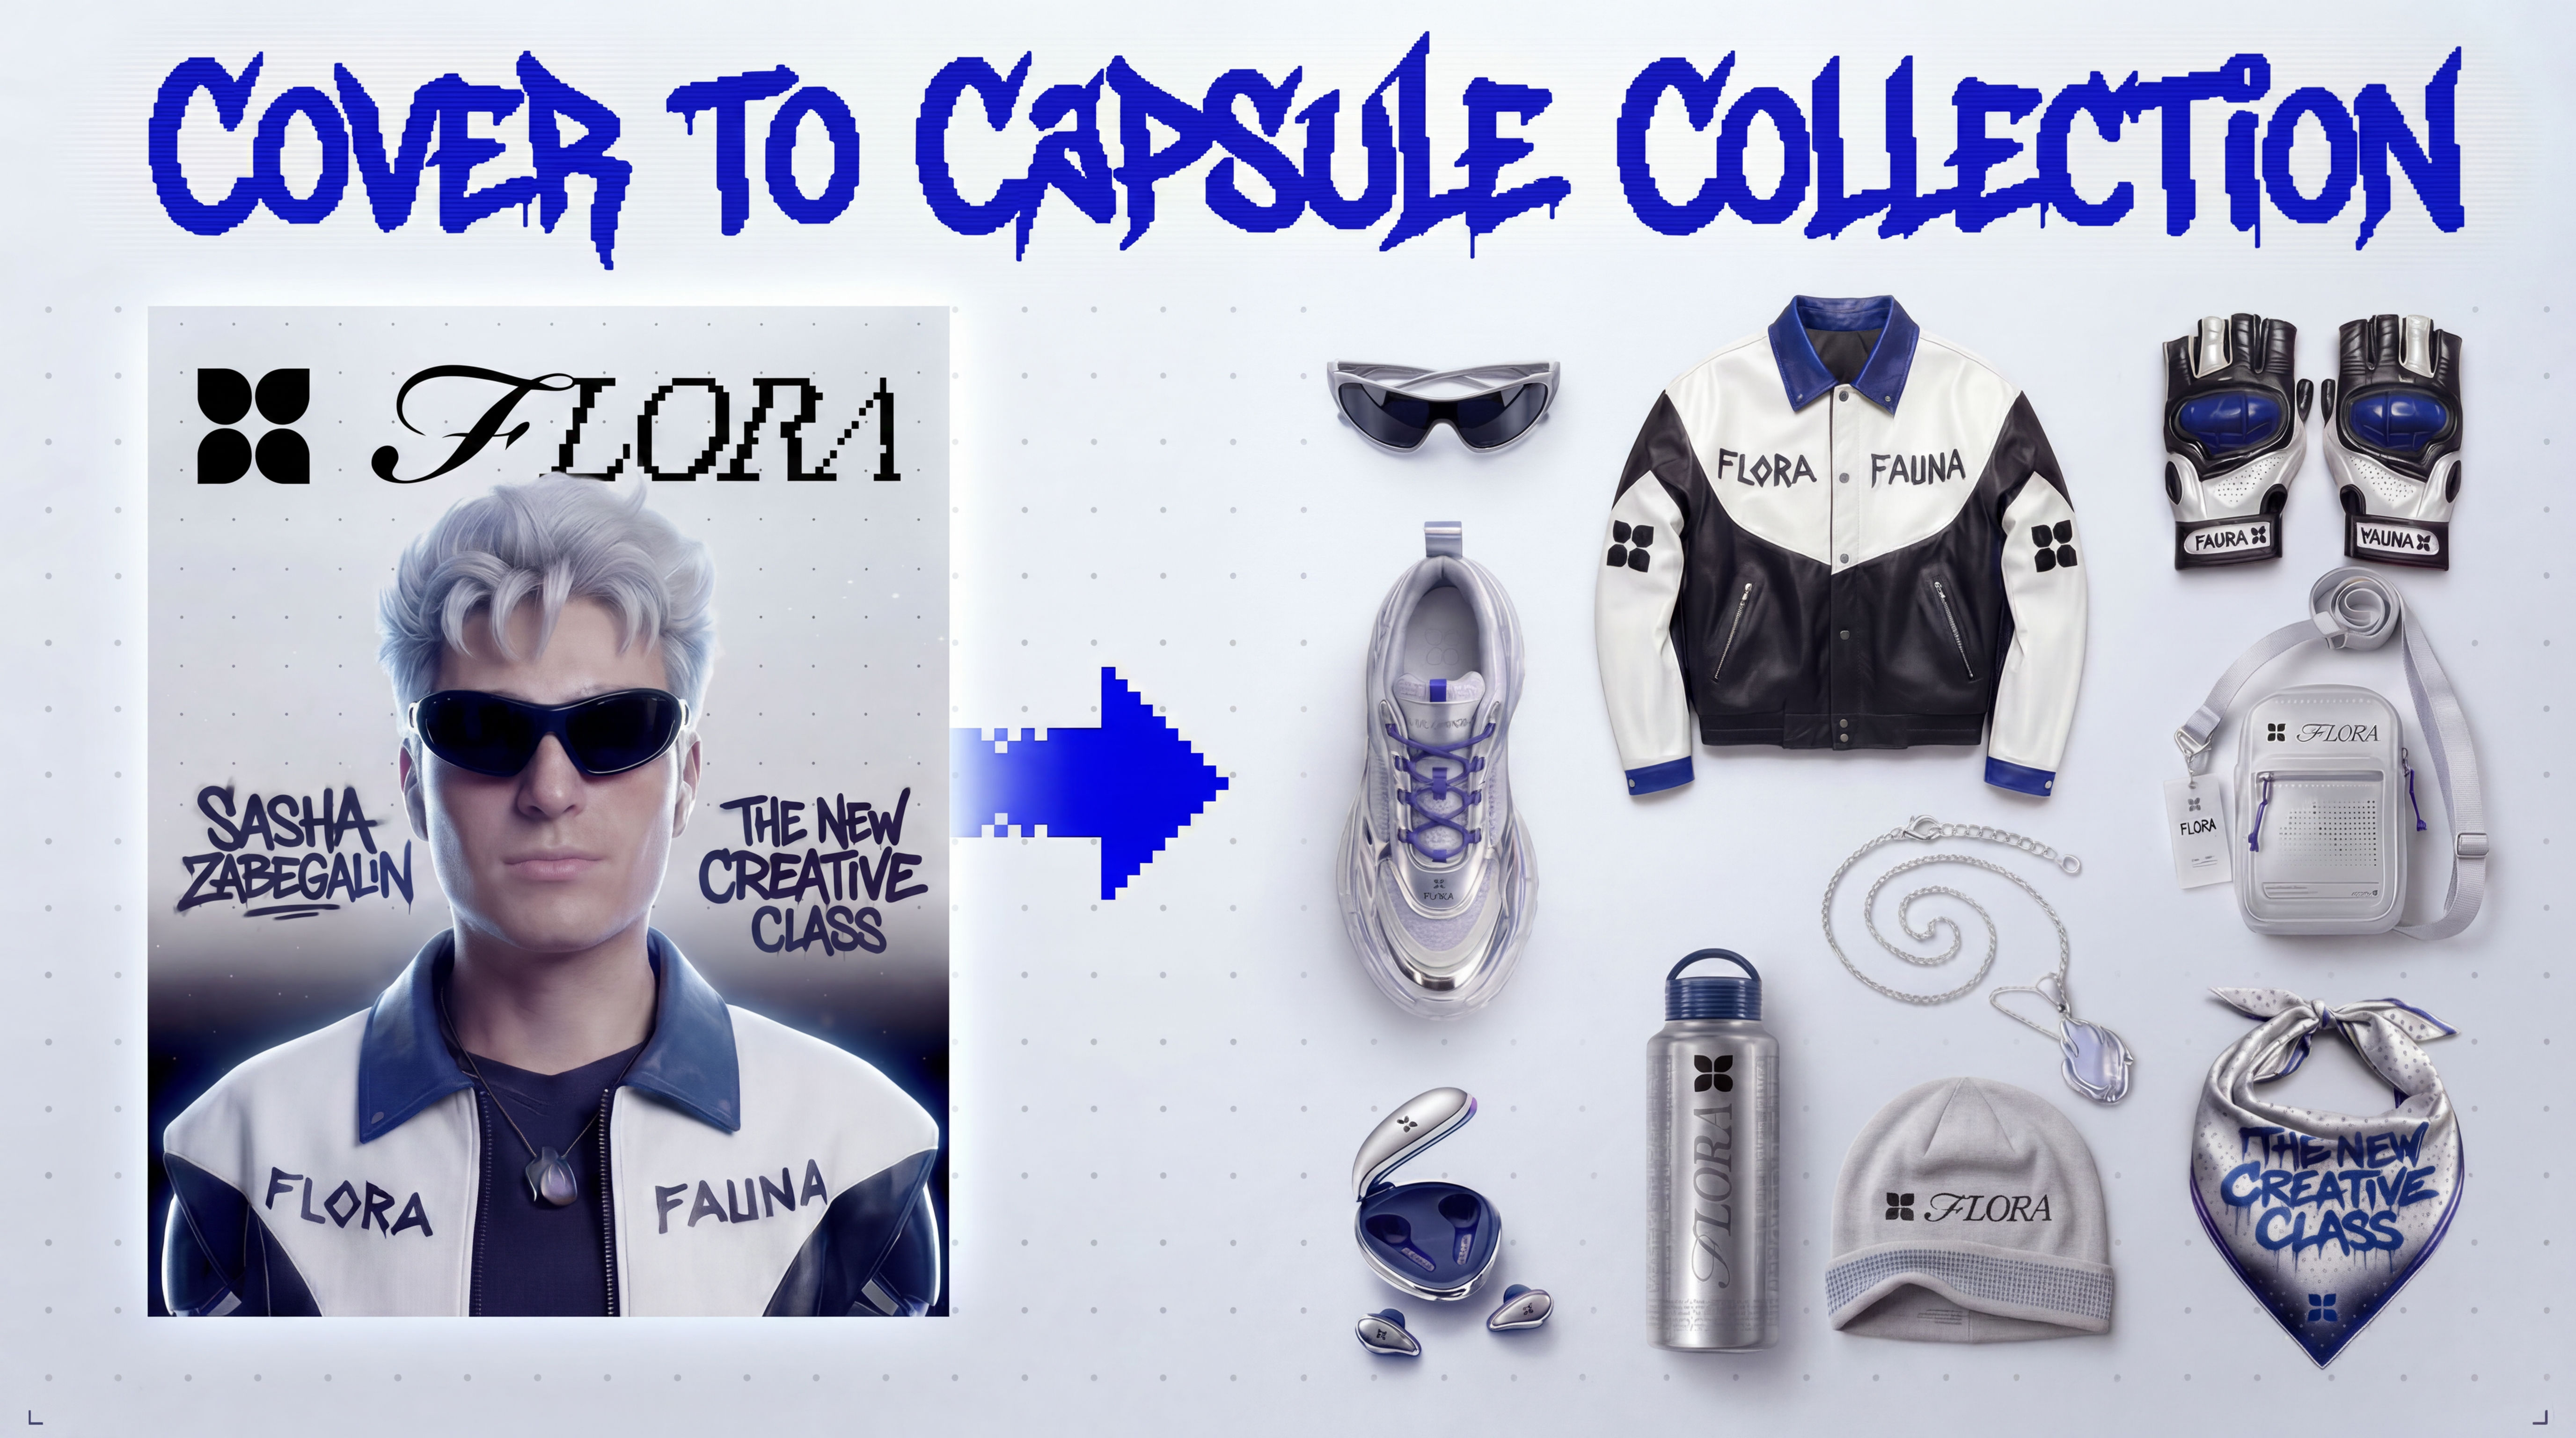 Cover to Capsule CollectionTurn any magazine cover into a 12-piece capsule collection.
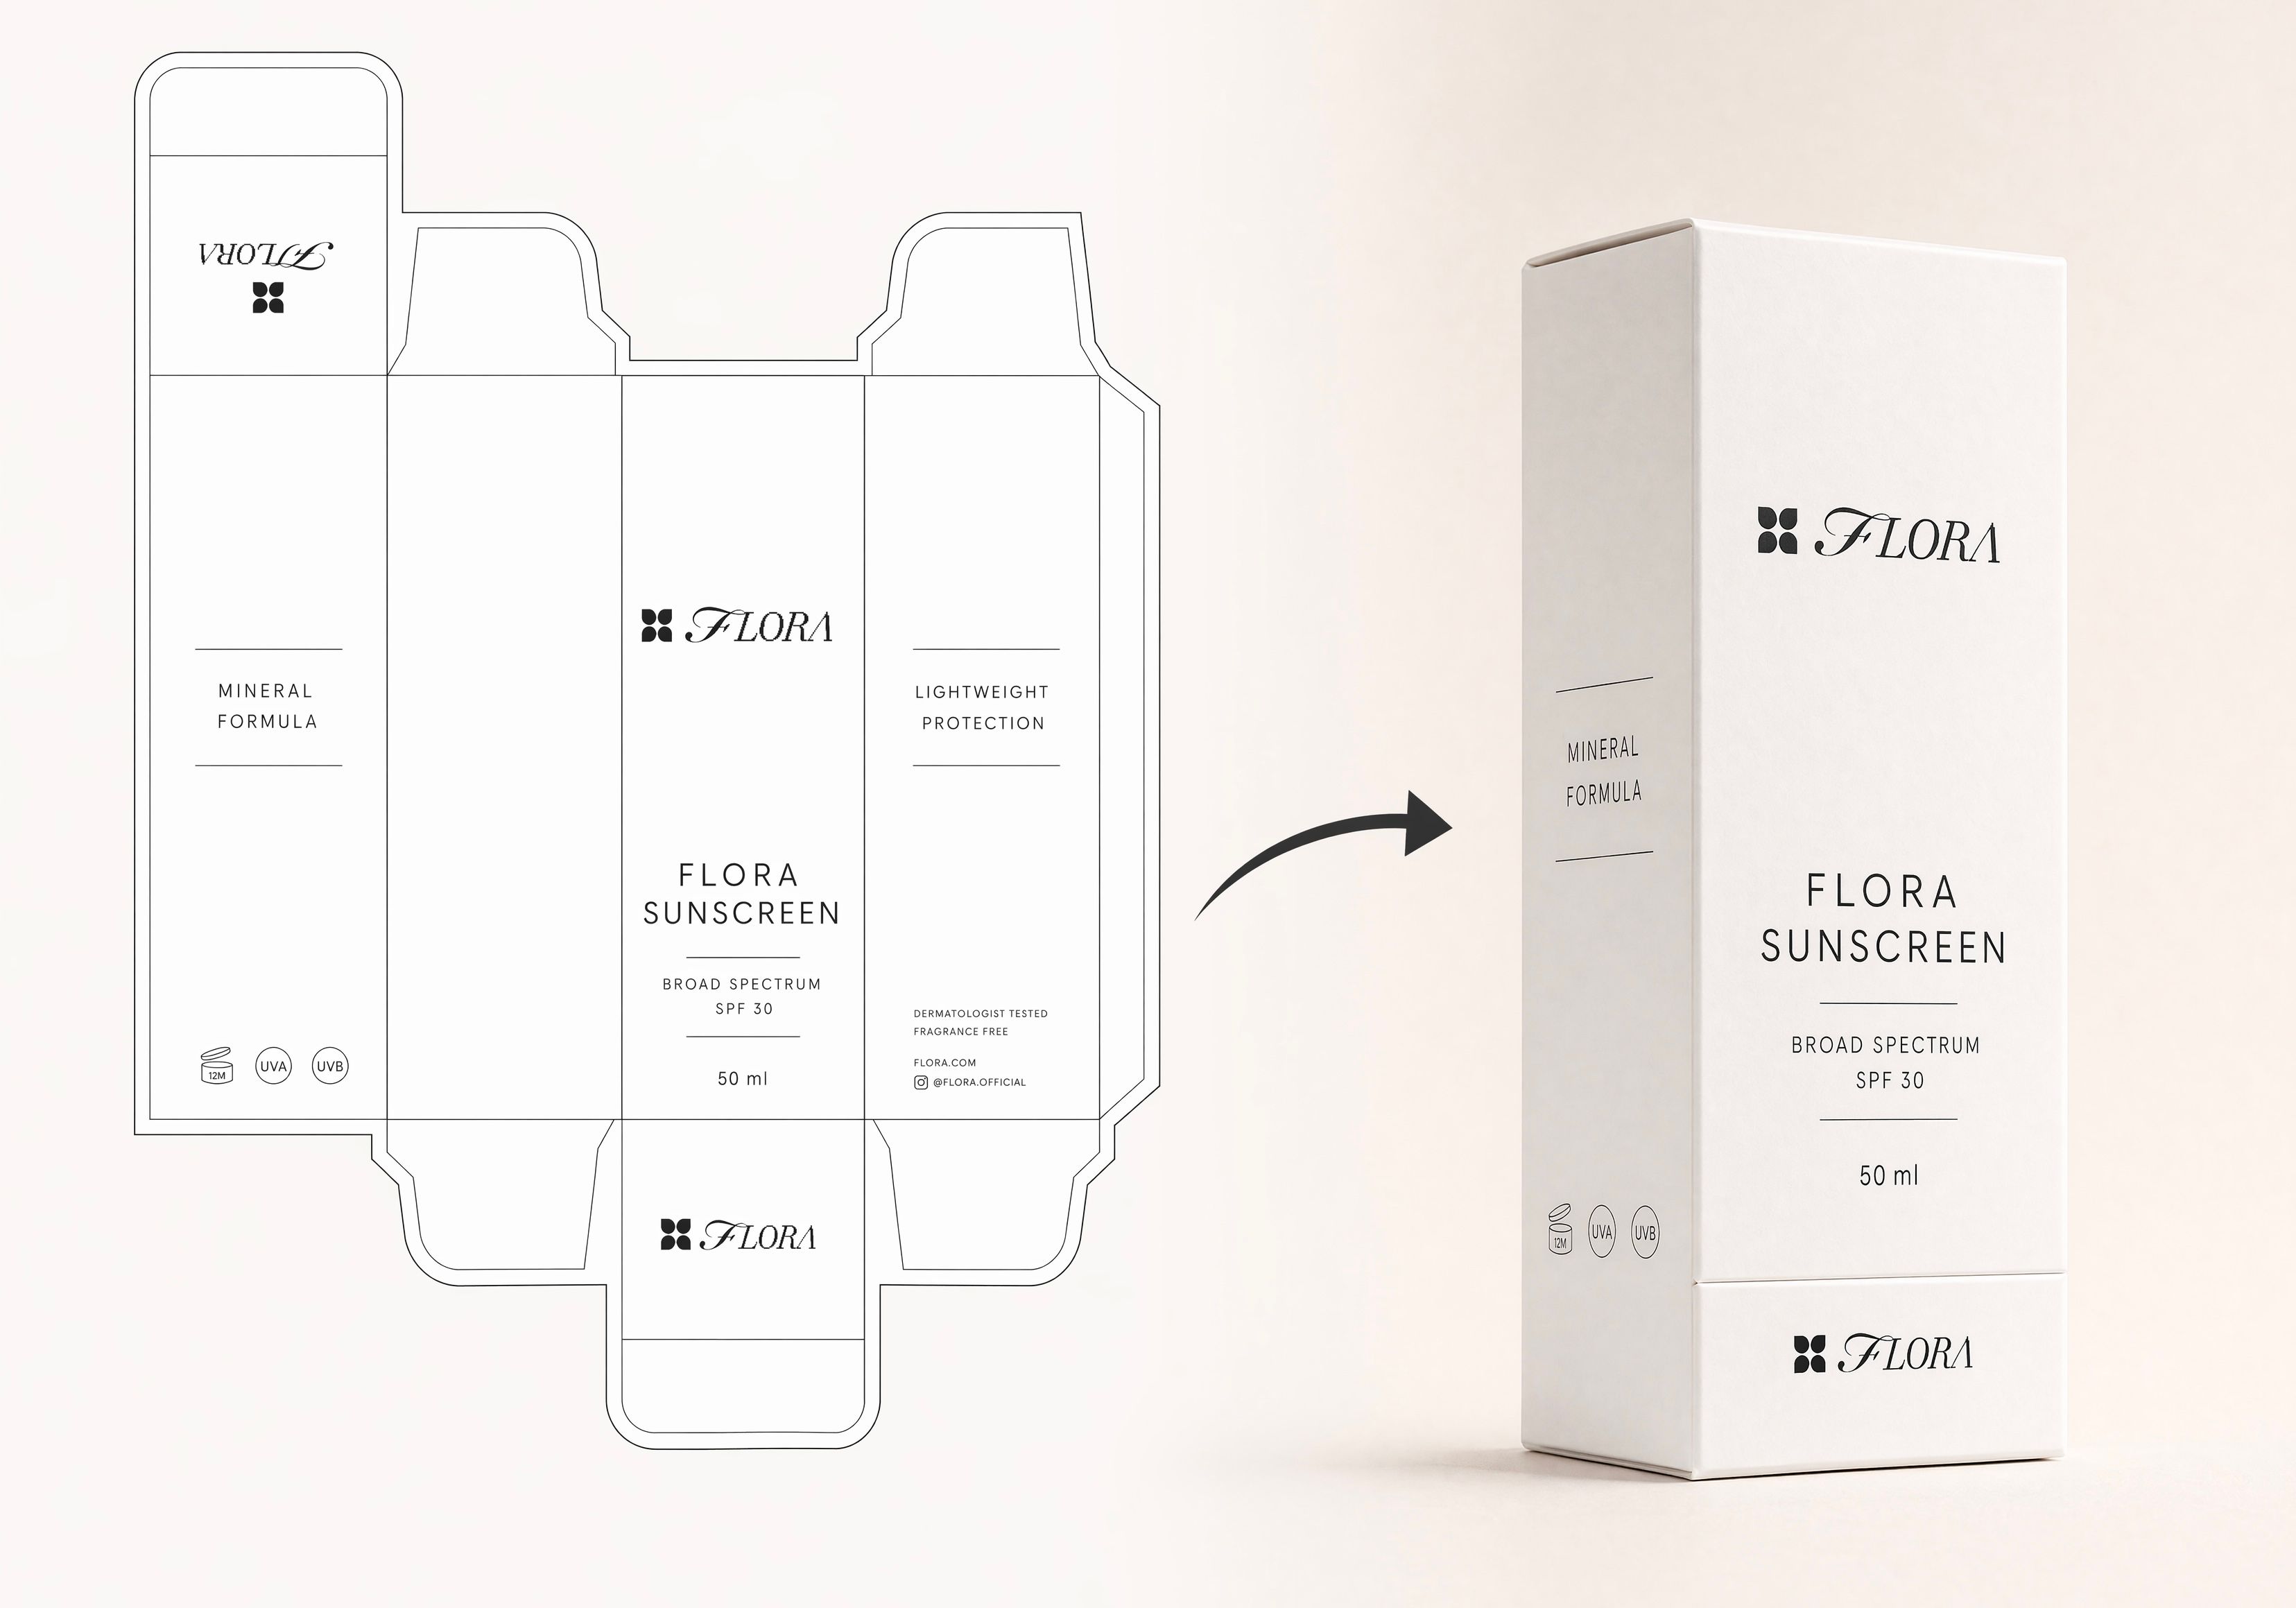 Dieline to 3D PackageTurn any flat package dieline into a production-ready 3D package render.
 Rosé RamblerMake your own custom Cannes Character, presented by Red Antler x FLORA
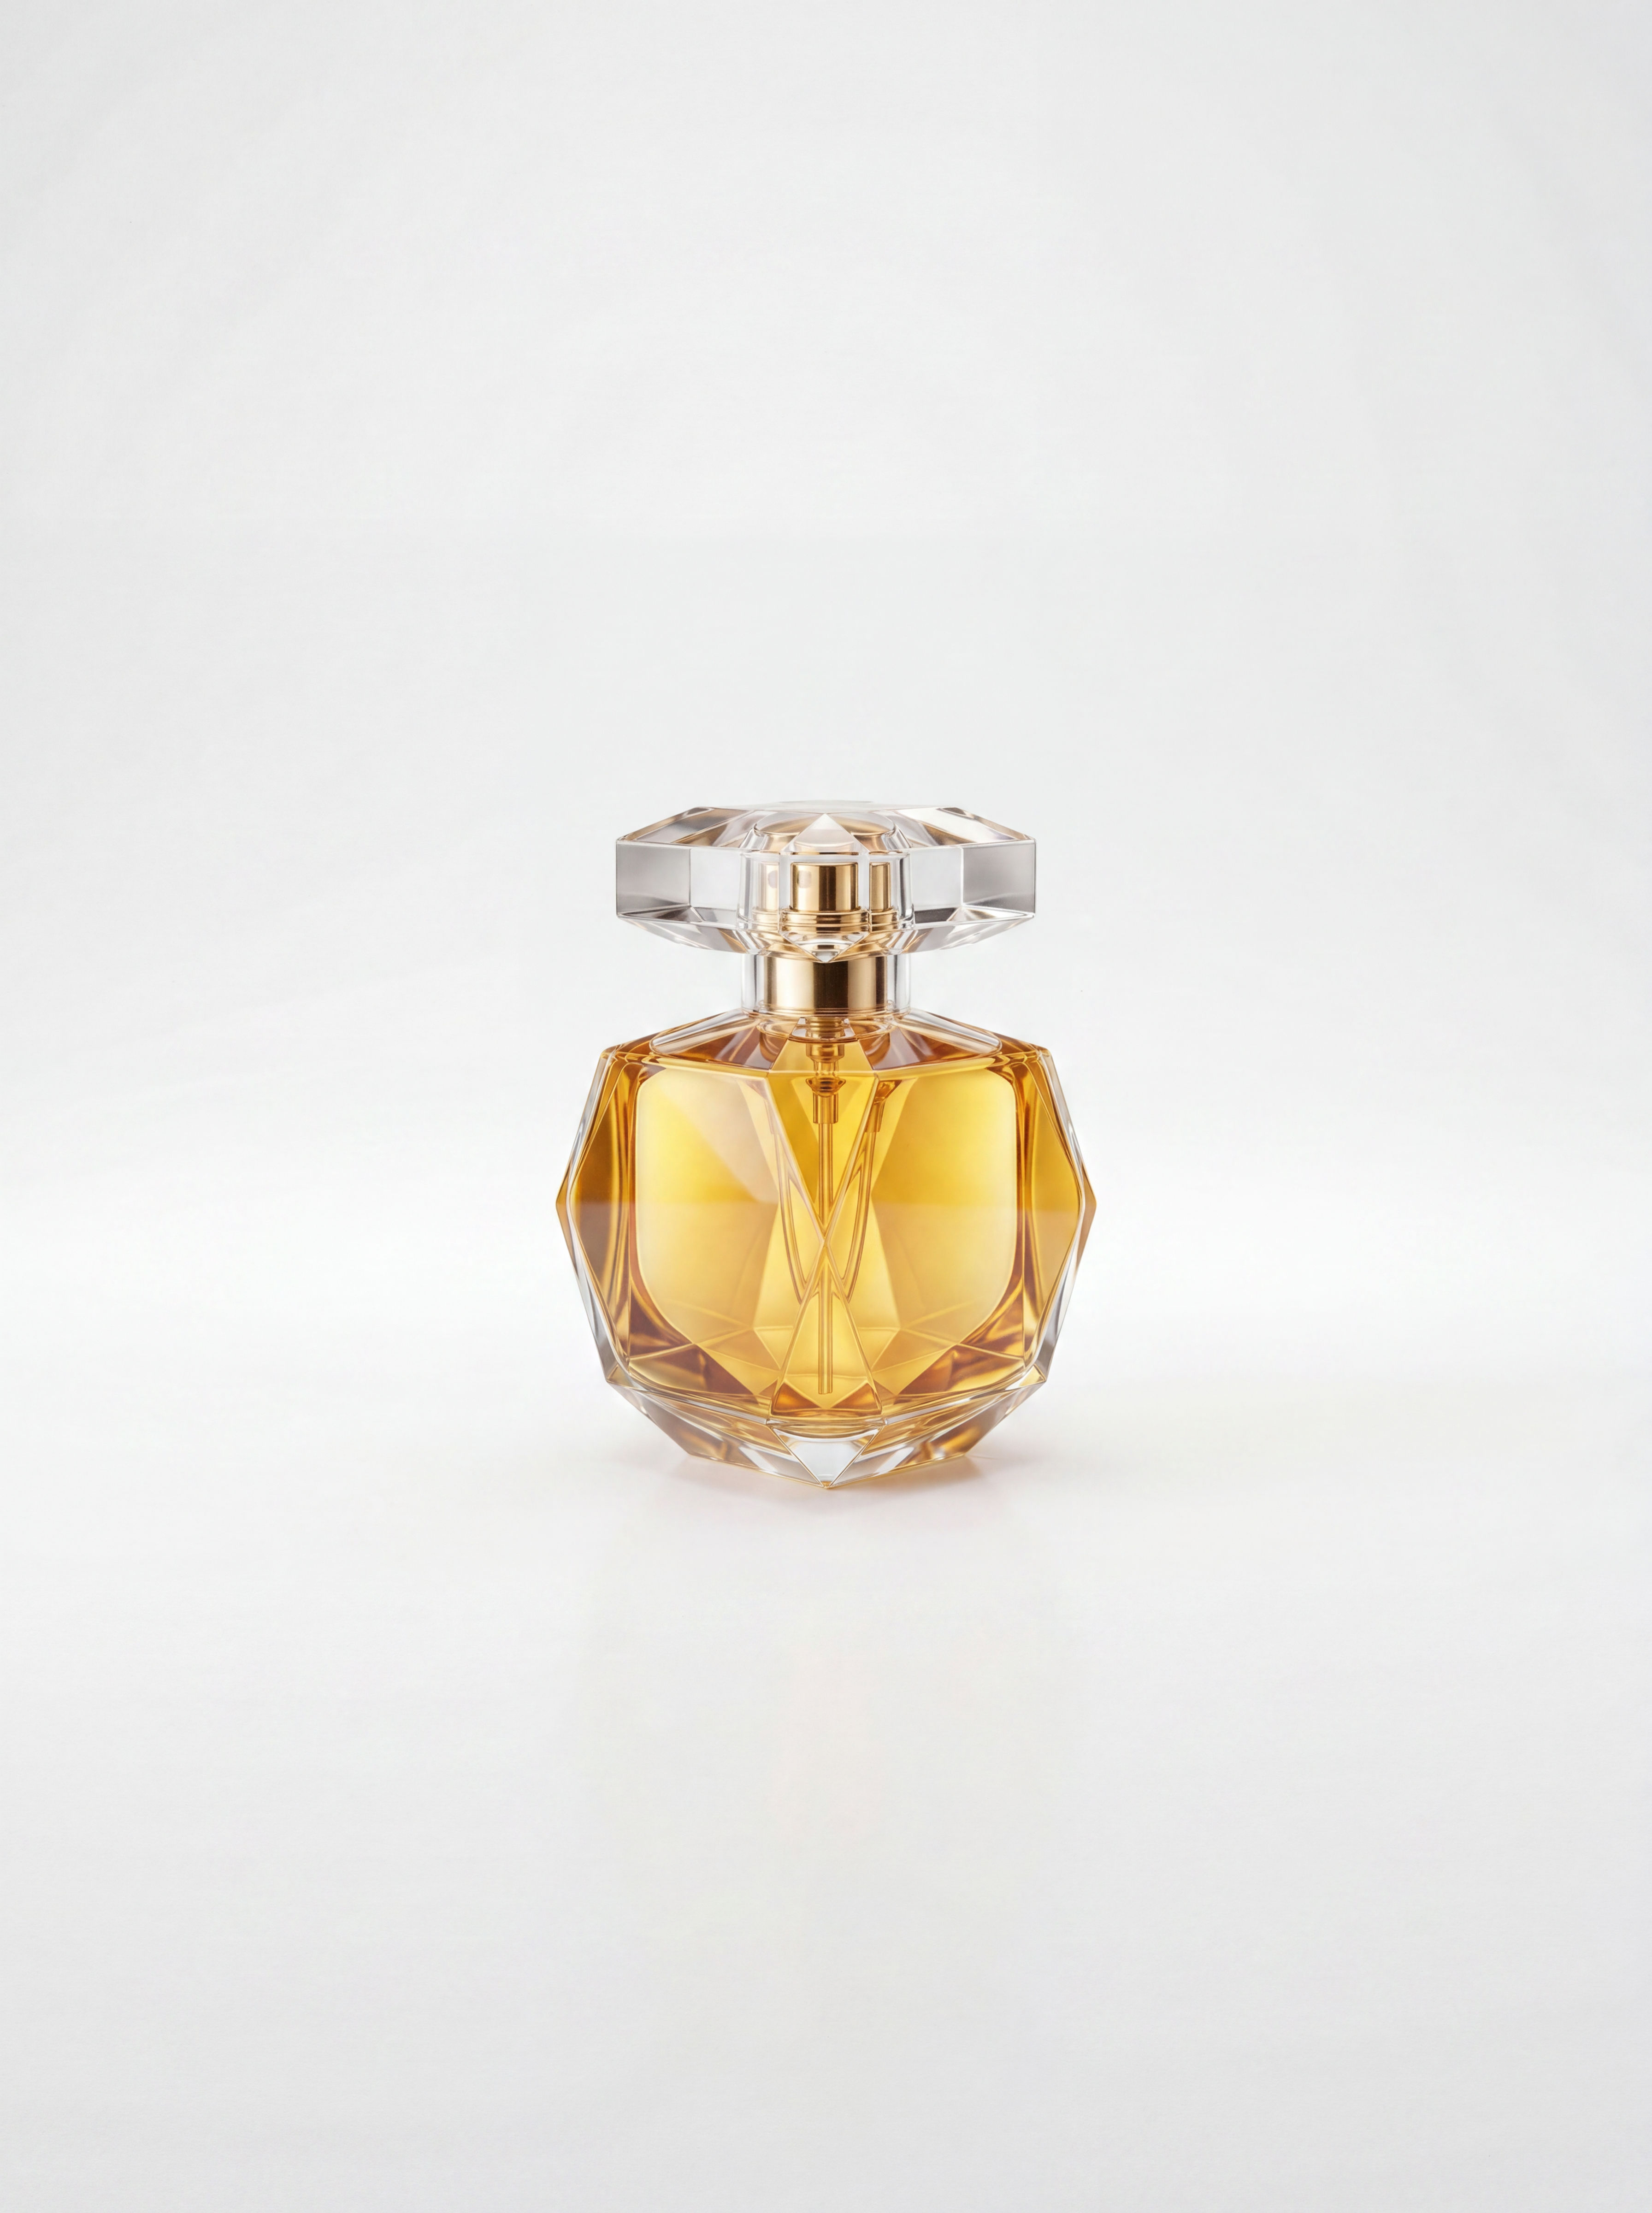 Sketch to Photorealistic Product RendererUpload any product sketch and a style reference.
Get 9 photorealistic renders — rare angles, texture
close-up, top, bottom and underside shots.
Any product. Label-free. Production-ready.
Sketch to Photorealistic Product RendererUpload any product sketch and a style reference.
Get 9 photorealistic renders — rare angles, texture
close-up, top, bottom and underside shots.
Any product. Label-free. Production-ready.Turn One Product Photo into a 3D Asset Set with the AI 3D Model Generator
turn one product photo into a clean "3D asset" set: a clay-and-wireframe viewport render, orthographic views, a 3/4 studio hero, and a 360° turntable clip. Useful for: product designers, marketplace sellers, and game/AR teams who need turntable-style multi-view renders of an object but have no CAD, no 3D scanner, and no Blender pipeline.

Louis Anderson