Detail
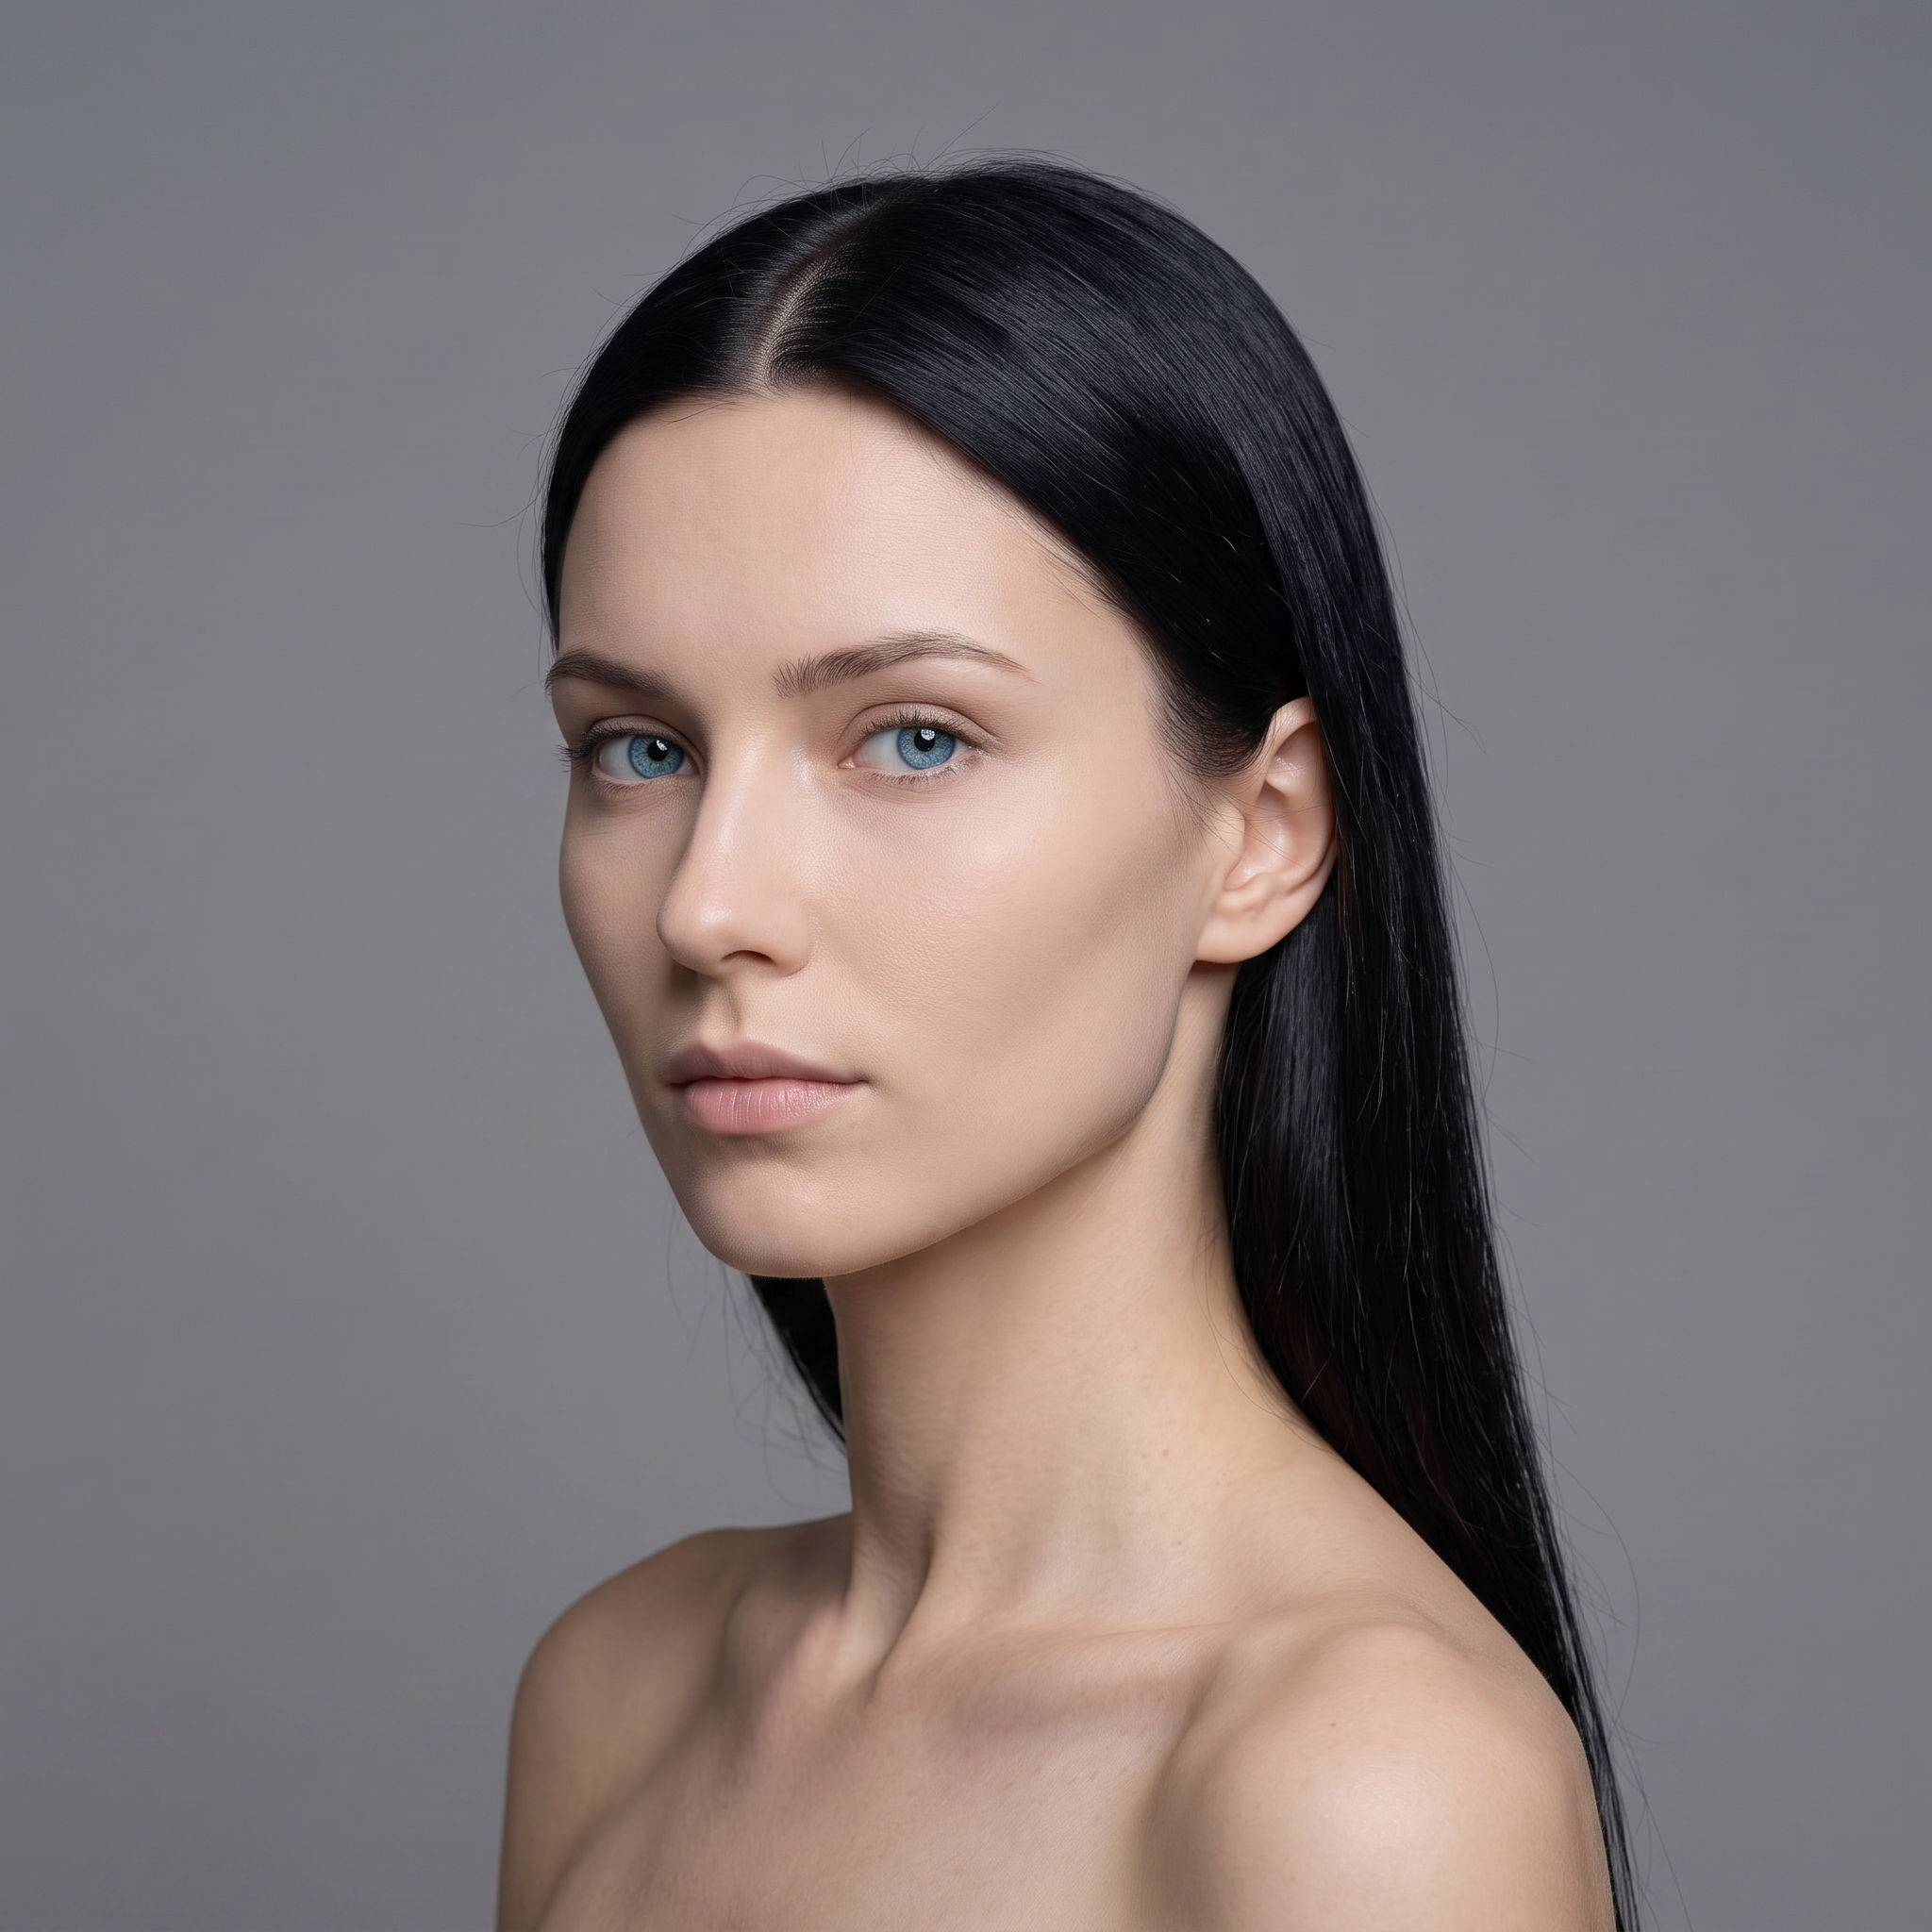
individual hair strands and eyelashes, natural skin pore texture, fabric weave and stitching, and crisp catchlights in the eyes
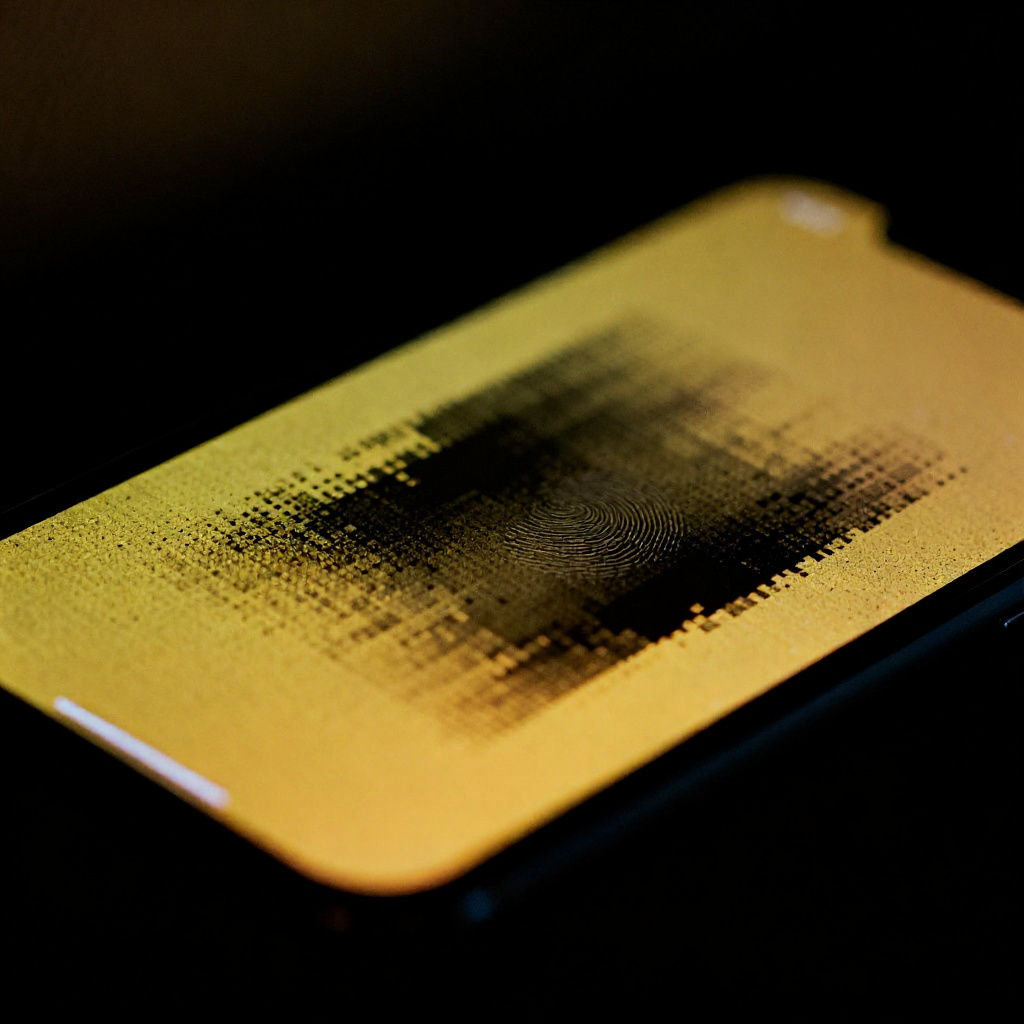
An image quality enhancer that turns one soft, low-res upload into a faithful restore, a graded version, and an upscaled copy.

Old Photo Restoration
Anyone with a faded print scan or an early phone snap can enhance photo detail and resolution and get a cleaner copy without re-shooting.

E-Commerce Product Shots
Online sellers run weak product images through this AI image enhancer to rebuild textures like fabric weave and stitching before the photos go on a listing.

Social and Campaign Visuals
Marketing teams use the Technique as an HD photo enhancer for stock frames and campaign photos that look soft once they are shown at full size.
How to use Techniques?
Discover how to utilize Enhance for different scenarios.
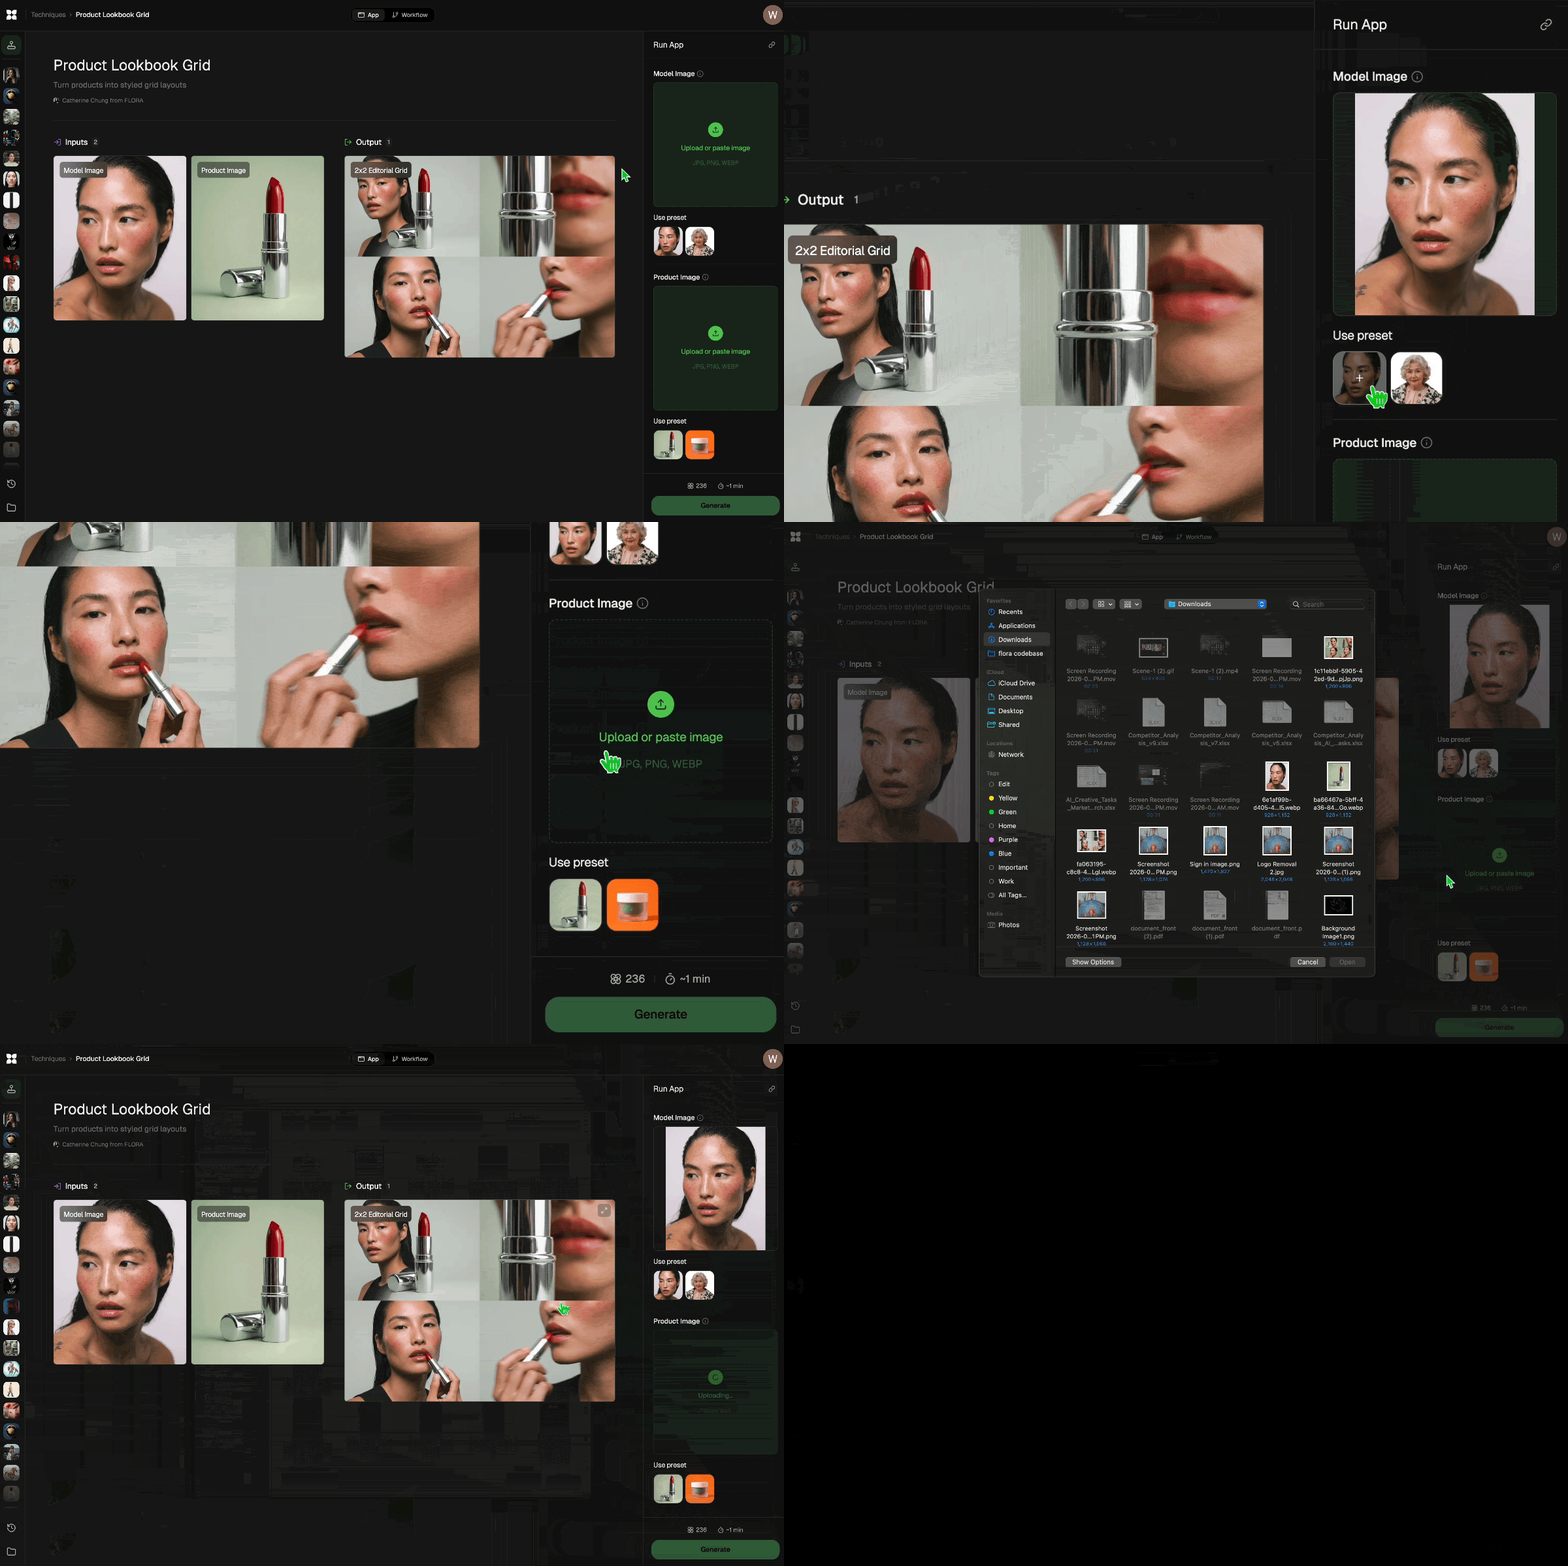
Add inputs
Upload images, videos, or type in the prompts to get started.
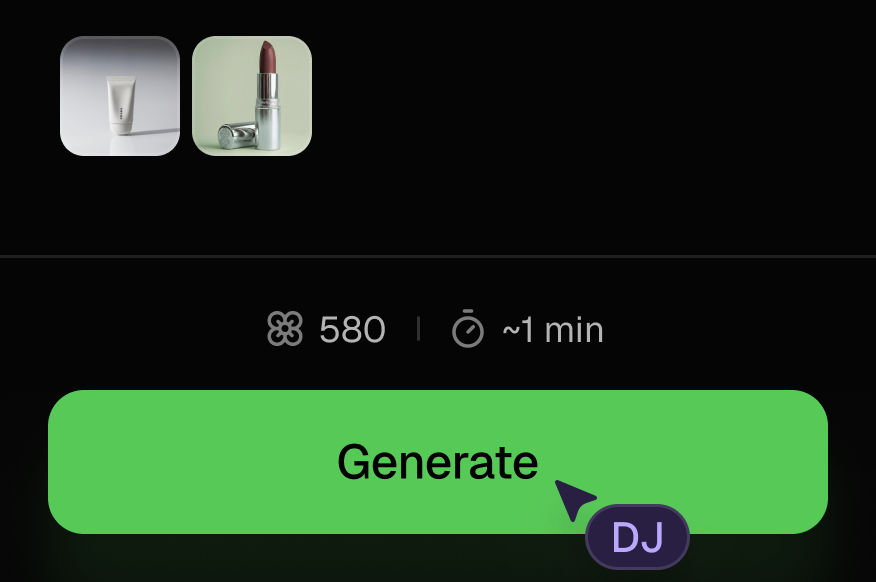
Generate outputs
Next, hit the "Generate" button to start generating your outputs.
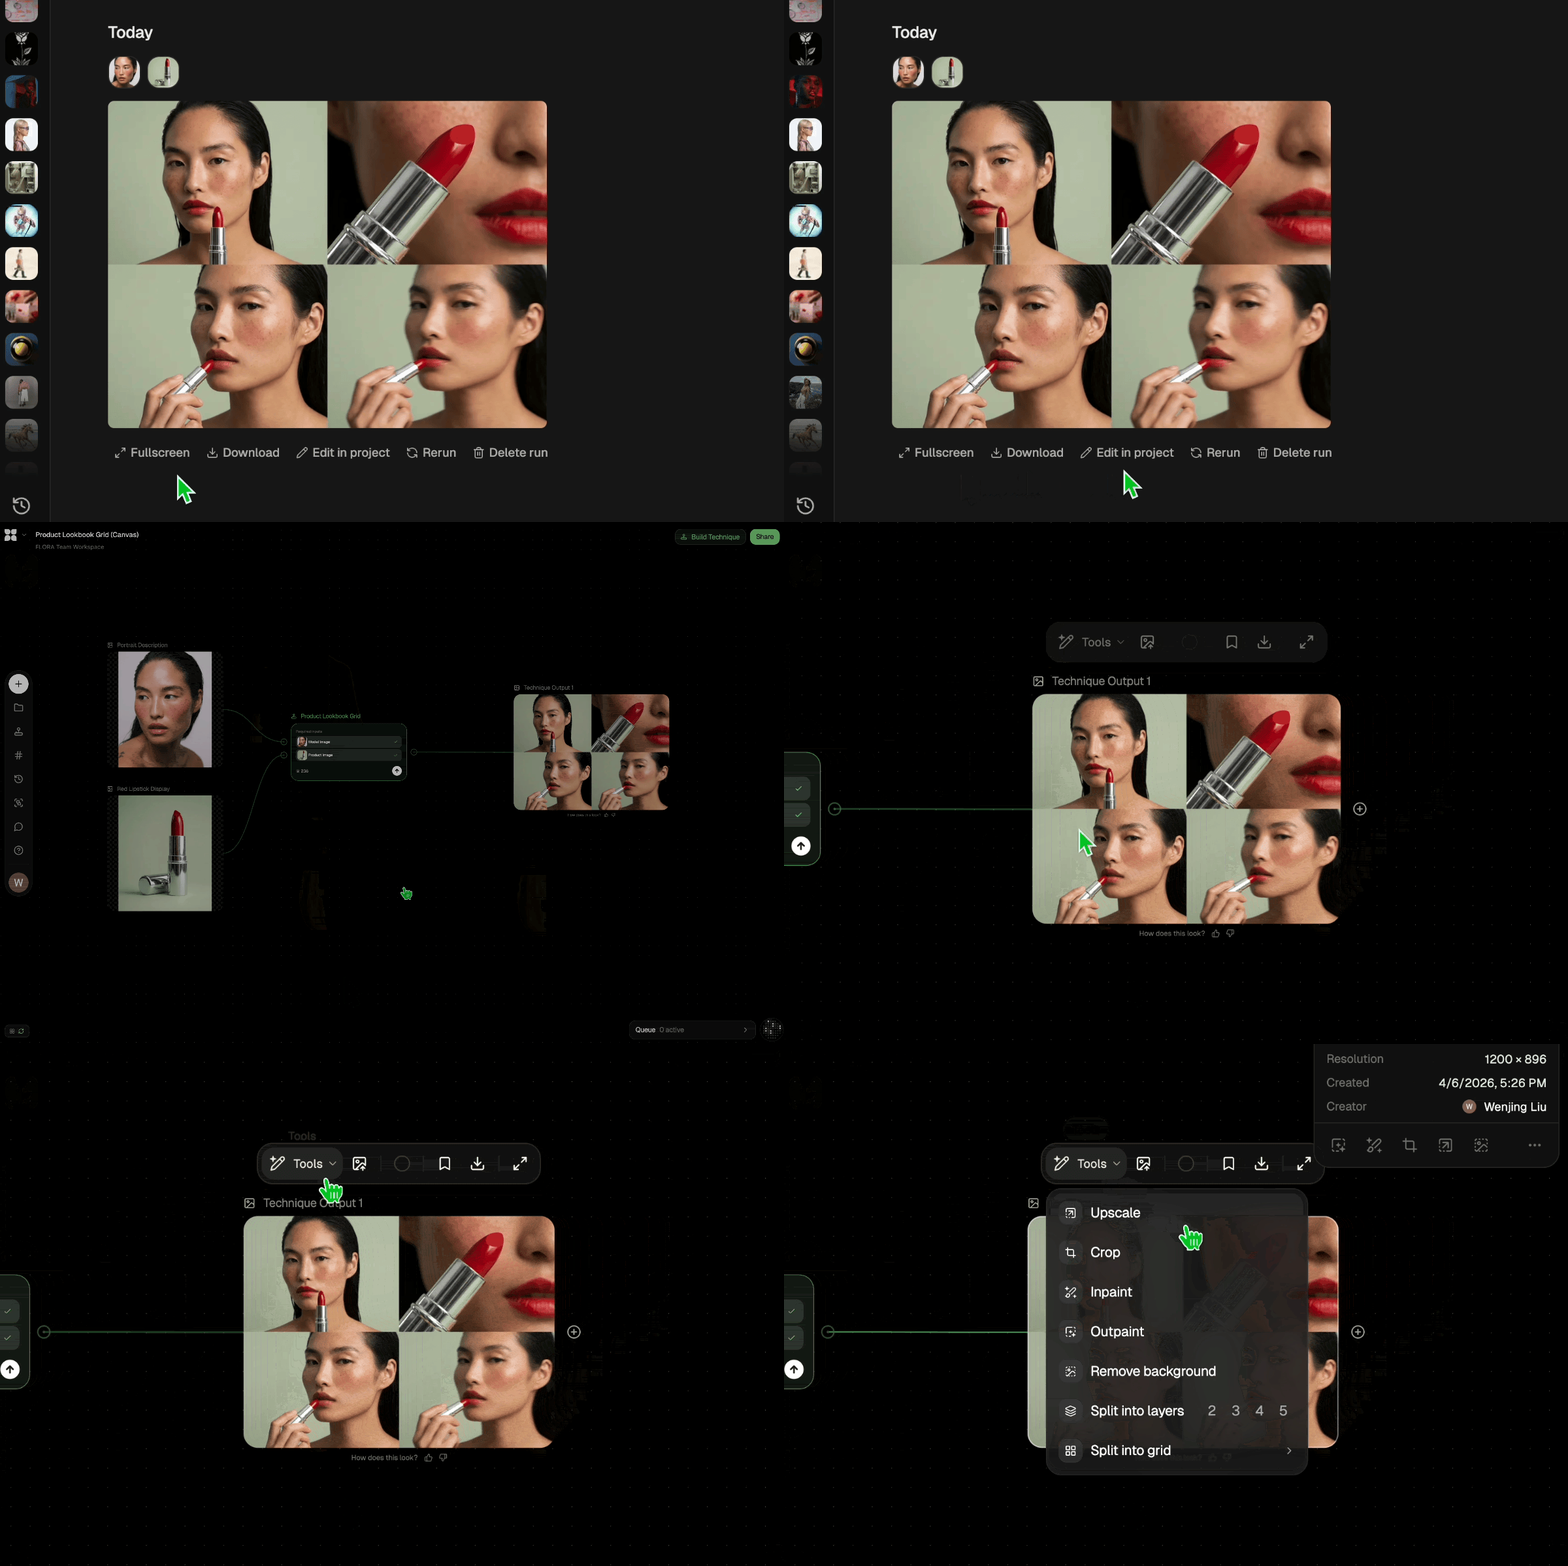
Edit and export
Refine your outputs on canvas, or download them directly.
Frequently asked questions
All you need to know about Enhance
What a photo enhancer does to your image
A photo enhancer takes a soft or low-resolution image and returns a cleaner version of the same picture, usually with sharper edges and more visible texture, and often with more pixels as well. Older editing apps did this with sharpening and contrast filters, which can only rework the pixels already in the file. An AI photo enhancer uses a model trained on a very large number of photographs to predict what the missing detail probably looked like, then draws that detail back into the image.
On FLORA, the Enhance Technique runs the whole process in one pass and gives you three versions of your upload to compare. You can create a free FLORA account to try it on your own photos. New accounts start with free credits, so you can use it as a photo enhancer free of charge until those credits are used up.
Why sharpening filters and AI enhancement give different results
A sharpening filter looks for edges in the image and raises the contrast along them. If the photo is already close to sharp, a small amount of this can help. With a blurry or heavily compressed file, the filter has very little real edge information to find, so it ends up amplifying noise and JPEG blocks and adding bright halos around outlines. Turning the setting up usually makes the picture look harsher while the fine detail stays missing.
An AI image enhancer starts by working out what the photo shows. In a portrait, the model has learned that eyelashes are thin separate strands and that skin has pores and slight changes in tone from one area to the next. In a photo of a knitted sweater, it expects a repeating stitch pattern. It generates texture that matches those expectations at a finer scale than the source file contains, which is why an eye that was only a few blurry pixels wide can come back with a visible iris and lashes.
Because the model is predicting detail, it sometimes adds things the original never had. A shirt can come back with a slightly different weave, a portrait can pick up a stray hair, and a sign in the background can end up with letters that look real but don't spell anything. Before you publish an enhanced image, zoom in to full size and check any faces, text, or logos against the original.
The Detail input on this Technique feeds into that recognition step. You use it to describe the textures specific to your subject that the restore pass should rebuild. It is most useful when the subject is something a model might handle generically, for example the grain on a wooden table or the brushed finish on a watch case.
Resolution and quality are two separate problems
The word "enhance" gets used for two different fixes. A photo resolution enhancer increases the pixel dimensions of an image so it can be printed larger or shown on a big screen without looking blocky. A photo quality enhancer improves how the image looks at its current size, mainly by cleaning up edges, reducing noise, and correcting color. A photo can need one fix without the other. A high-resolution scan of a faded print has plenty of pixels but still looks washed out, and a small thumbnail exported straight from a camera may already look clean at its size.
The Technique returns separate outputs so you can pick the one that matches the problem you have. If the image will be used at about its current size, such as a profile picture or a product photo on a listing page, compare the Restore output with your original first. If the colors in the source were flat or off, look at Elevate after that. If the image has to be shown larger, for a print, a slide, or a hero banner, check the Upscaled Result.
People who search for a way to enhance photo 4K output usually need both fixes together. The image needs enough pixels to fill a 4K display, and it also needs enough believable detail that it still looks good when someone views it up close. Upscaling by itself only adds pixels, so a blurry photo that is only enlarged will look just as blurry at the bigger size. If your image is already clean and only needs to be larger, the Image Upscaler handles that job directly.
The different ways people search for this
People describe this job with many different phrases, and the wording often suggests which problem they are trying to solve.
- "HD photo enhancer" usually comes from someone with a small image that needs to look sharp on a larger screen.
- "Image quality enhancer" tends to be about blur, noise, or compression artifacts more than size.
- "Enhance photo" and "AI photo enhance" are general requests that range from old family pictures to underexposed phone shots.
- "Photo enhance" and "image enhancer" are the broadest searches and turn up for product photos and portraits as often as for stock images.
Getting a better result from the same photo
If you still have the original file, use it instead of a copy. Screenshots, images saved from social media, and photos sent through messaging apps have usually been recompressed at least once along the way, and each round of compression removes detail the model could have used.
It also helps to crop after enhancing rather than before. When you crop first, you remove the pixels around the subject that help the model understand the scene, and you hand it a smaller file to work from. Filters applied in other apps cause a similar problem. If a photo was already sharpened somewhere else, the halos from that step can be read as real edges and rebuilt as detail, so an unedited copy makes a better input.
For old prints, scan at the highest resolution your scanner supports, even when the print is small. Dust and scratches will still be visible afterward and can be dealt with as a separate step. In group photos where each face takes up only a small part of the frame, the faces closest to the camera will usually come back with the most detail.
What to do after the enhance pass
You can move any of the three outputs onto the FLORA canvas and keep working on it there. If something in the frame needs to go, such as a stray cable or someone walking past, the Object Remover can take it out. To place a restored product shot on a clean backdrop, run it through the Background Remover first. When the image needs a different aspect ratio for a story, banner, or listing, use Quick Reframe, and use Image Recolor if the colors need to change.
If you have been using a dedicated upscaling tool, the Magnific AI alternative page explains how FLORA compares. For an old photo that is too damaged to restore, you can use the AI image generator to create a new image on the same canvas as the rest of the project.
Related techniques
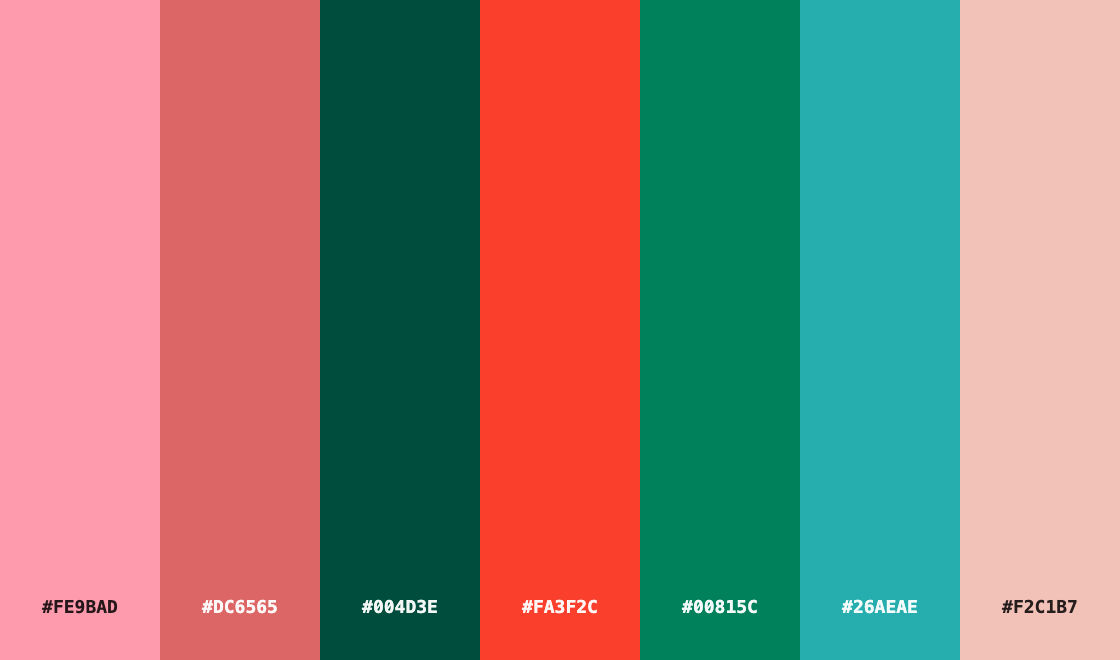 Color Palette ExtractionExtract color palettes from any image
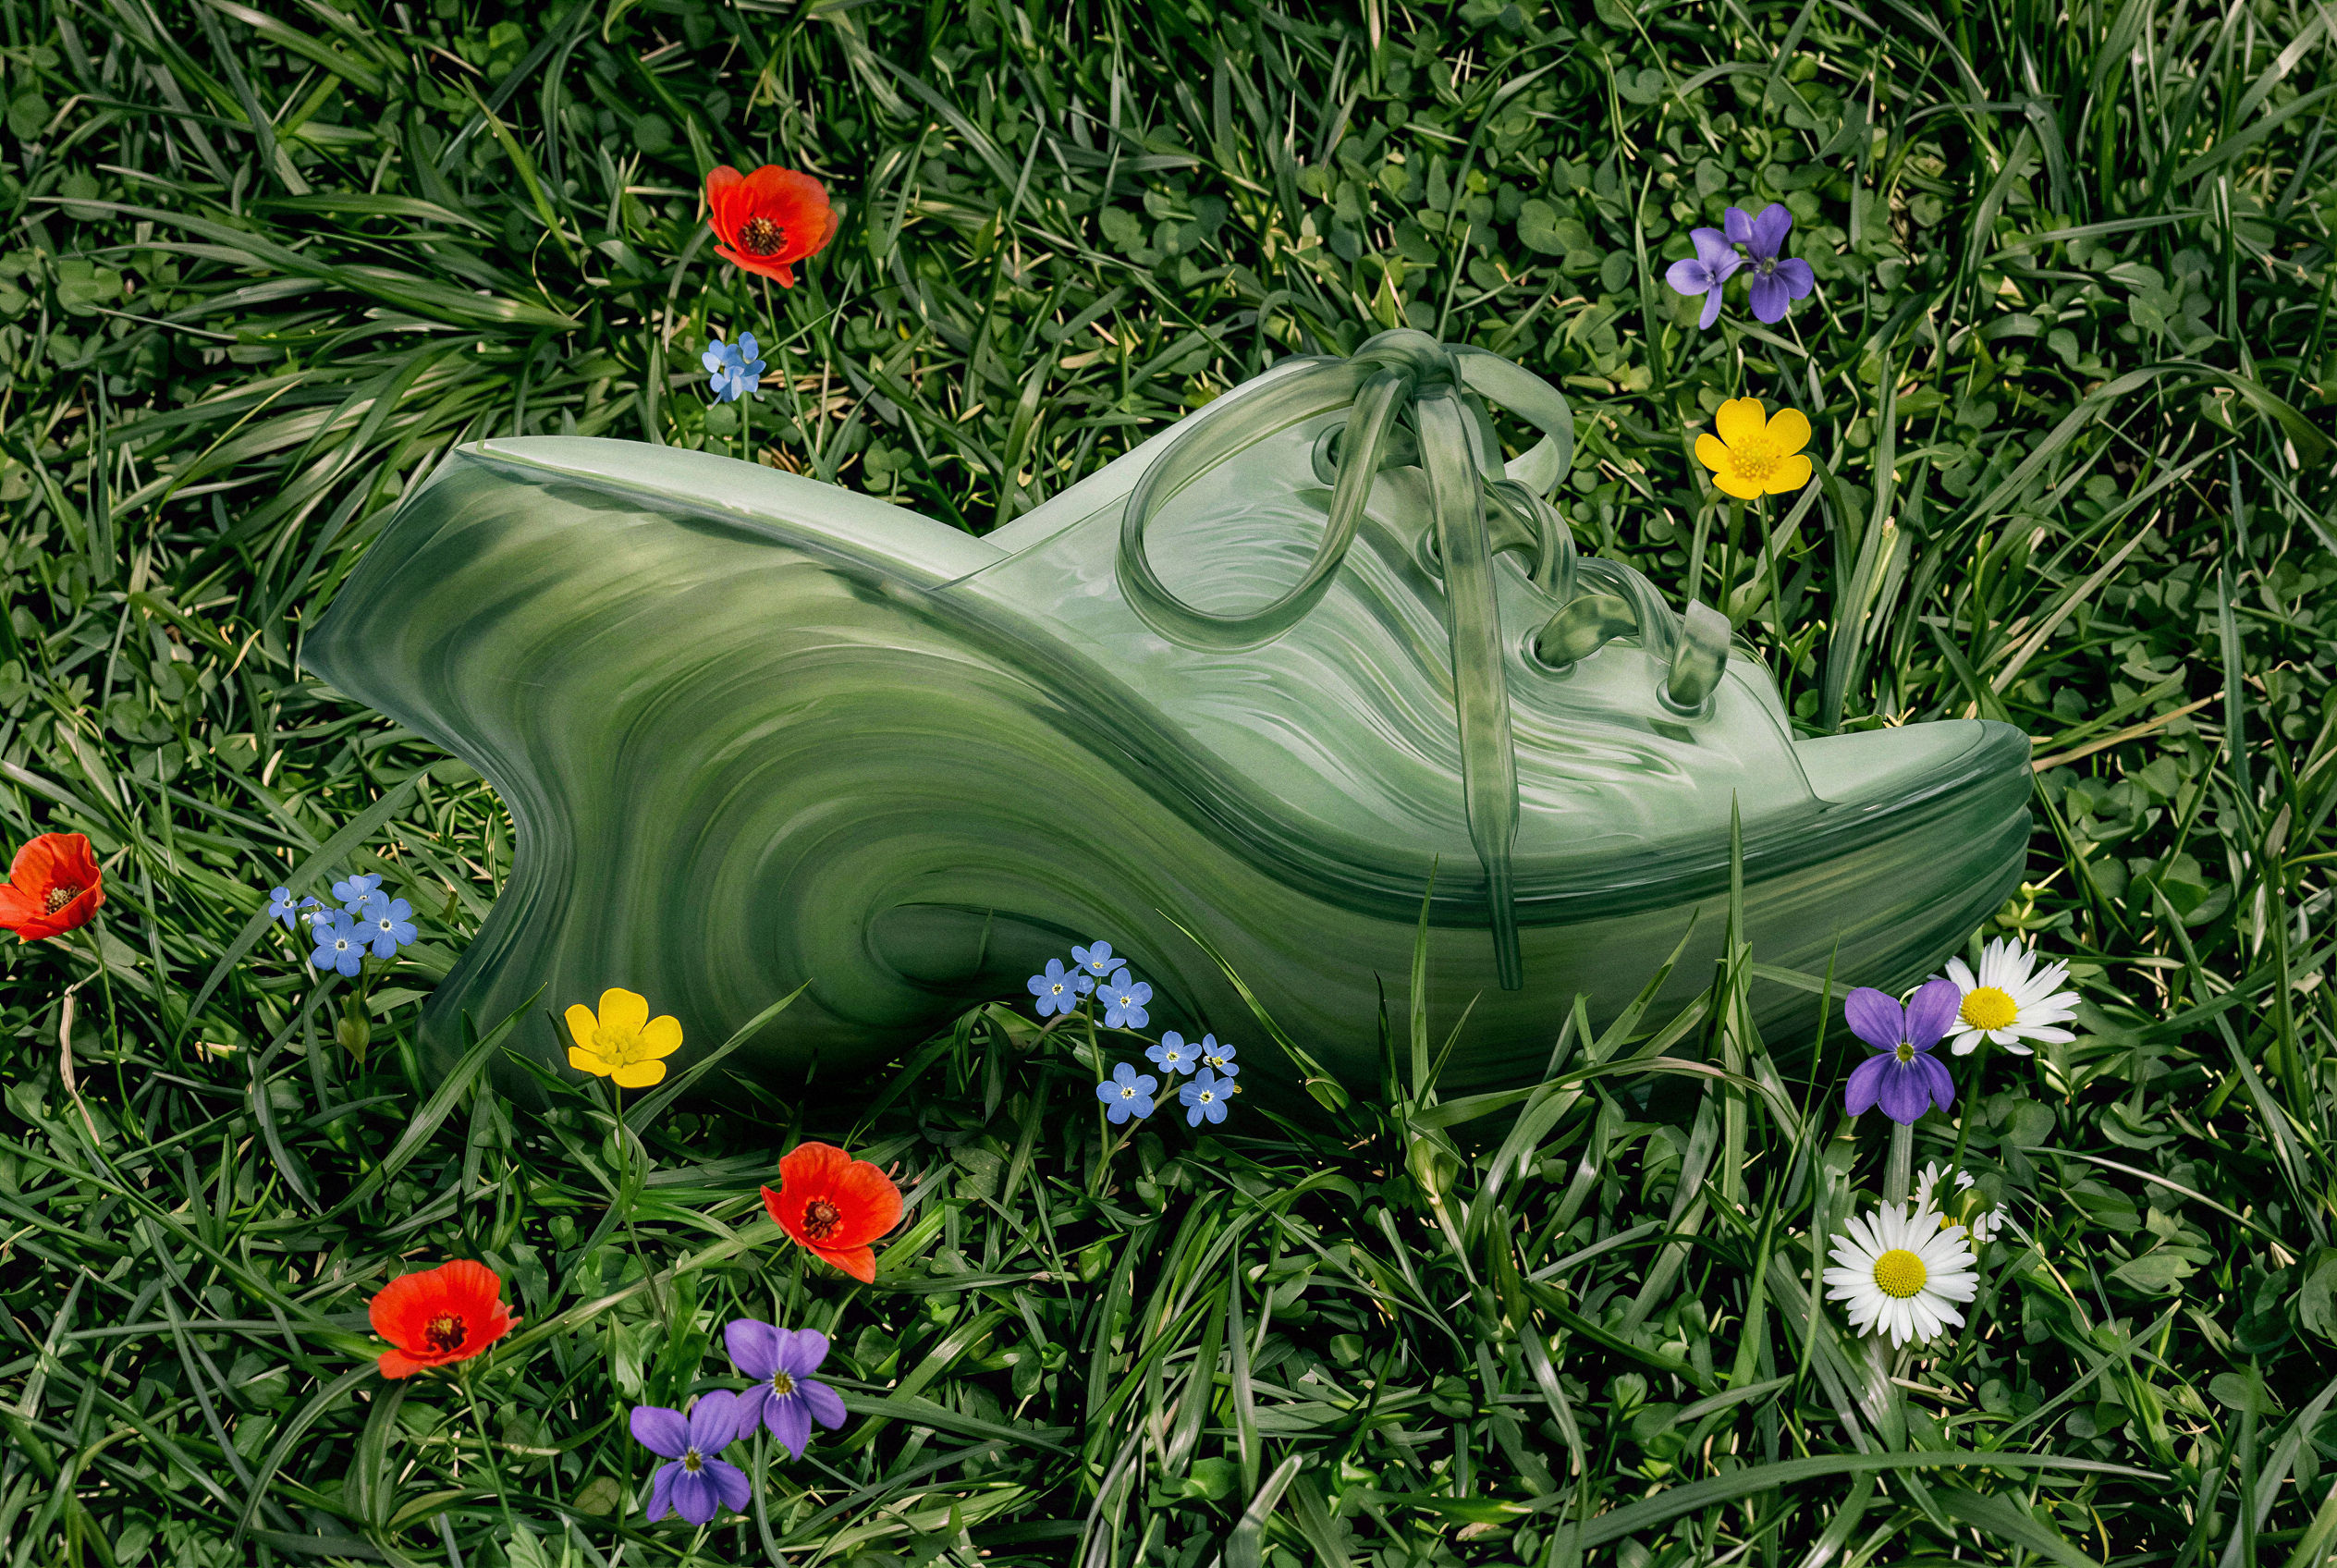 Image UpscalerUpscale any image to a higher resolution in one click.
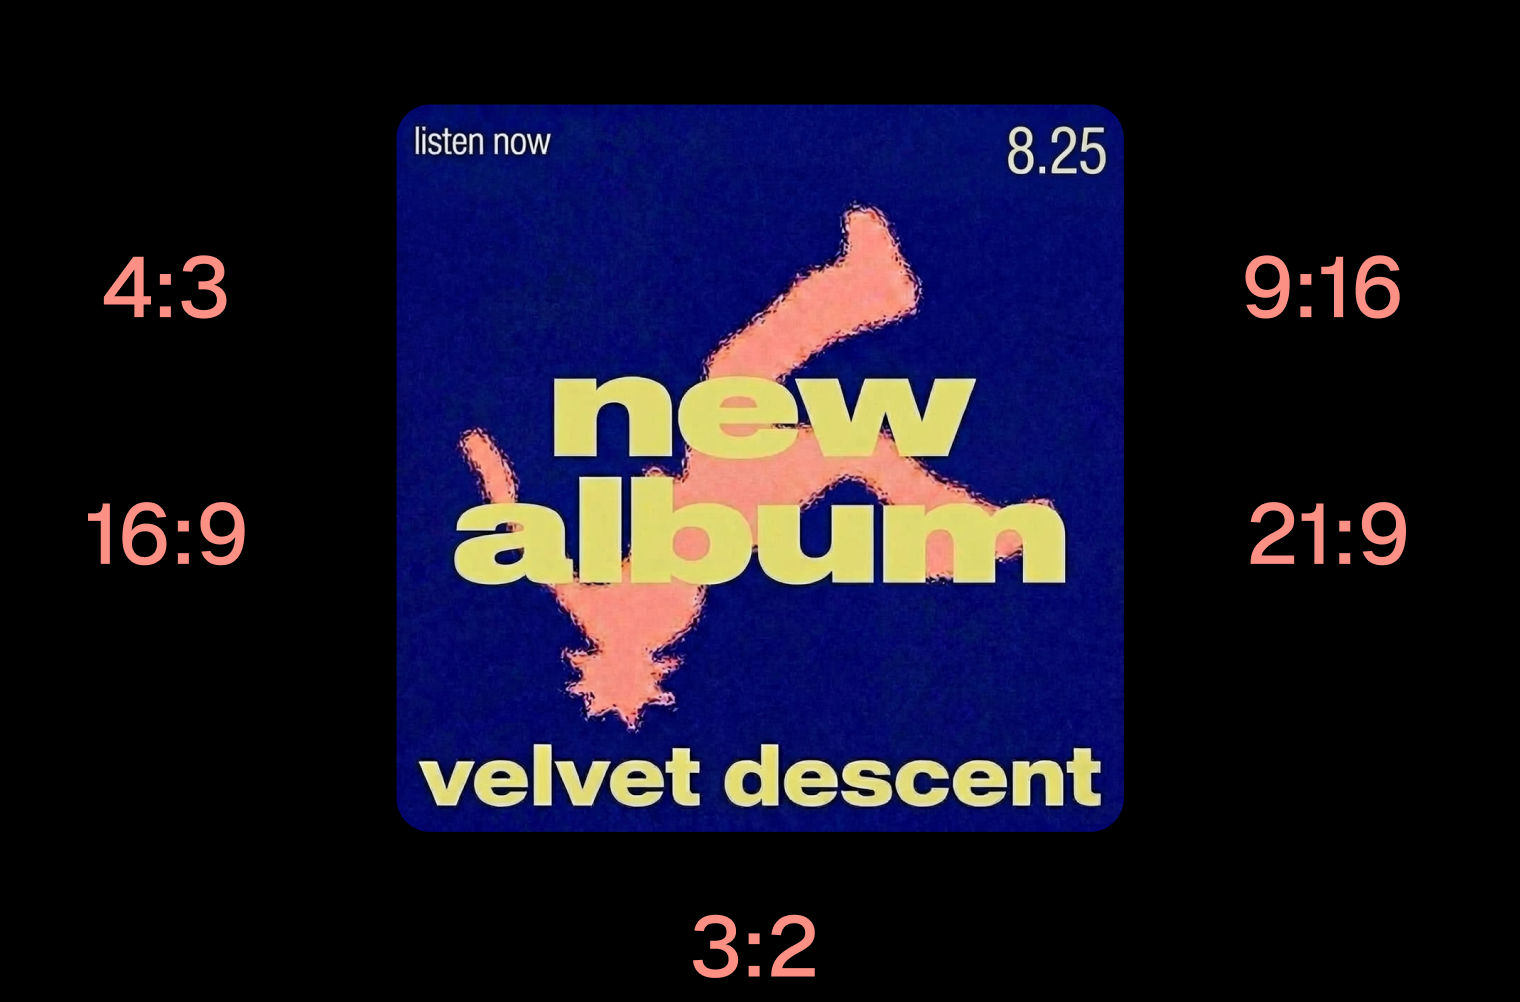 Layout ResizerResize layouts for any aspect ratio
 Prompt ExtractorReverse-engineers any image into a prompt
 3 Angle ShootFront shot in, 45, 90, and 180 angle back
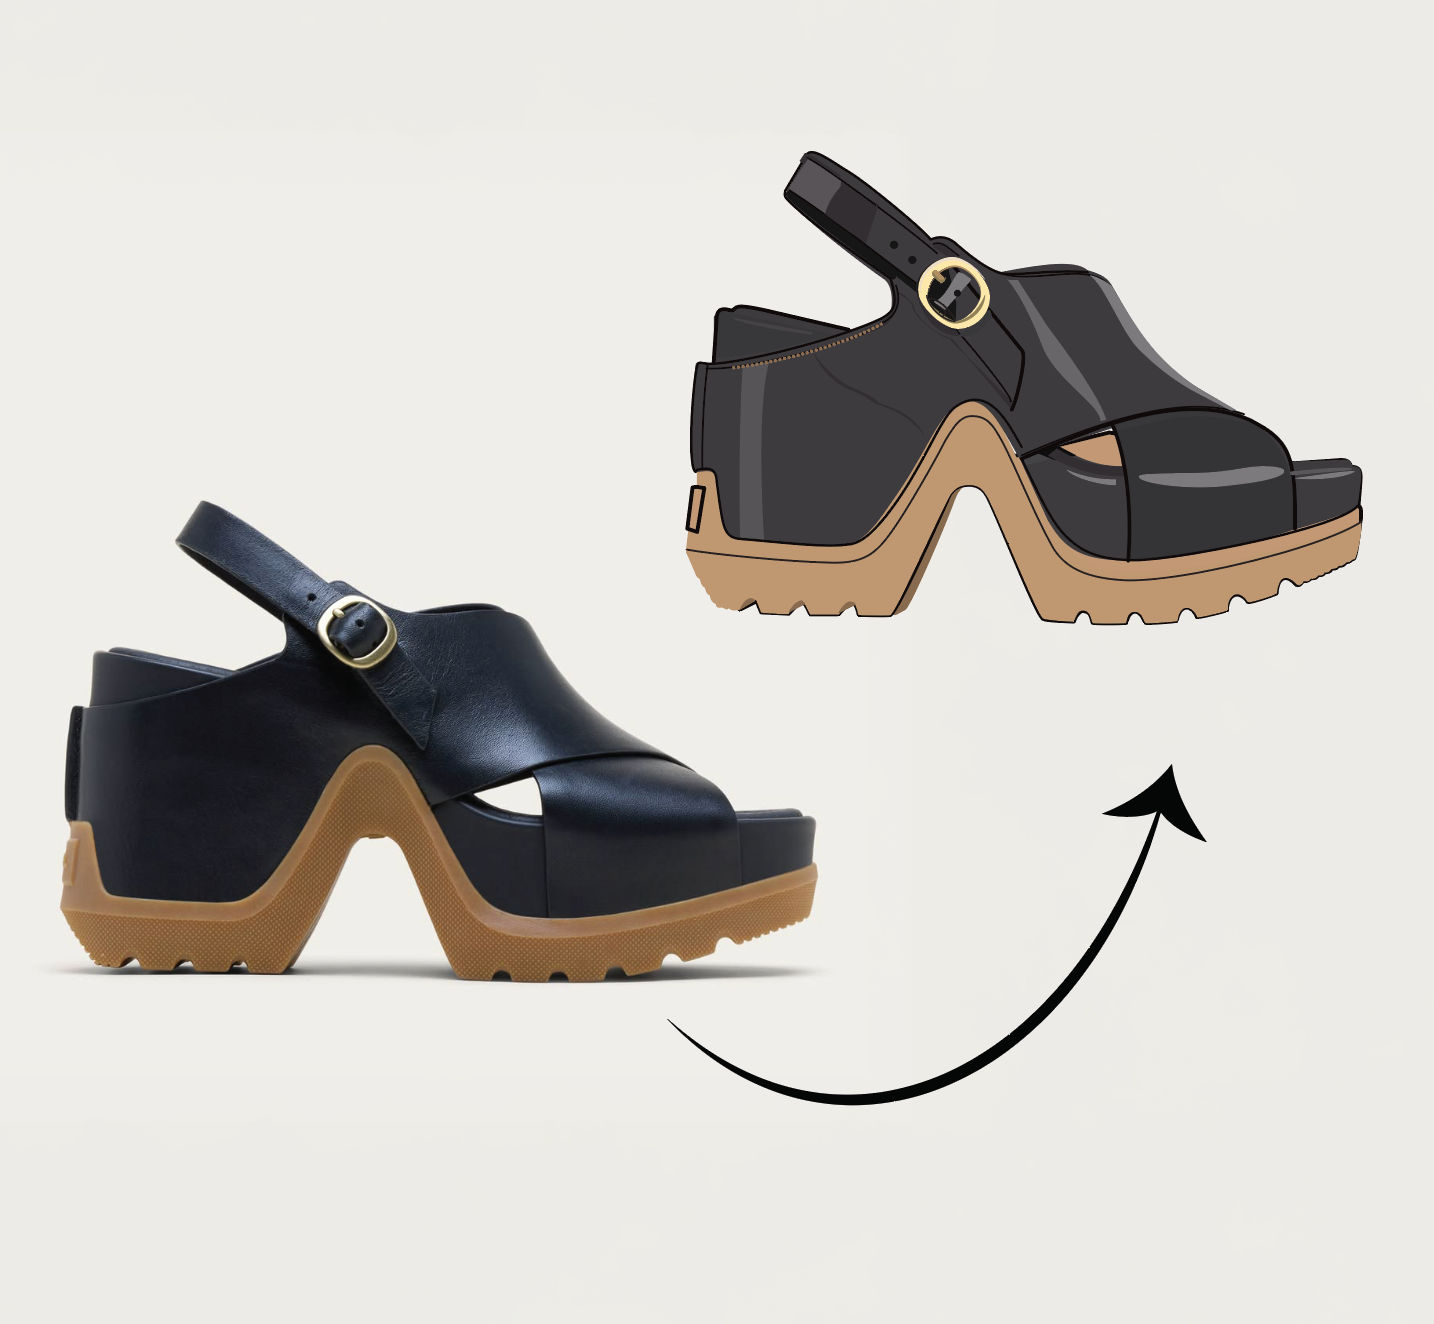 Anything to VectorTurn any image into a SVG vector illustration.
Use the Photo Enhancer to Sharpen, Upscale, and Color-Grade Any Photo
turn a soft, muddy, low-res photo into a crisp, gallery-grade image. Useful for: anyone with a phone snap, an old scan, or a weak stock frame who wants it sharpened, upscaled, color-graded and finished without re-shooting.

Louis Anderson from Flora