Product
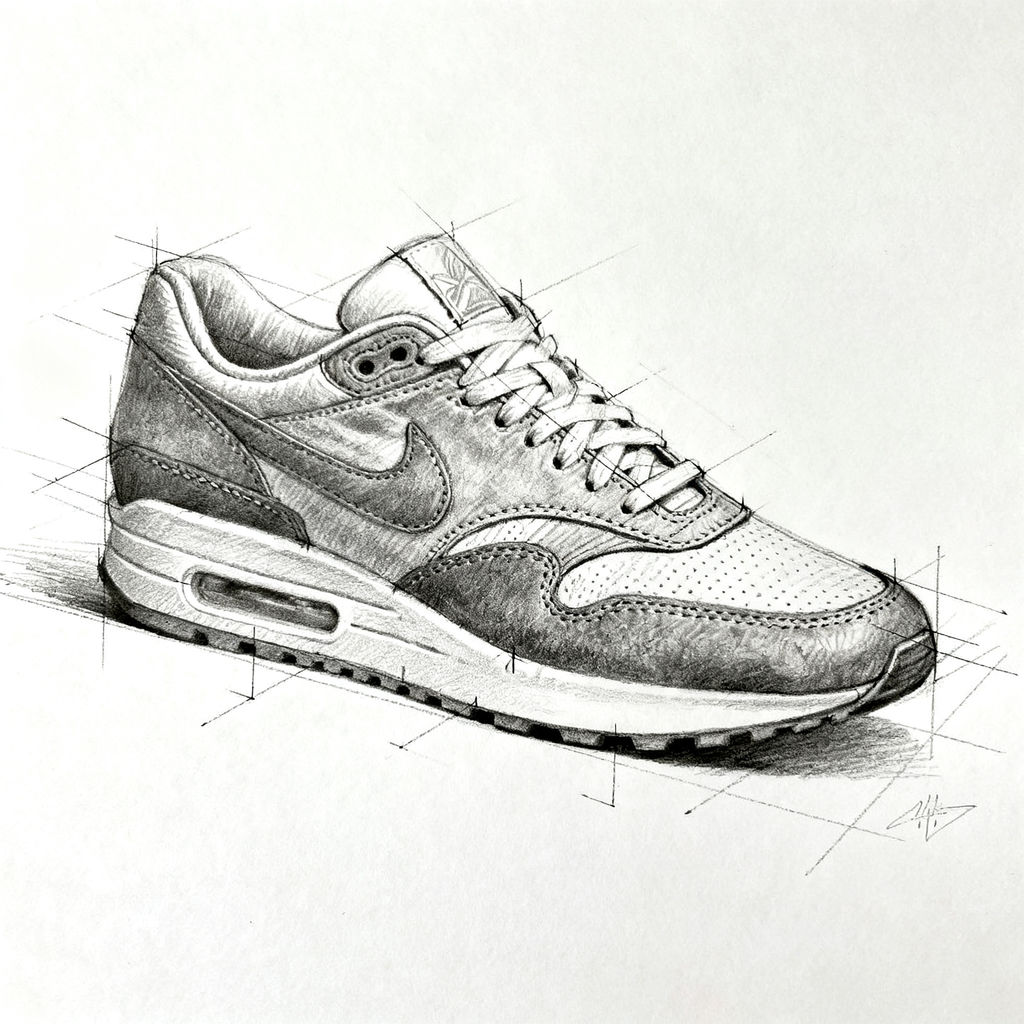
a low-top retro runner sneaker concept with soft tumbled nubuck overlays and perforated leather panels, a white foam midsole holding a translucent frosted air-cushion window at the heel, gum rubber waffle outsole, matte metal eyelets and flat waxed cotton laces
Colorway B
burnt-orange nubuck upper, translucent smoke-grey midsole, black outsole, gunmetal eyelets
Colorway A
deep forest-green nubuck upper, cream frosted midsole, gum outsole, brass eyelets
Title
FIELD RUNNER
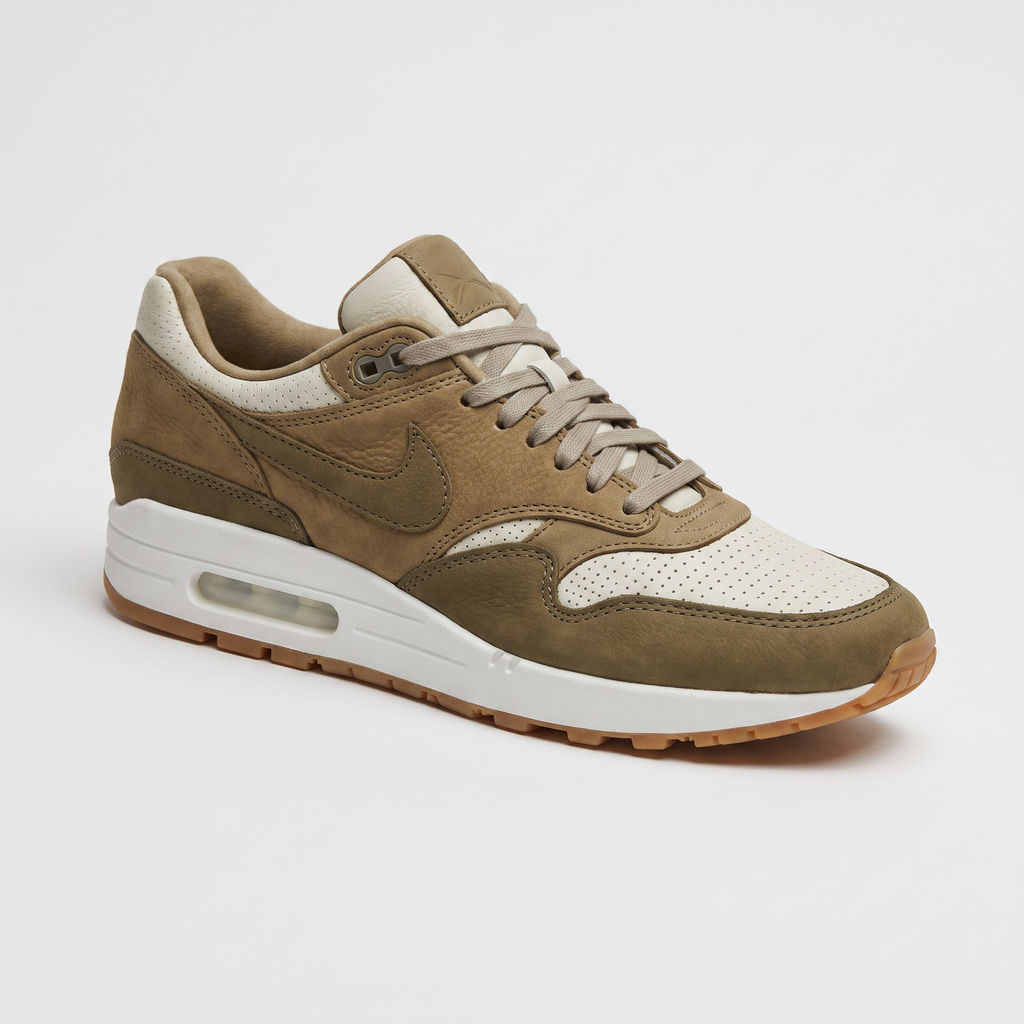
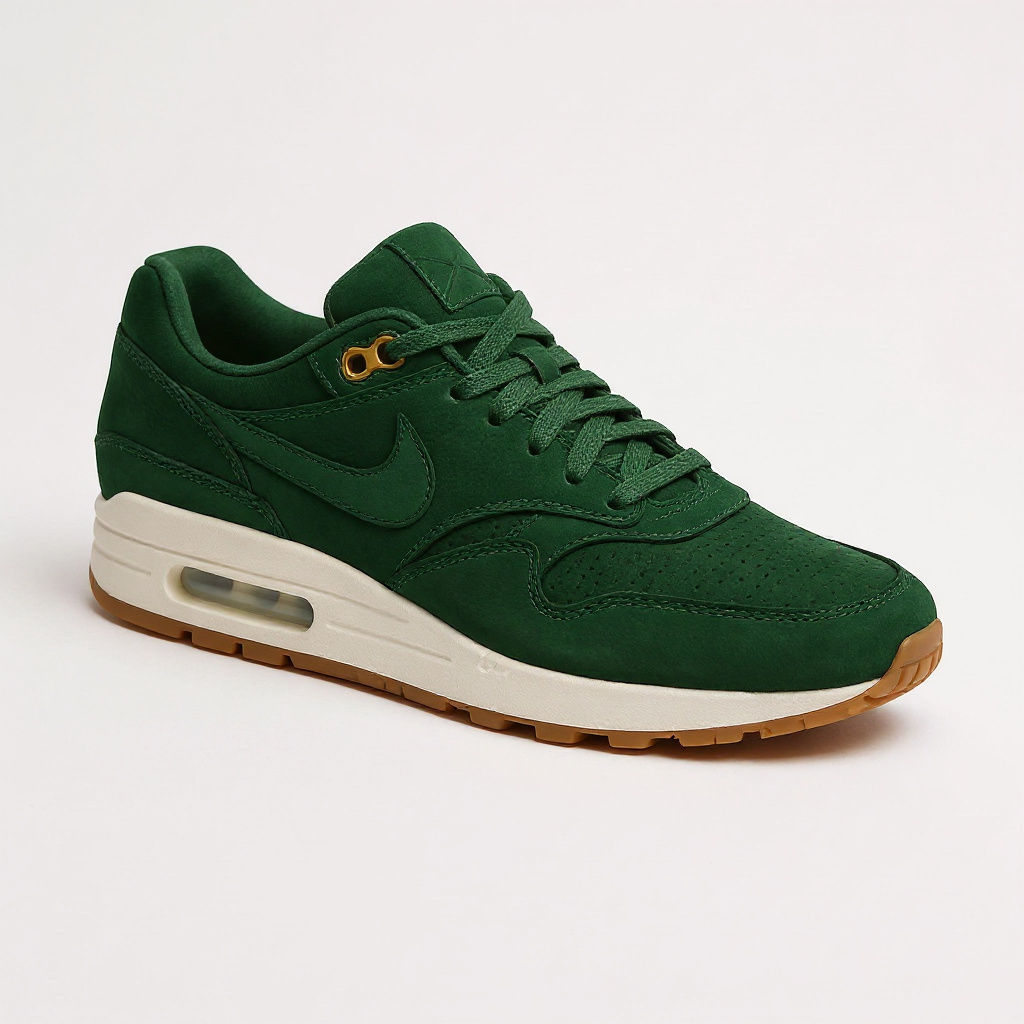
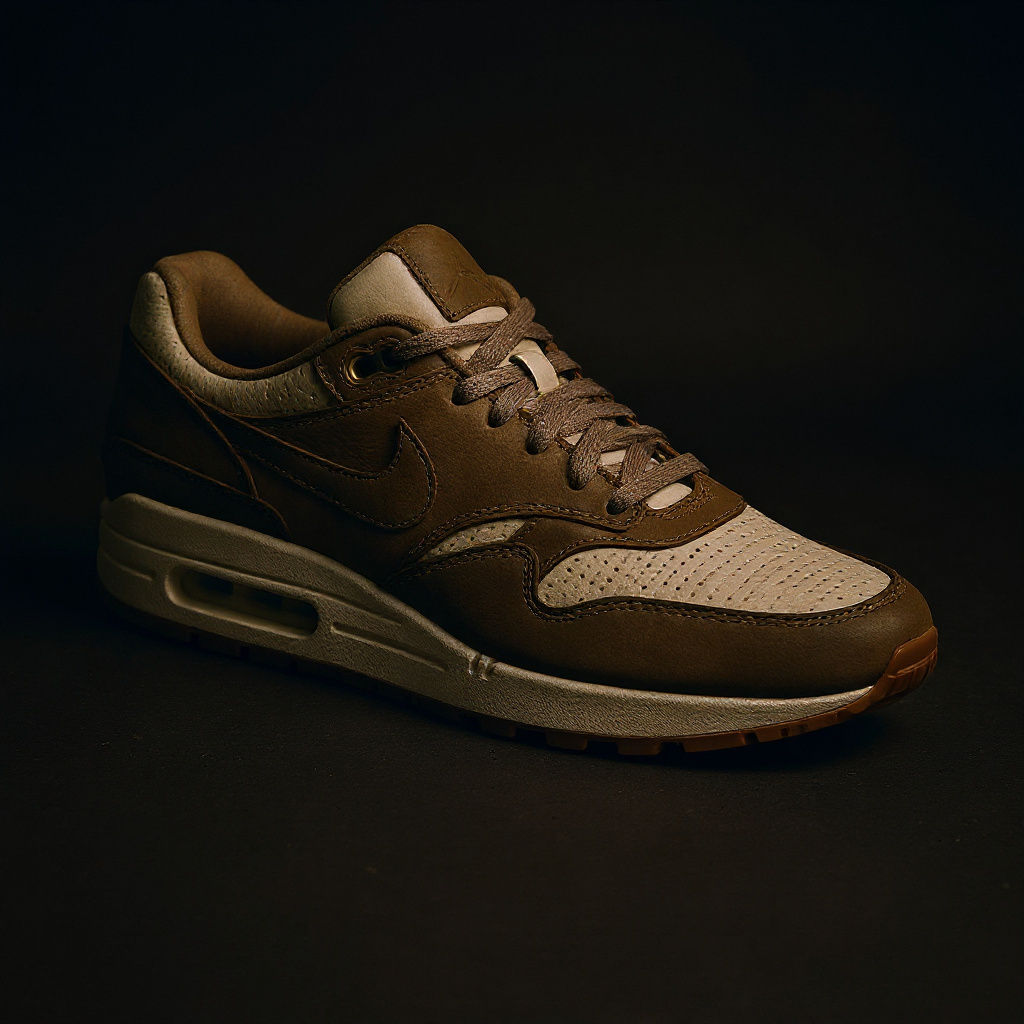
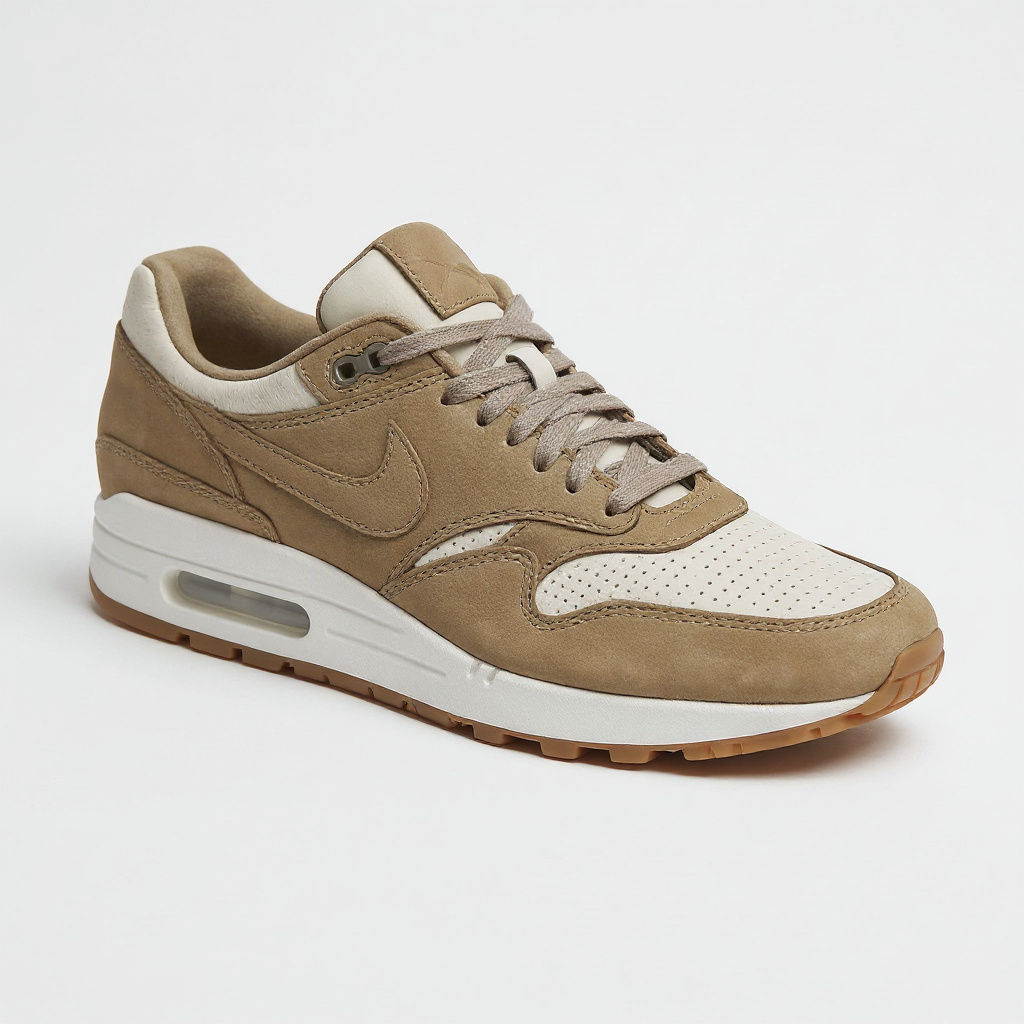
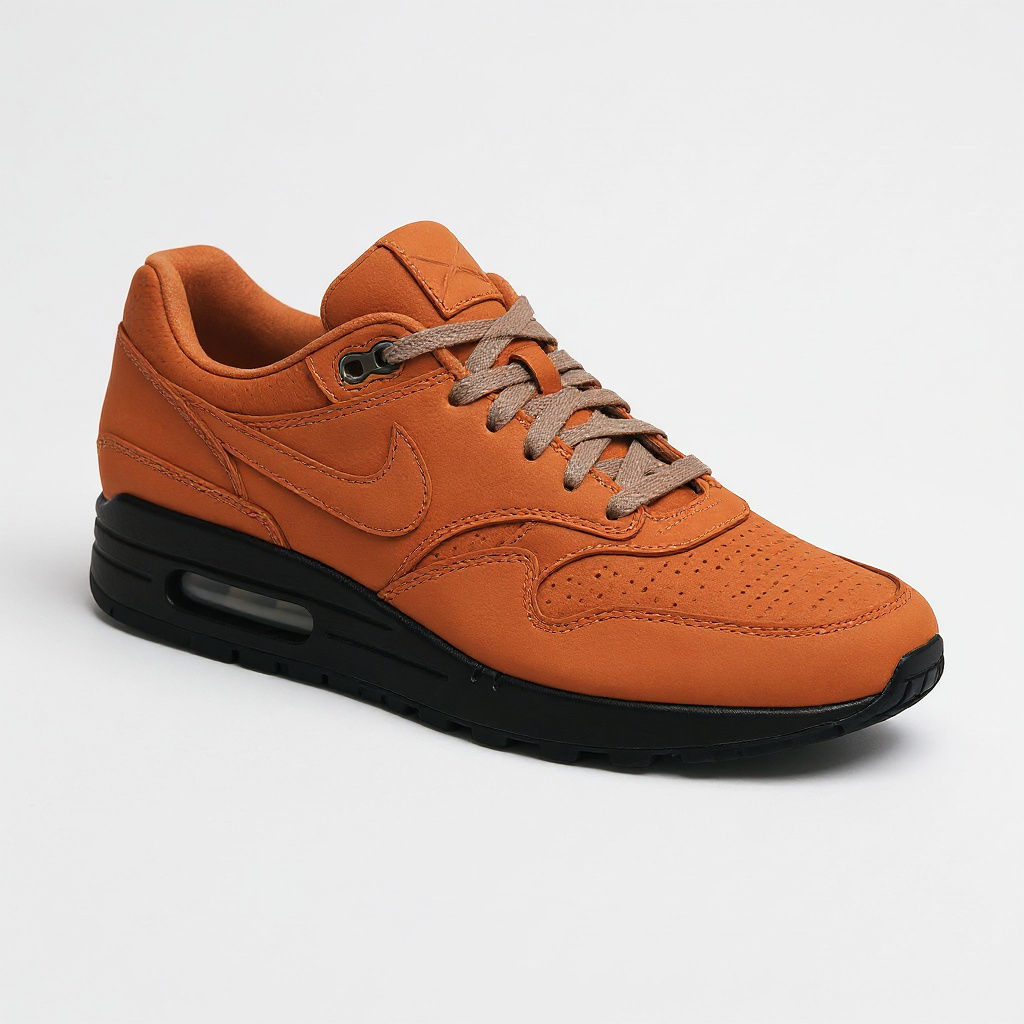

A product sketch and a few lines of color notes come back as a photoreal render, inked line art, two colorways, and a motion clip.

Product Design Concepts
Product designers use the Technique as an AI sketch converter, turning a pencil concept into a photoreal render for the pitch and then back into inked line art for the tech pack.

Line Art and Colorways
Illustrators get a clean, inked line drawing of their concept from this AI sketch generator, with the two colorway inputs rendered on the same silhouette as color options.

Pitch and Concept Boards
Creative leads present a new concept with a titled concept board and a short motion reveal built from the same sketch as the photoreal render.
How to use Techniques?
Discover how to utilize AI Sketch for different scenarios.
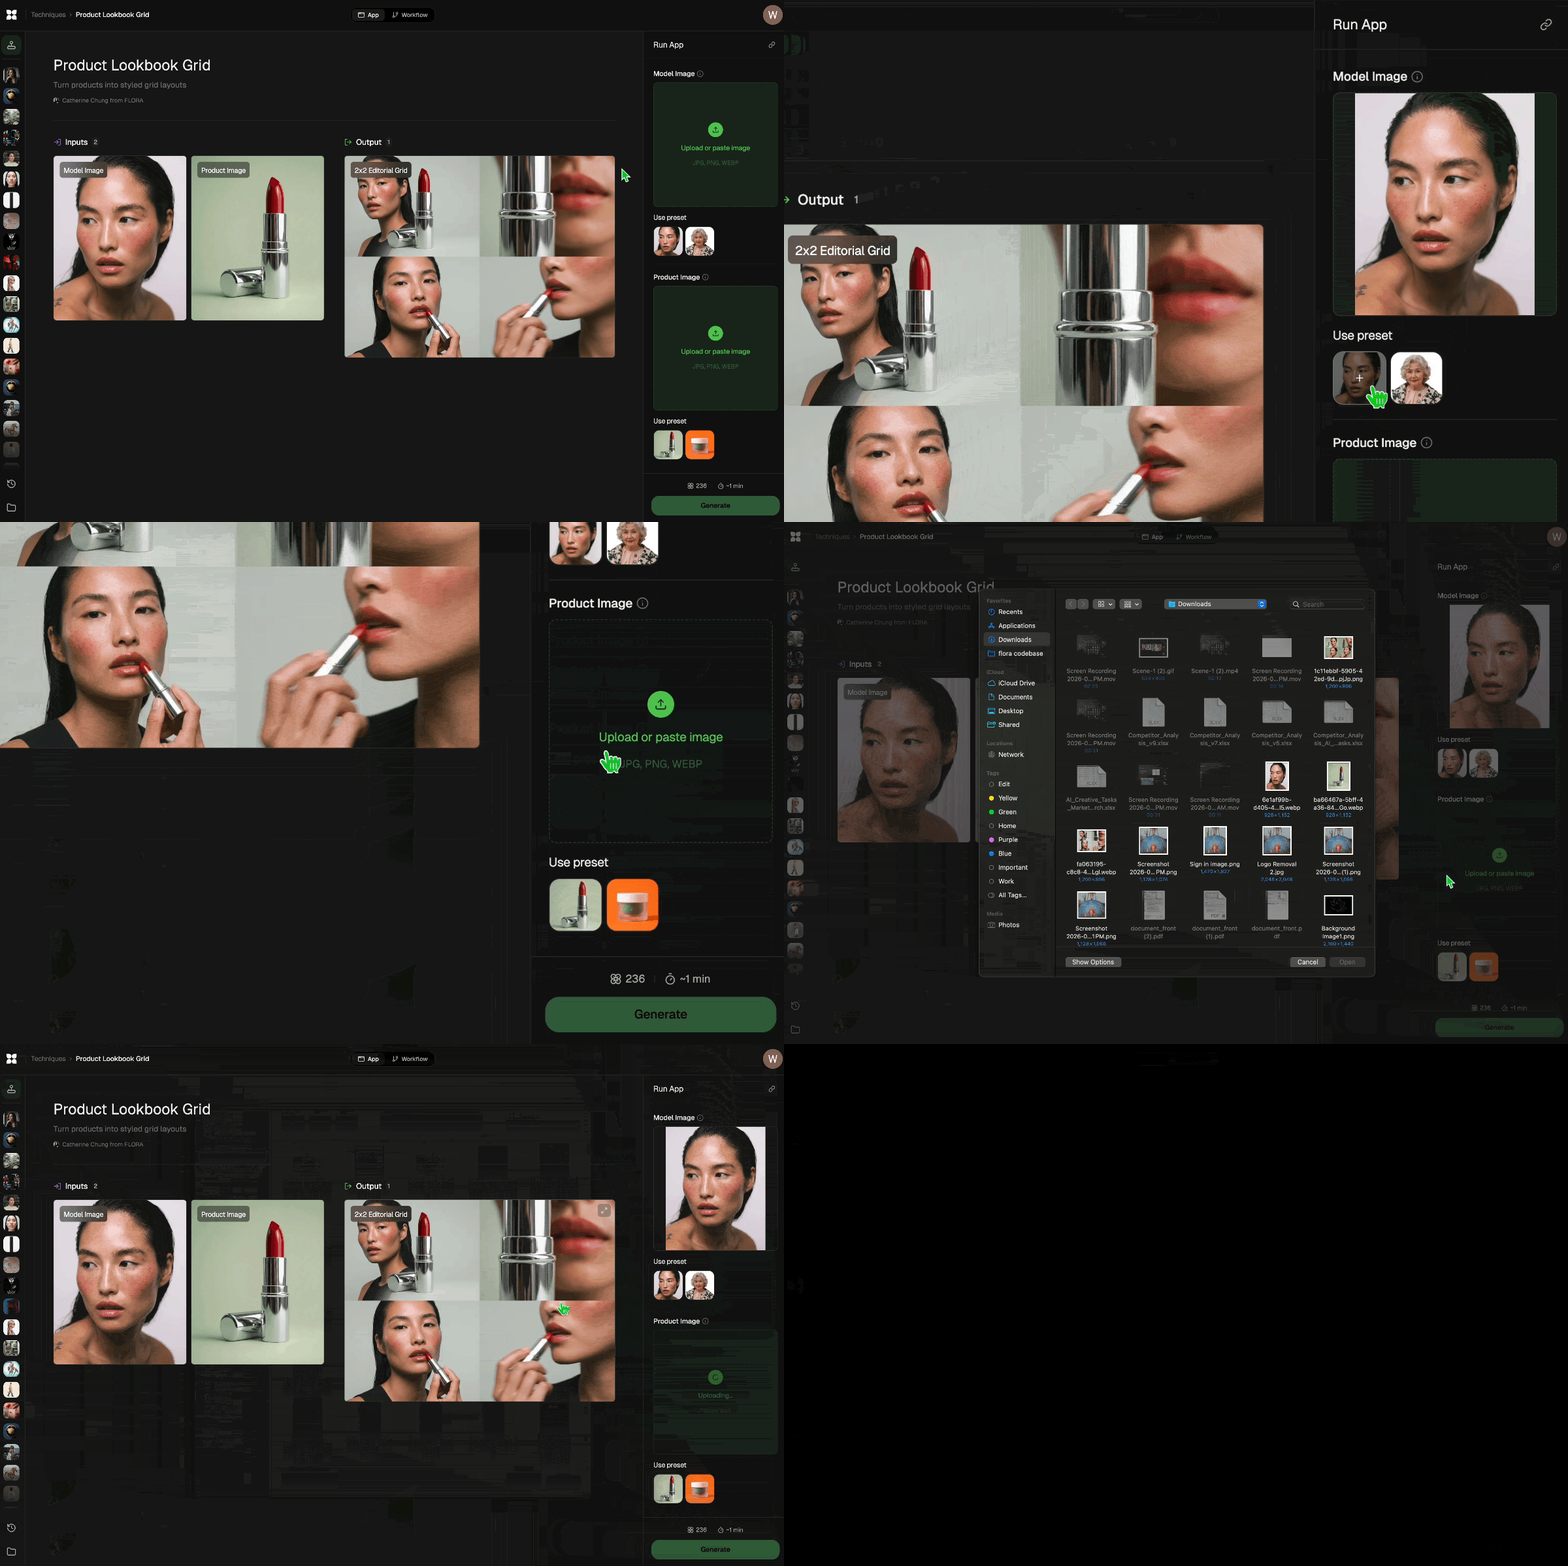
Add inputs
Upload images, videos, or type in the prompts to get started.
Generate outputs
Next, hit the "Generate" button to start generating your outputs.
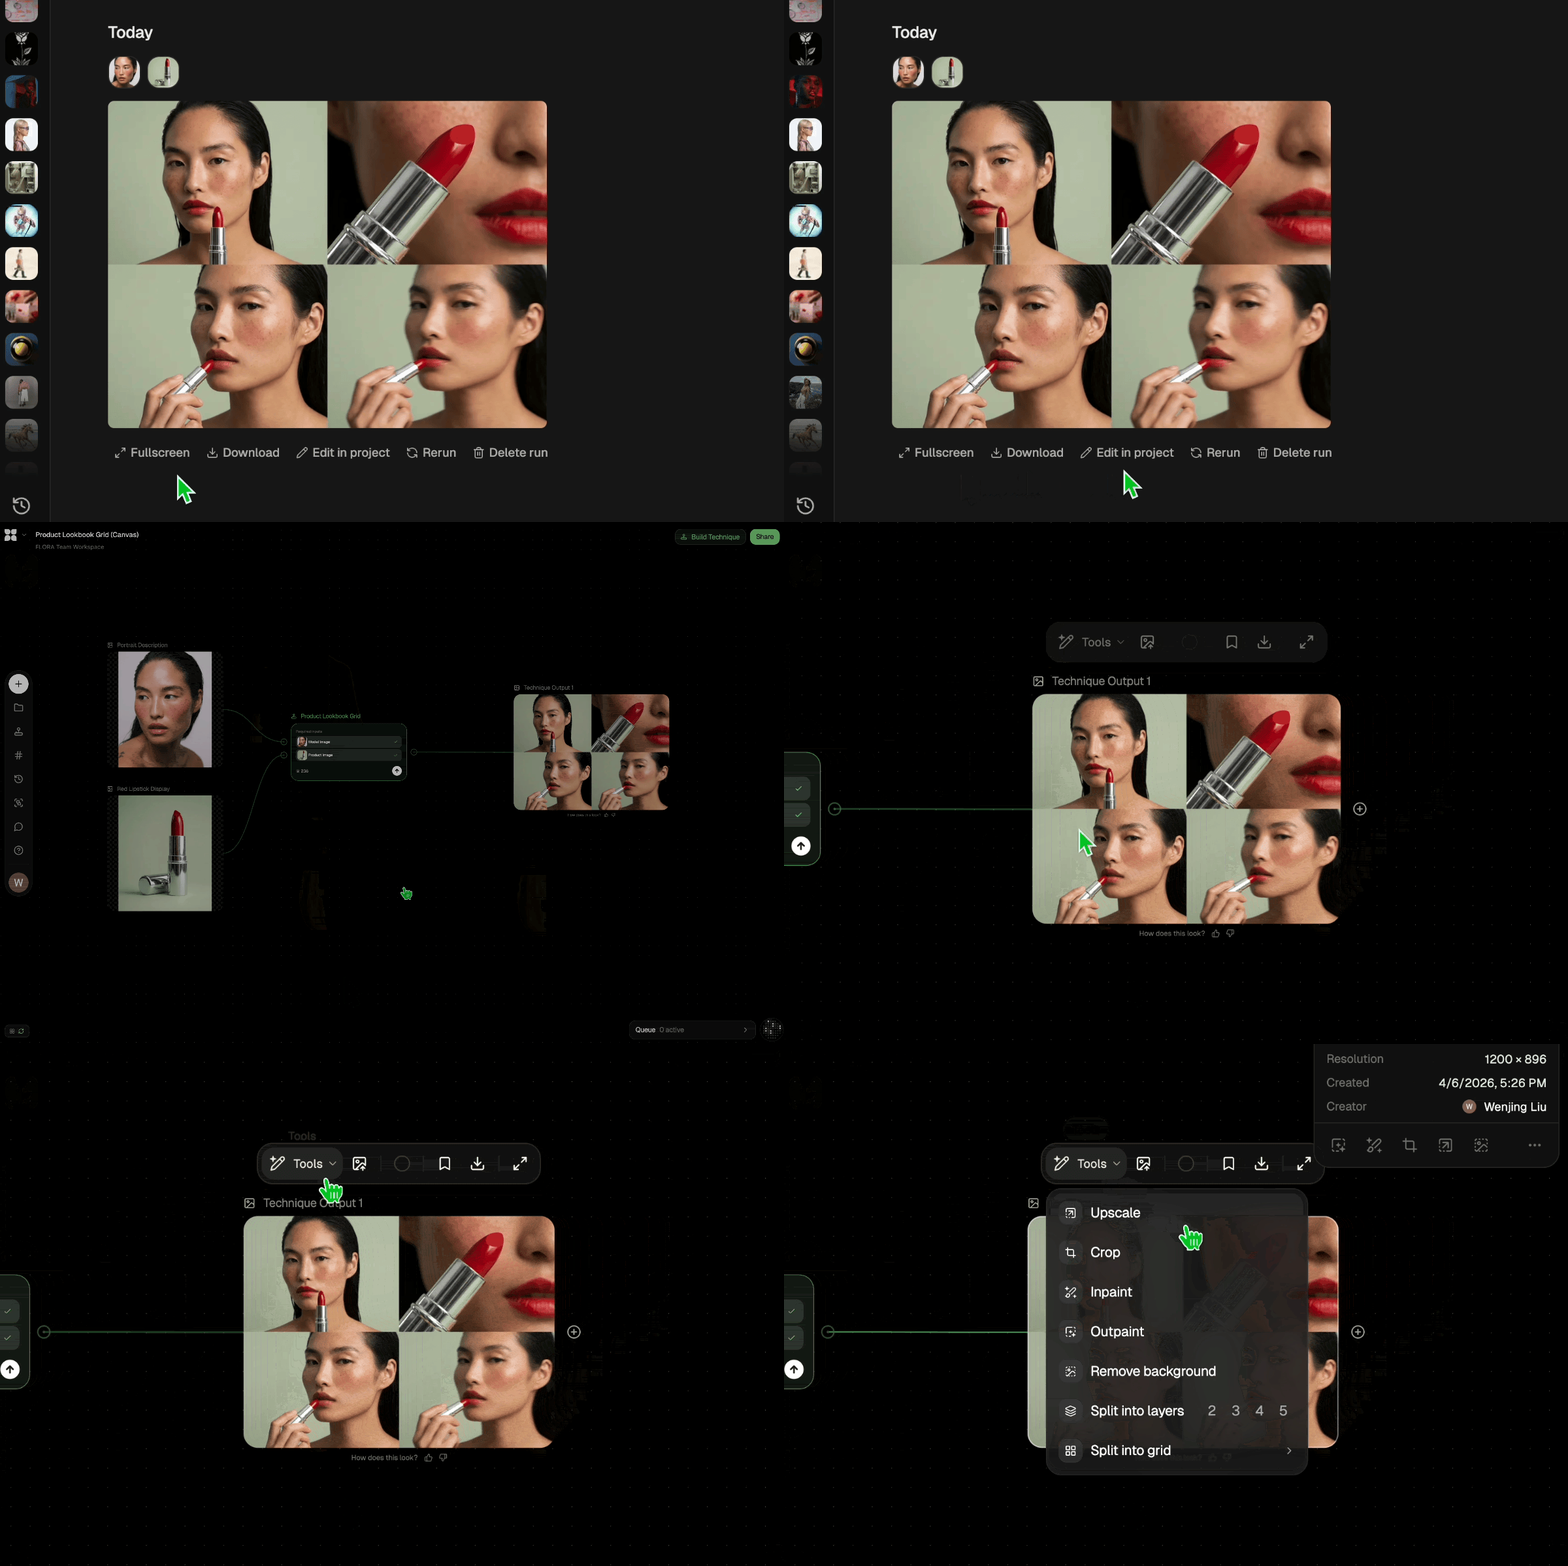
Edit and export
Refine your outputs on canvas, or download them directly.
Frequently asked questions
All you need to know about AI Sketch
What an AI sketch is and how this Technique uses one
The term AI sketch is used for two kinds of tool. One kind starts with a rough drawing and returns a finished image based on it. The other kind starts with a finished image and returns a line drawing of it. This Technique covers both in a single run. It turns your pencil sketch into a photoreal render, then uses that render to produce a clean, inked line drawing in the style of a tech pack. You can sign up for FLORA and run it once with the preset sneaker concept to see the full set of outputs before you upload a drawing of your own.
The same run also gives you the product in two colorways, a color-graded version of the hero image, a title plate for a concept board, and a short motion reveal. All of these are made from the one sketch you uploaded. When someone reviewing the concept moves from the render to the colorways, they are looking at the same product in each image.
How the sketch and the product description work together
The sketch gives the Technique the outline and proportions of the product. A pencil drawing usually doesn't say what anything is made of, so that information comes from the written product description. In the preset, the description lists nubuck overlays, perforated leather panels, a foam midsole with a frosted window at the heel, a gum rubber waffle outsole, and waxed cotton laces. The drawing shows where these parts are, and the description tells the Technique what each one should look like in the render.
Knowing which input controls what makes it easier to fix a render you aren't happy with. If the shape or proportions are wrong, the drawing is usually where the problem started. If the shape is right and a surface looks wrong, for example leather that should be suede, change the product description and run the Technique again.
Why the line drawing is made from the render
In product design, a tech pack is the set of documents a factory uses to make a product. The drawings in it are flat line art with even stroke weights, often shown from more than one side, so that each construction detail can be labeled and measured. Concept sketches usually have loose construction lines and edges that were drawn over several times. A pattern maker would have to guess at some of those lines, which is why a concept sketch on its own isn't used in a tech pack.
The Technique produces its line drawing by redrawing the photoreal render. In the render, each panel and seam already has a defined edge, so the inked version can draw them as separate closed shapes. A heel window that you sketched as a quick oval, for example, ends up in the line drawing as a shape with a single clear outline. The result follows the render closely and has far fewer stray marks than the pencil original.
Because the line drawing is based on the render, it can include something the render added that you didn't intend. If the render treated one of your pencil lines as a row of stitching when you meant it as a fold, the line drawing will show stitching in that spot as well. You can adjust the sketch or the description and run the Technique again. You can also move the line drawing onto the FLORA canvas and correct that area there.
Preparing a sketch for upload
The sketch input takes JPG, PNG, and WEBP files. A scan works, and a clear, evenly lit phone photo of a sketchbook page usually does too.
A side view is a sensible first angle for footwear and many other products, since the whole silhouette fits in one outline. Dark pencil or pen lines on plain white paper are easier to pick out than faint lines on lined or gridded paper. The Technique may read heavy shading or crosshatching as a texture or a color on the product, so a drawing with light shading usually gives a cleaner render than one with a lot of tone. If you drew several versions of the design on one page, crop the photo to the version you want before you upload it.
Designers often write material notes in the margins of a sketch. Those notes are more useful in the product description field, because that field is where the Technique gets its information about materials.
Writing the product and colorway descriptions
The preset product description is a single long sentence. It names each part of the shoe and says what that part is made of, and the same approach works for other products. A phrase like "matte metal eyelets" gives the Technique a part and a finish to render. General words such as "premium" or "sleek" don't say anything about a specific surface, so the Technique has to guess what you meant by them.
The two colorway fields are shorter. Each one gives a color for the main parts named in the product description, which in the preset are the upper, midsole, outsole, and eyelets. If you use the same part names in both colorway fields and list them in the same order, the two results are easier to compare. Colorways that differ a lot, such as a dark earthy version and a bright version, tend to be more useful in a review than two shades that are close together.
The title text appears on the concept-board title plate. A short product name or a project code is enough.
Other terms people search for
People look for this kind of tool using a number of overlapping terms. A search for sketch AI or AI sketch generator can come from someone who wants a drawing turned into an image, or from someone who wants an image turned into a drawing, and search results tend to include tools of both kinds. The term sketch generator is more often used for the second kind, where the output is a line drawing. An AI sketch converter could be either one.
This Technique belongs to the first group, since it turns a drawing into a render, and it also gives you a line drawing at the end of the run. In both cases the starting point is a drawing you made. To start from a photo and get a drawing back, Photo to Drawing Guide is the Technique for that. For clothing designs, Sketch to Garment uses a fashion sketch as its input.
Using the outputs in other Techniques and on the canvas
A product review may call for more colorways than the two this Technique makes. Product Recolor takes a product image and returns it in new colors, so you can use the hero render as its input. For a campaign that needs more motion than the short reveal clip, Product Animator starts from a still image of a product. Changes to a single output, such as a different material on one panel of the render, are made on the FLORA canvas, where the AI image generator and other image models are available alongside your results. If your team is choosing between sketch-to-render tools, the Vizcom alternatives page explains how FLORA compares.
The only inputs are one drawing and a few lines of text, so you can use the Technique at the very start of a project when the design exists only on paper. When the sketch changes, run it again to get an updated render and line drawing for the next review.
Related techniques
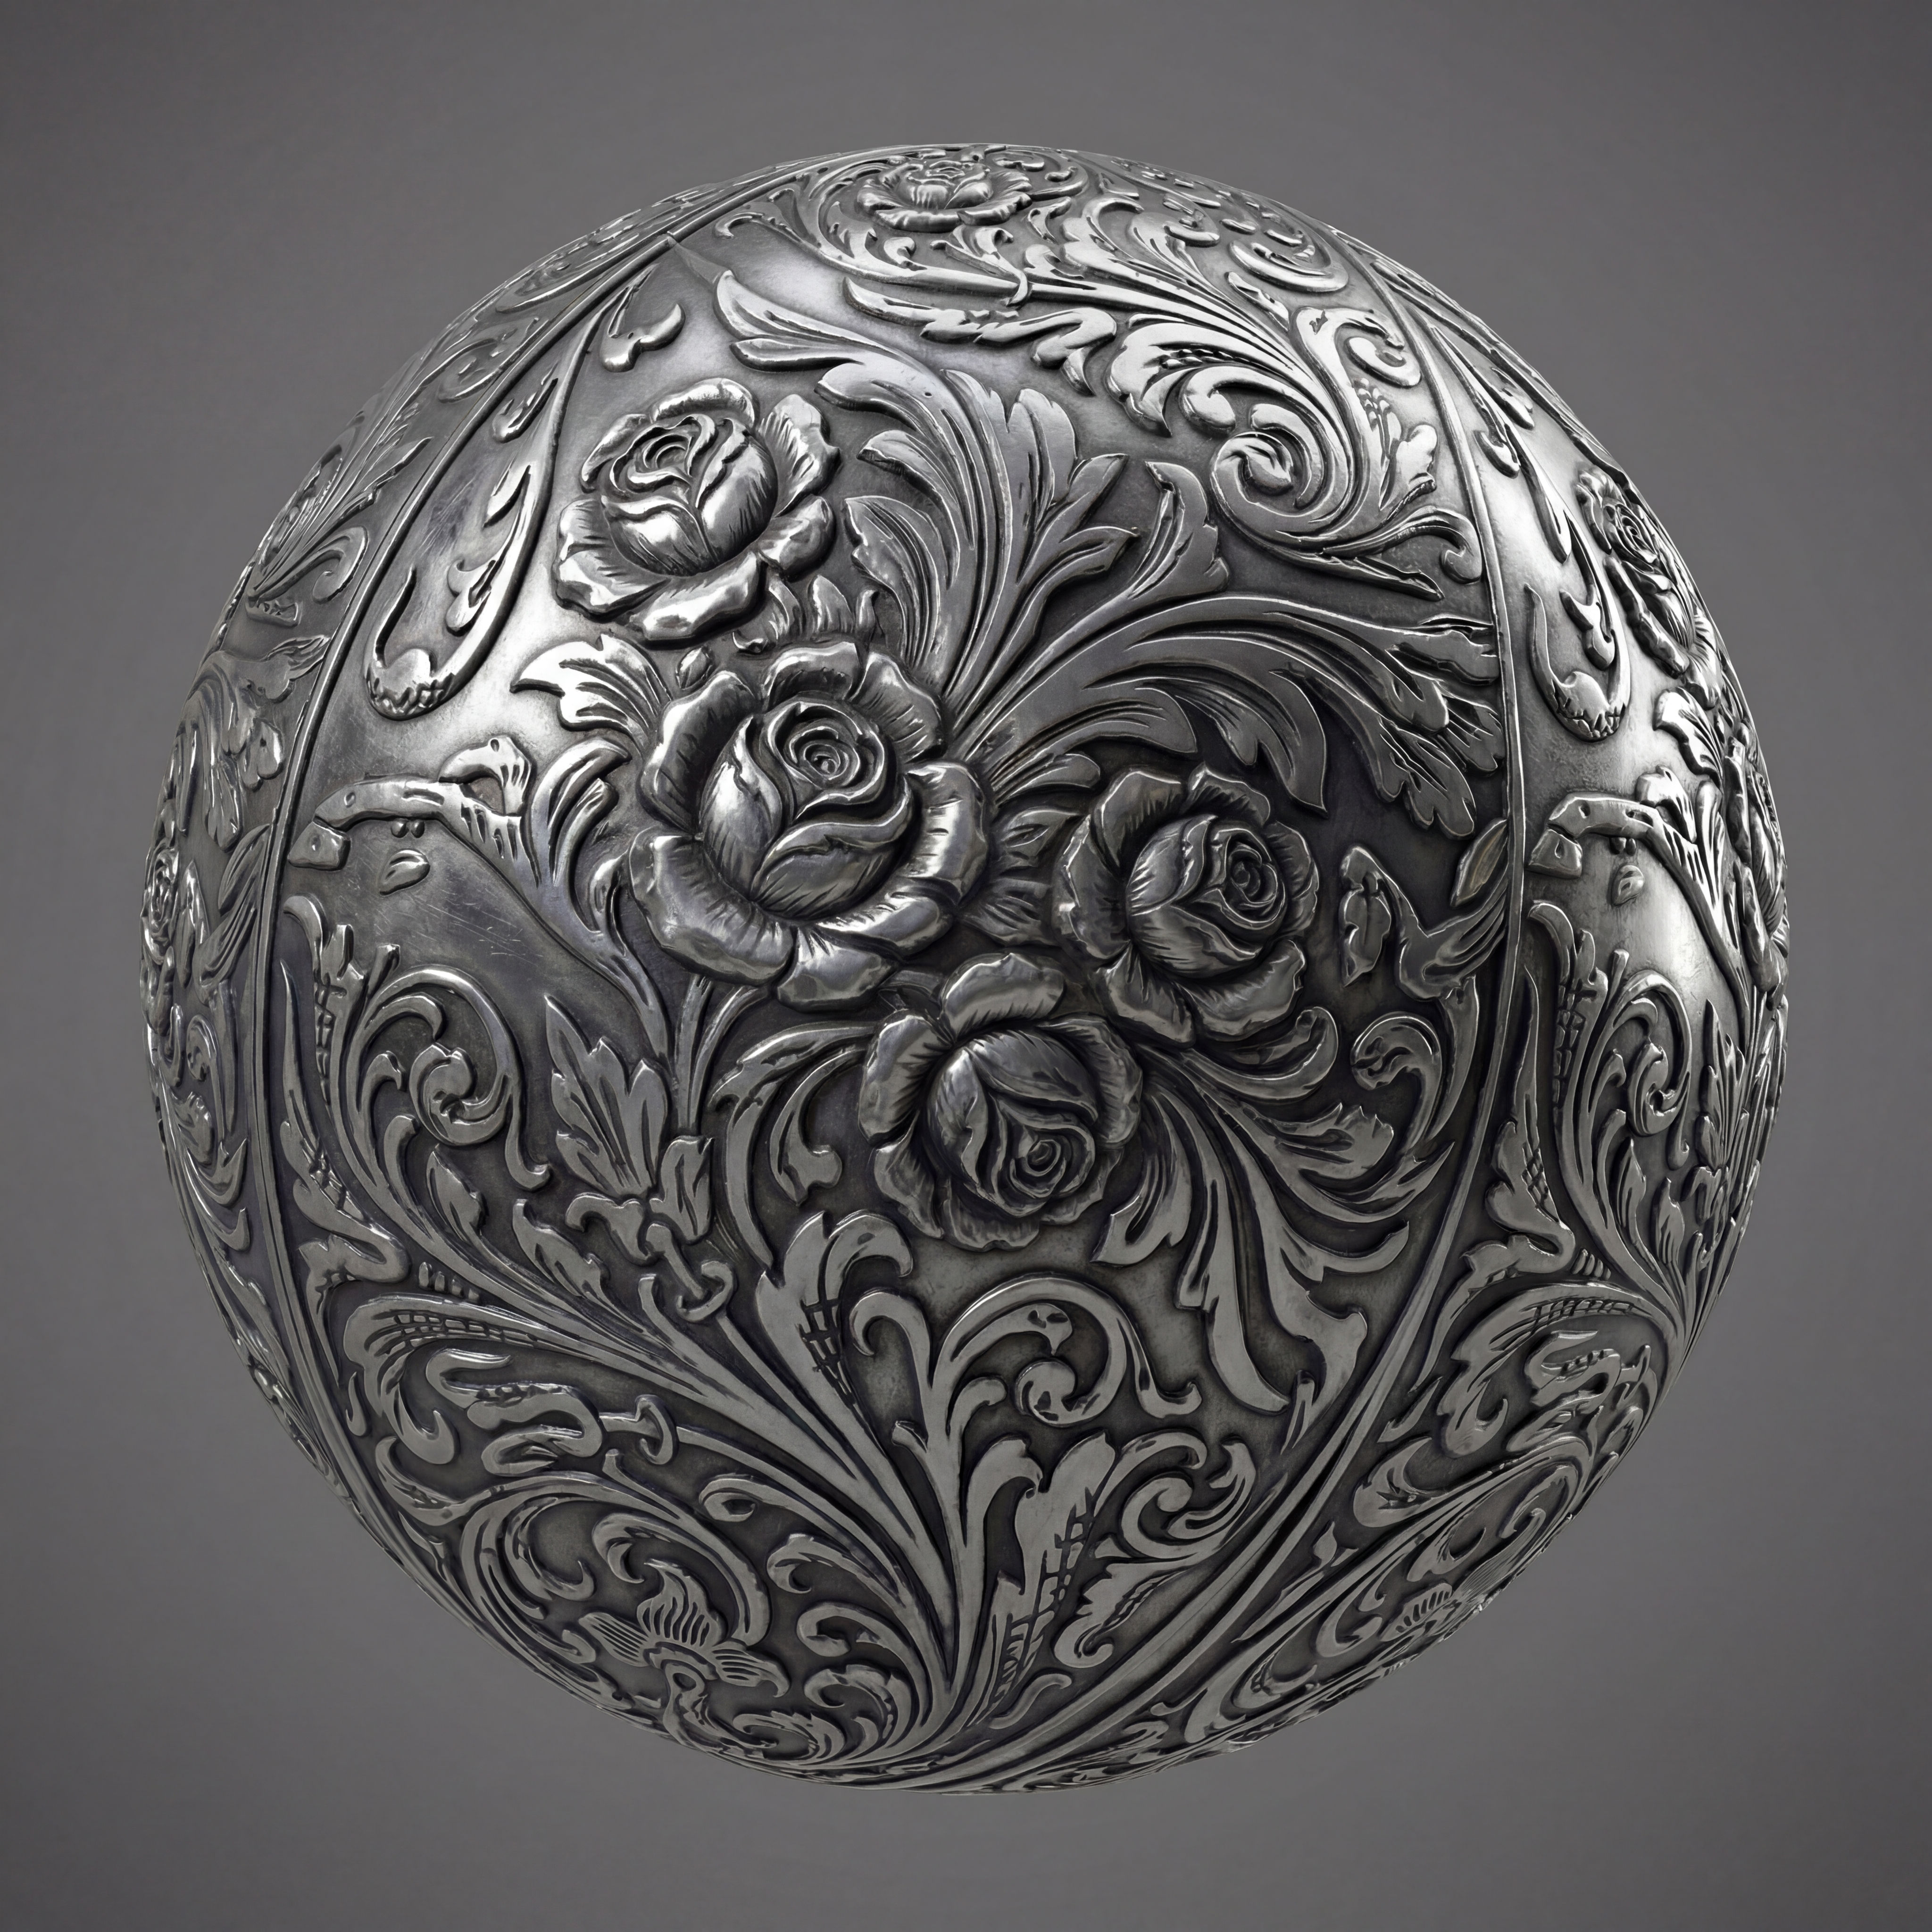 Texture Pack ExtractorExtracts the main material of an object in an image and transforms it into usable textures for 3D projects
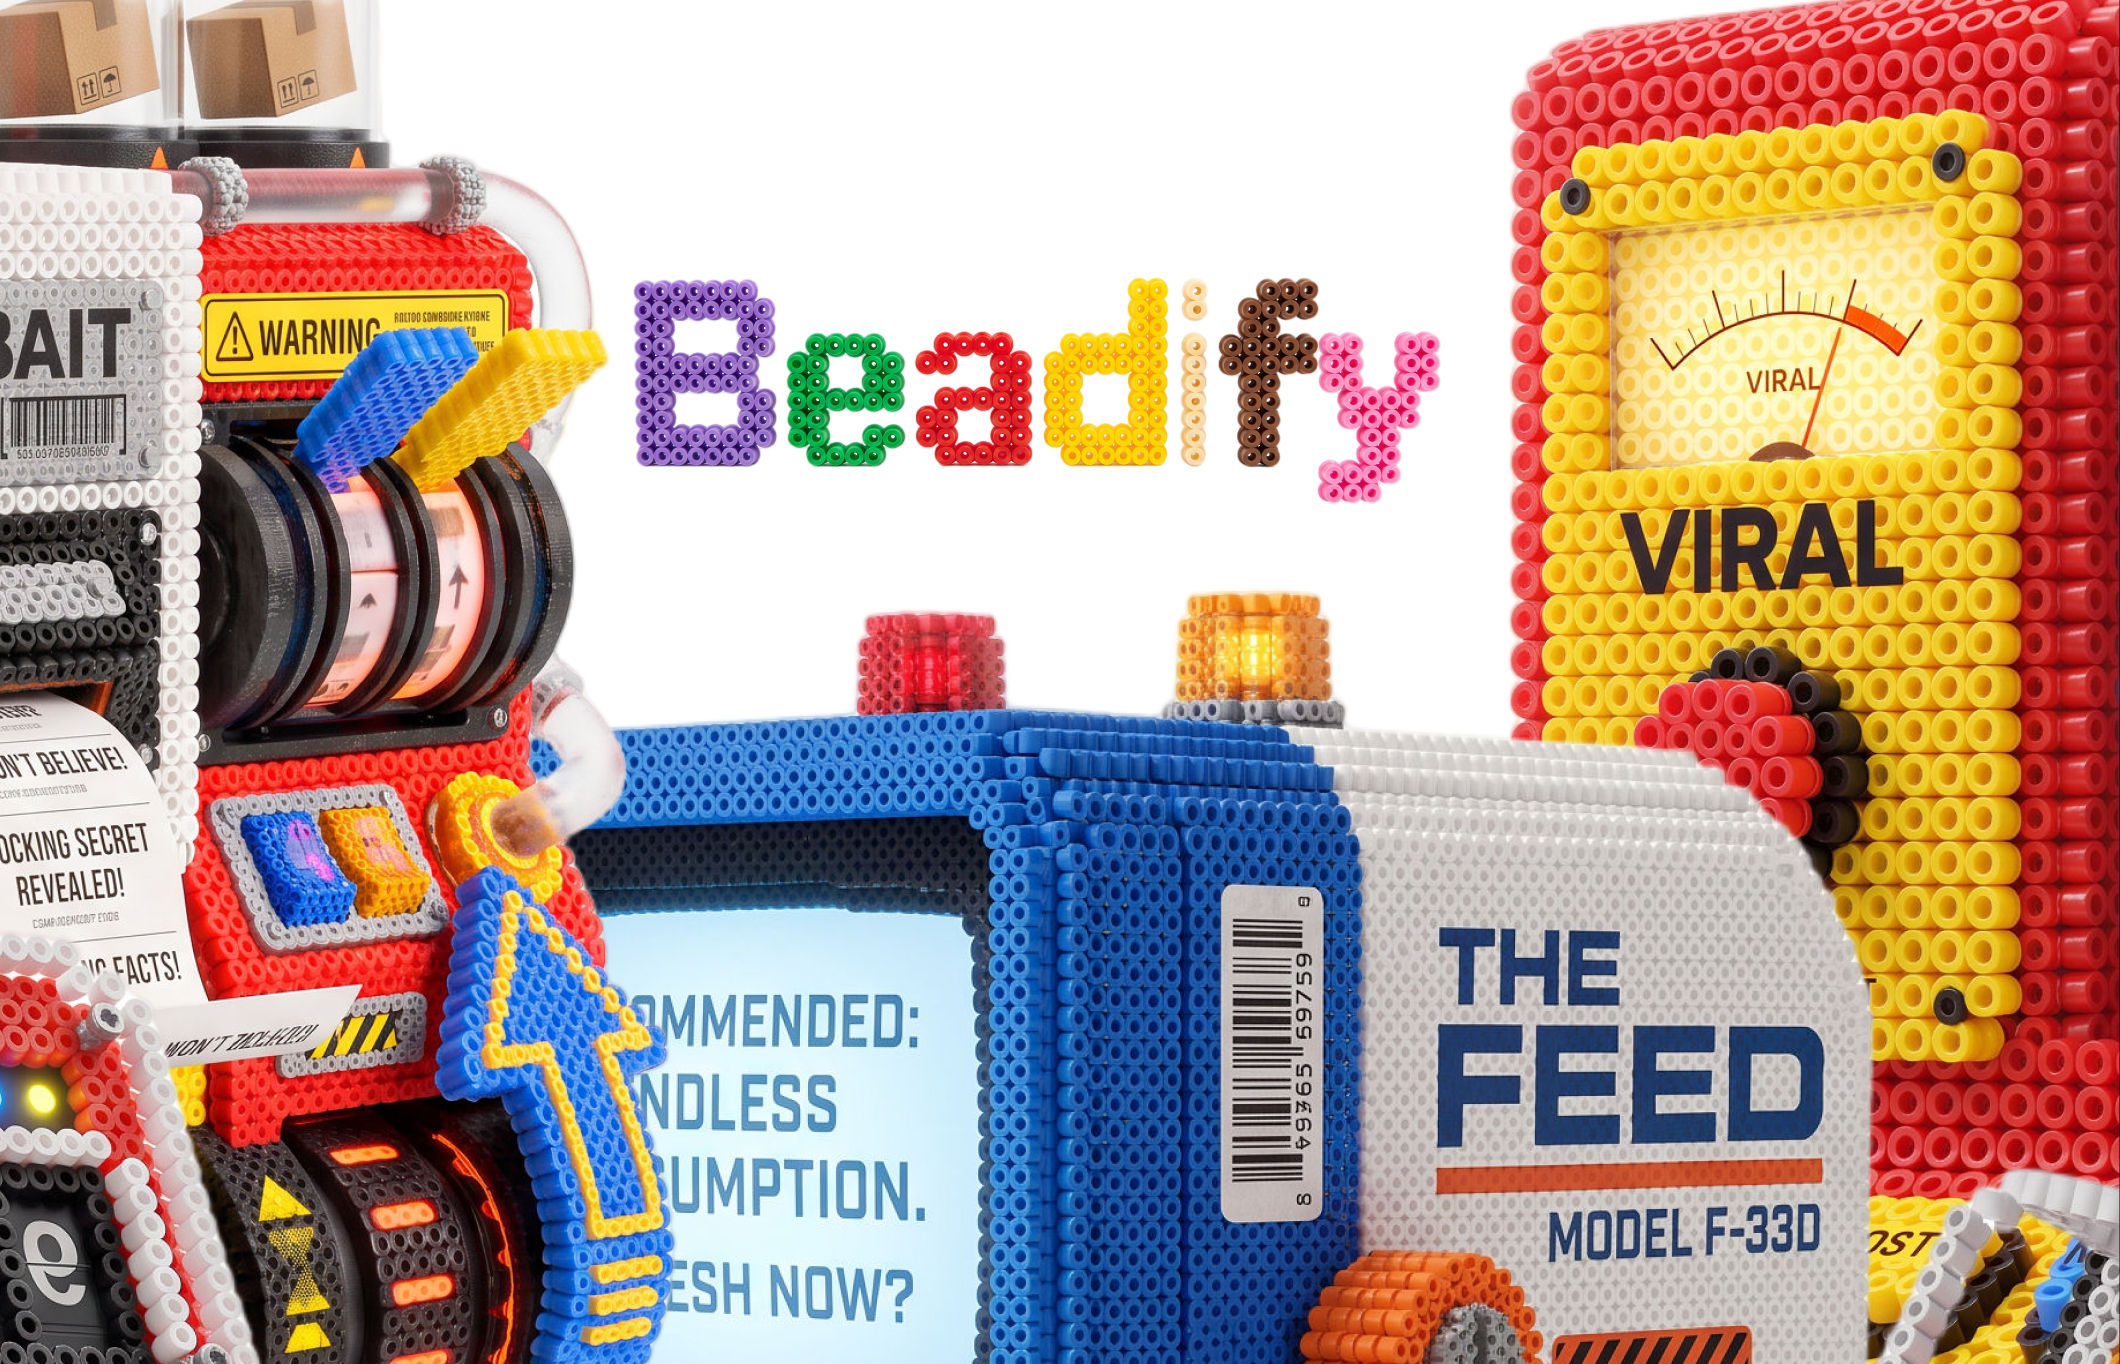 BeadifyTurn any object or 3D render into a physical Perler bead mosaic. Upload a photo — get back a beaded version of it
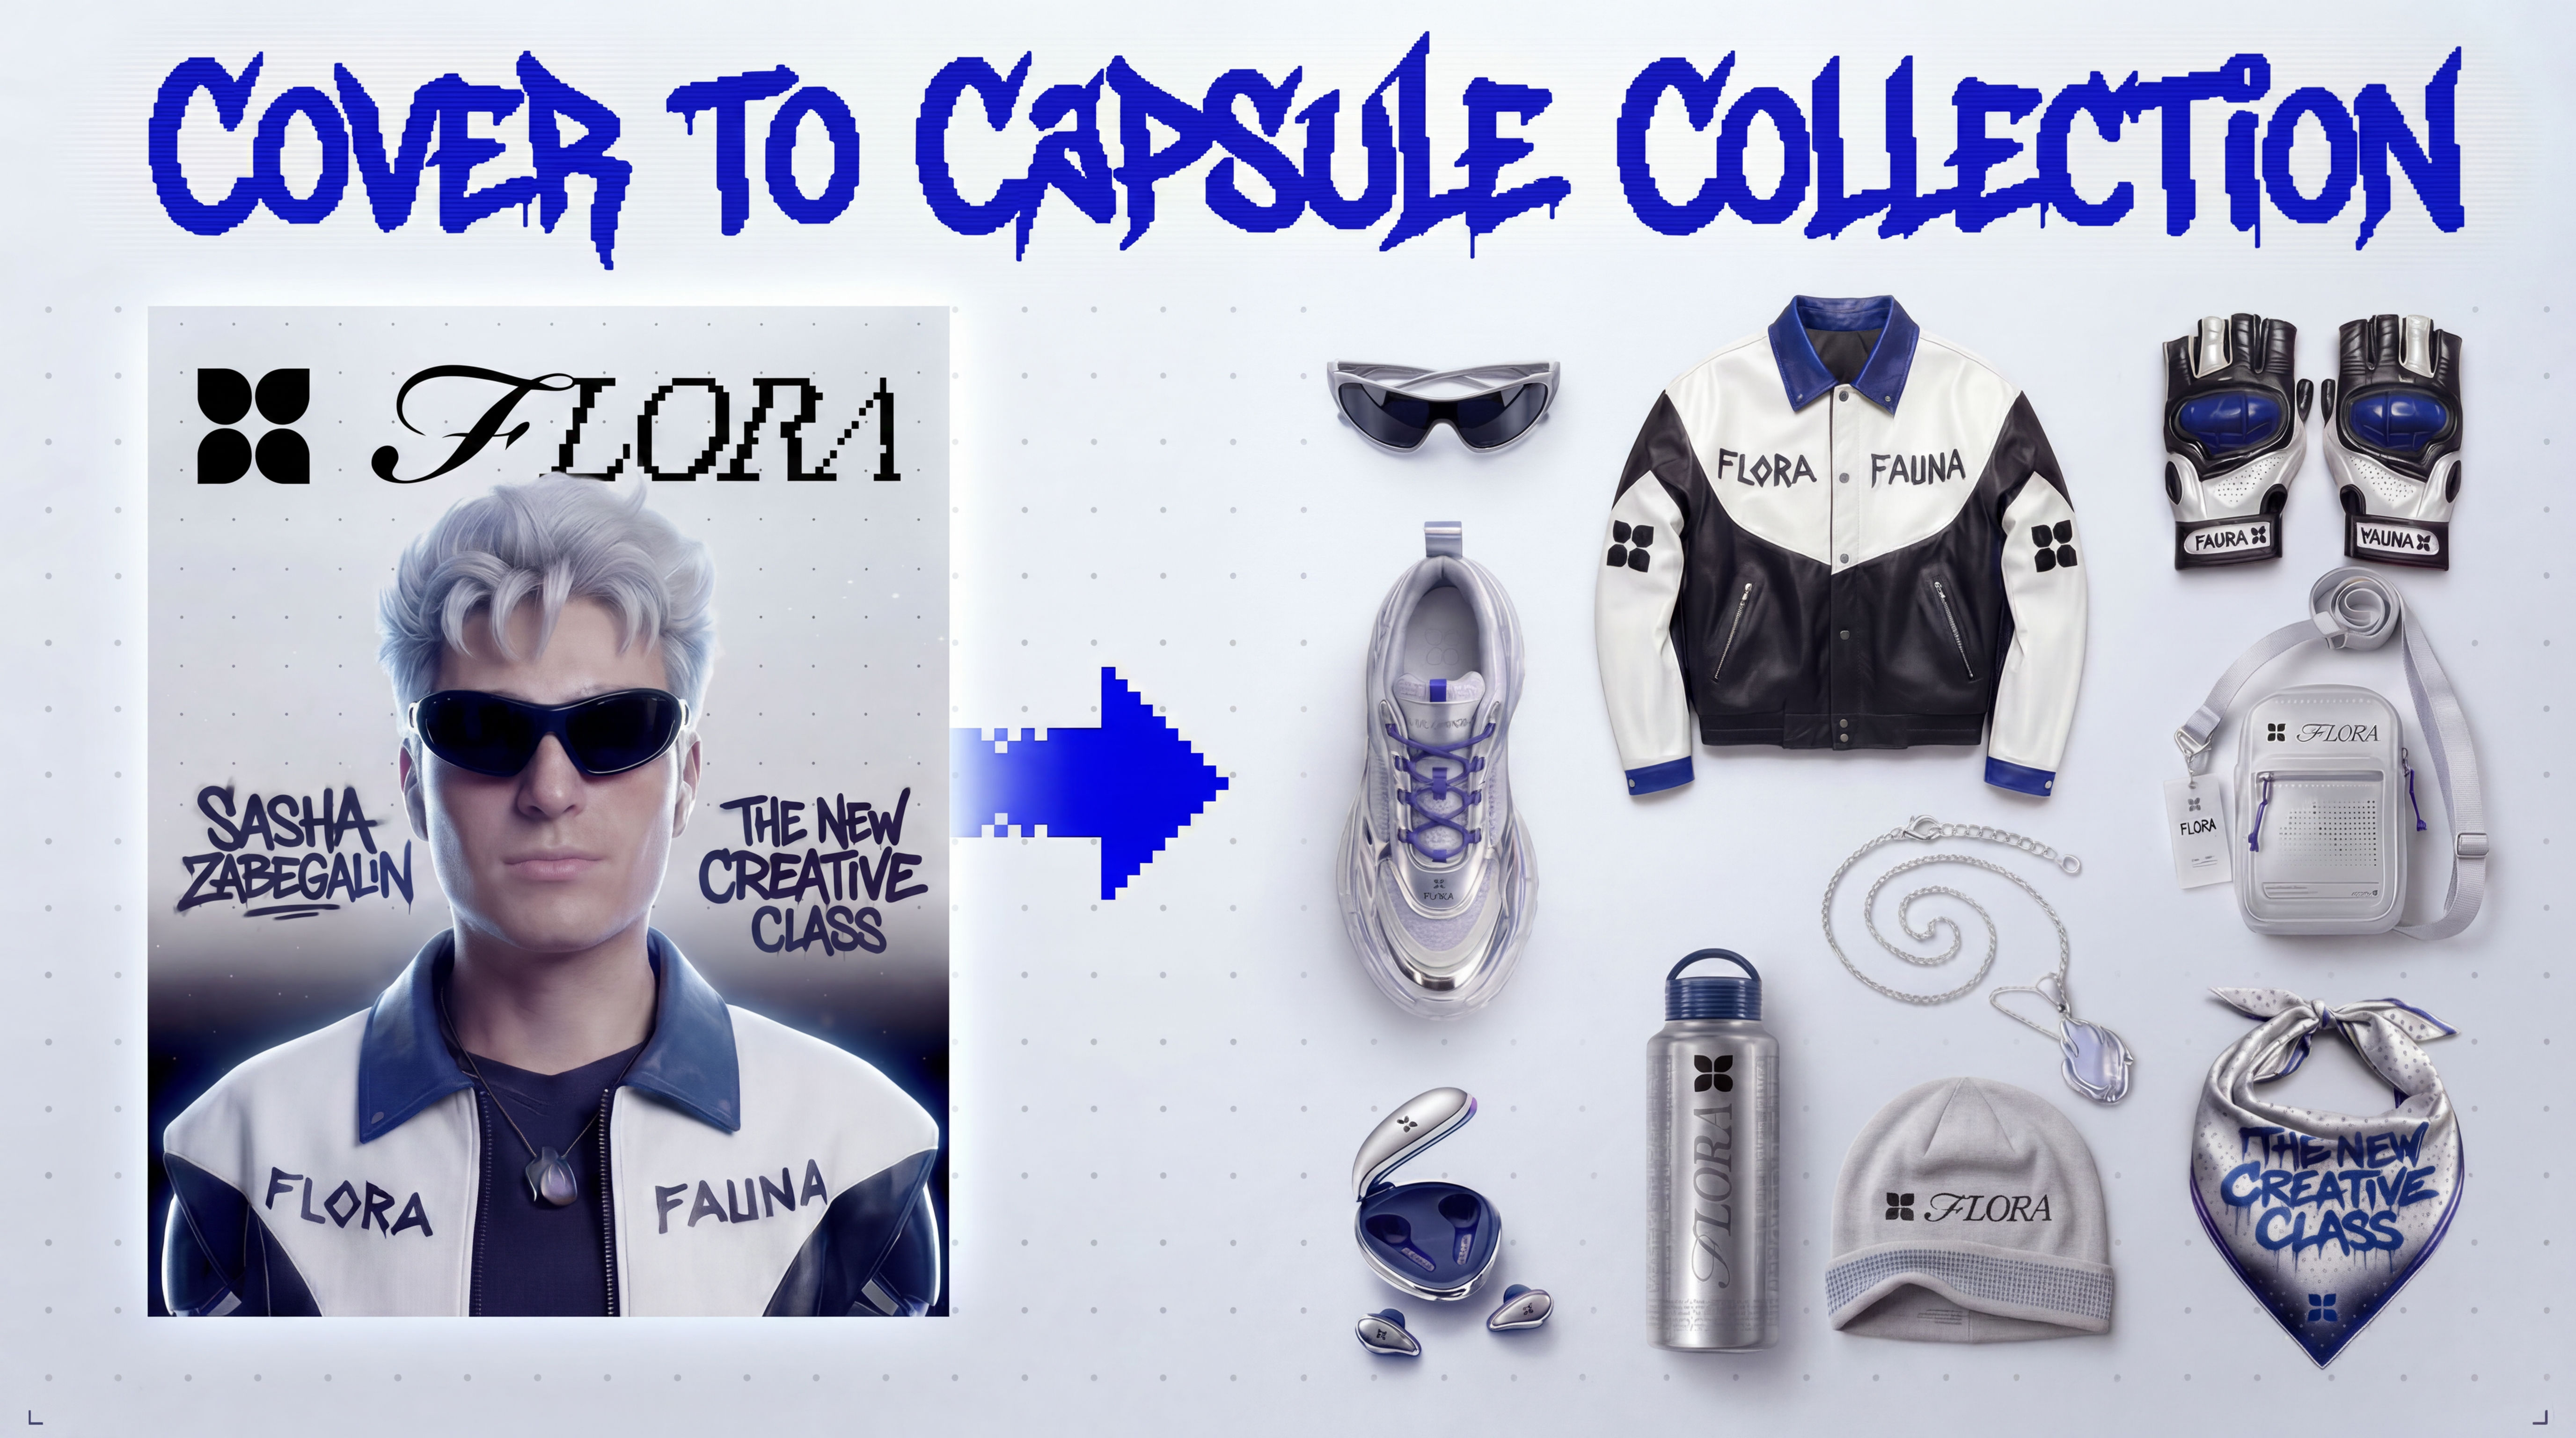 Cover to Capsule CollectionTurn any magazine cover into a 12-piece capsule collection.
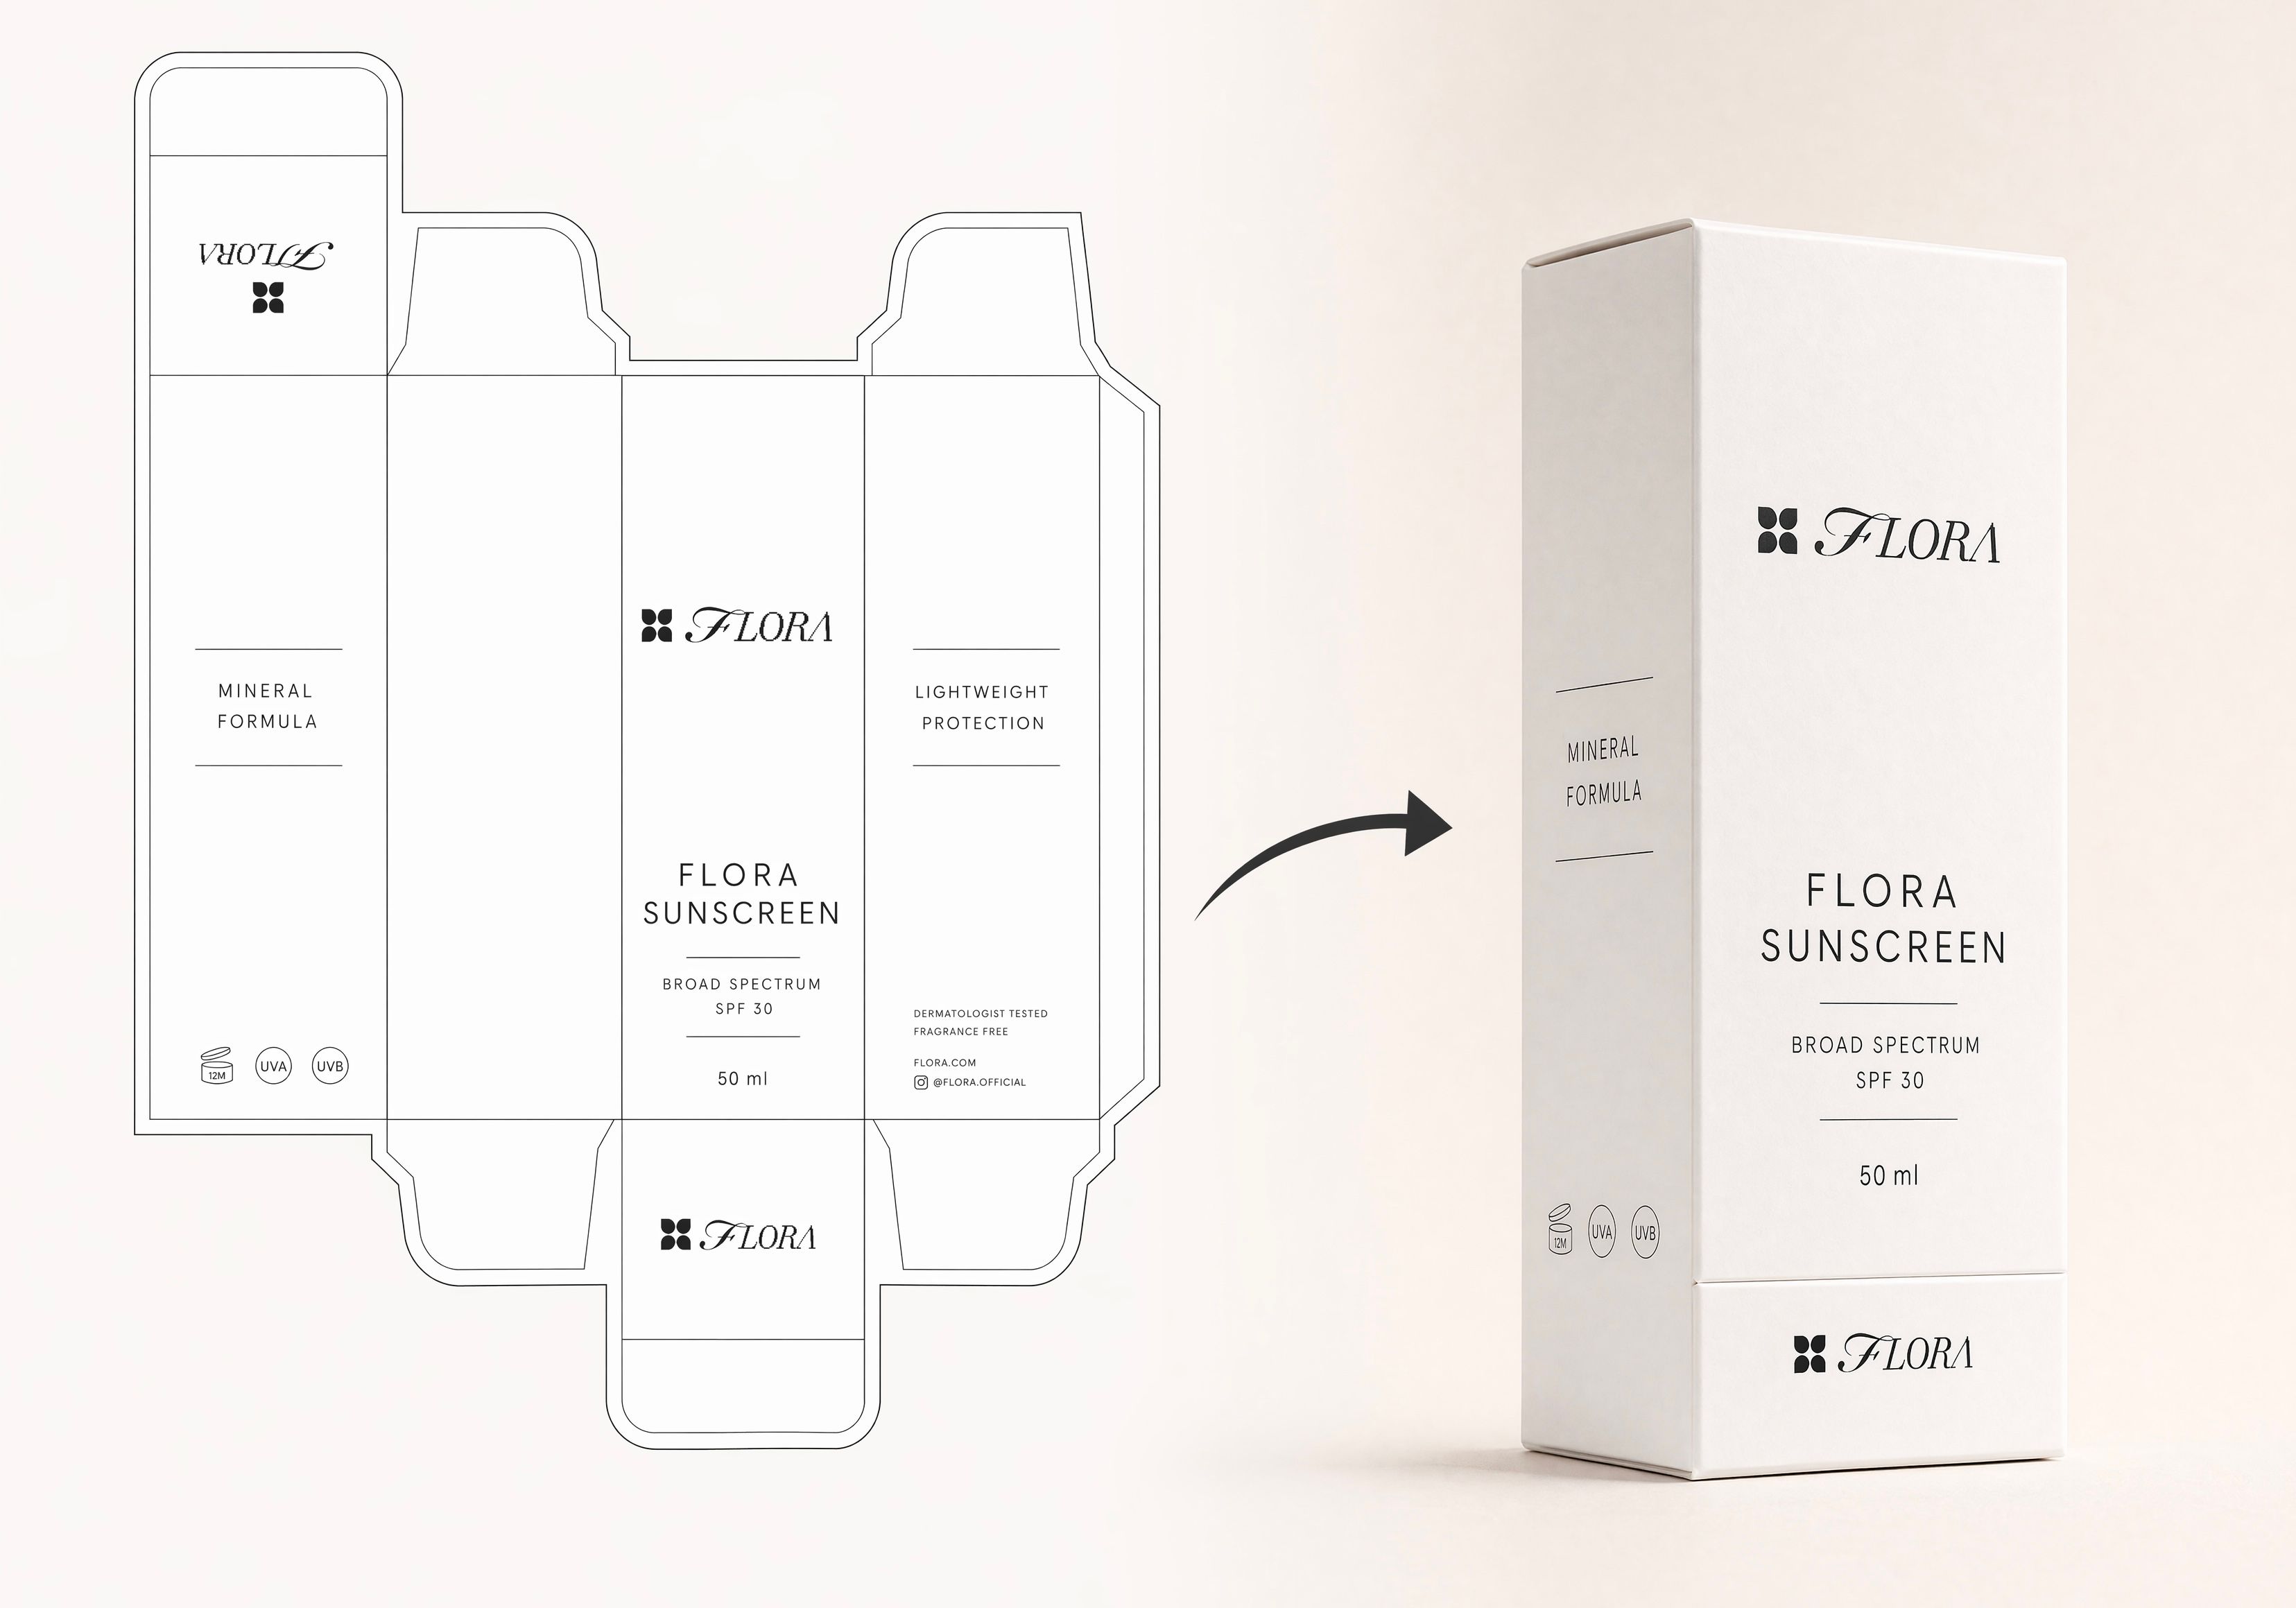 Dieline to 3D PackageTurn any flat package dieline into a production-ready 3D package render.
 Rosé RamblerMake your own custom Cannes Character, presented by Red Antler x FLORA
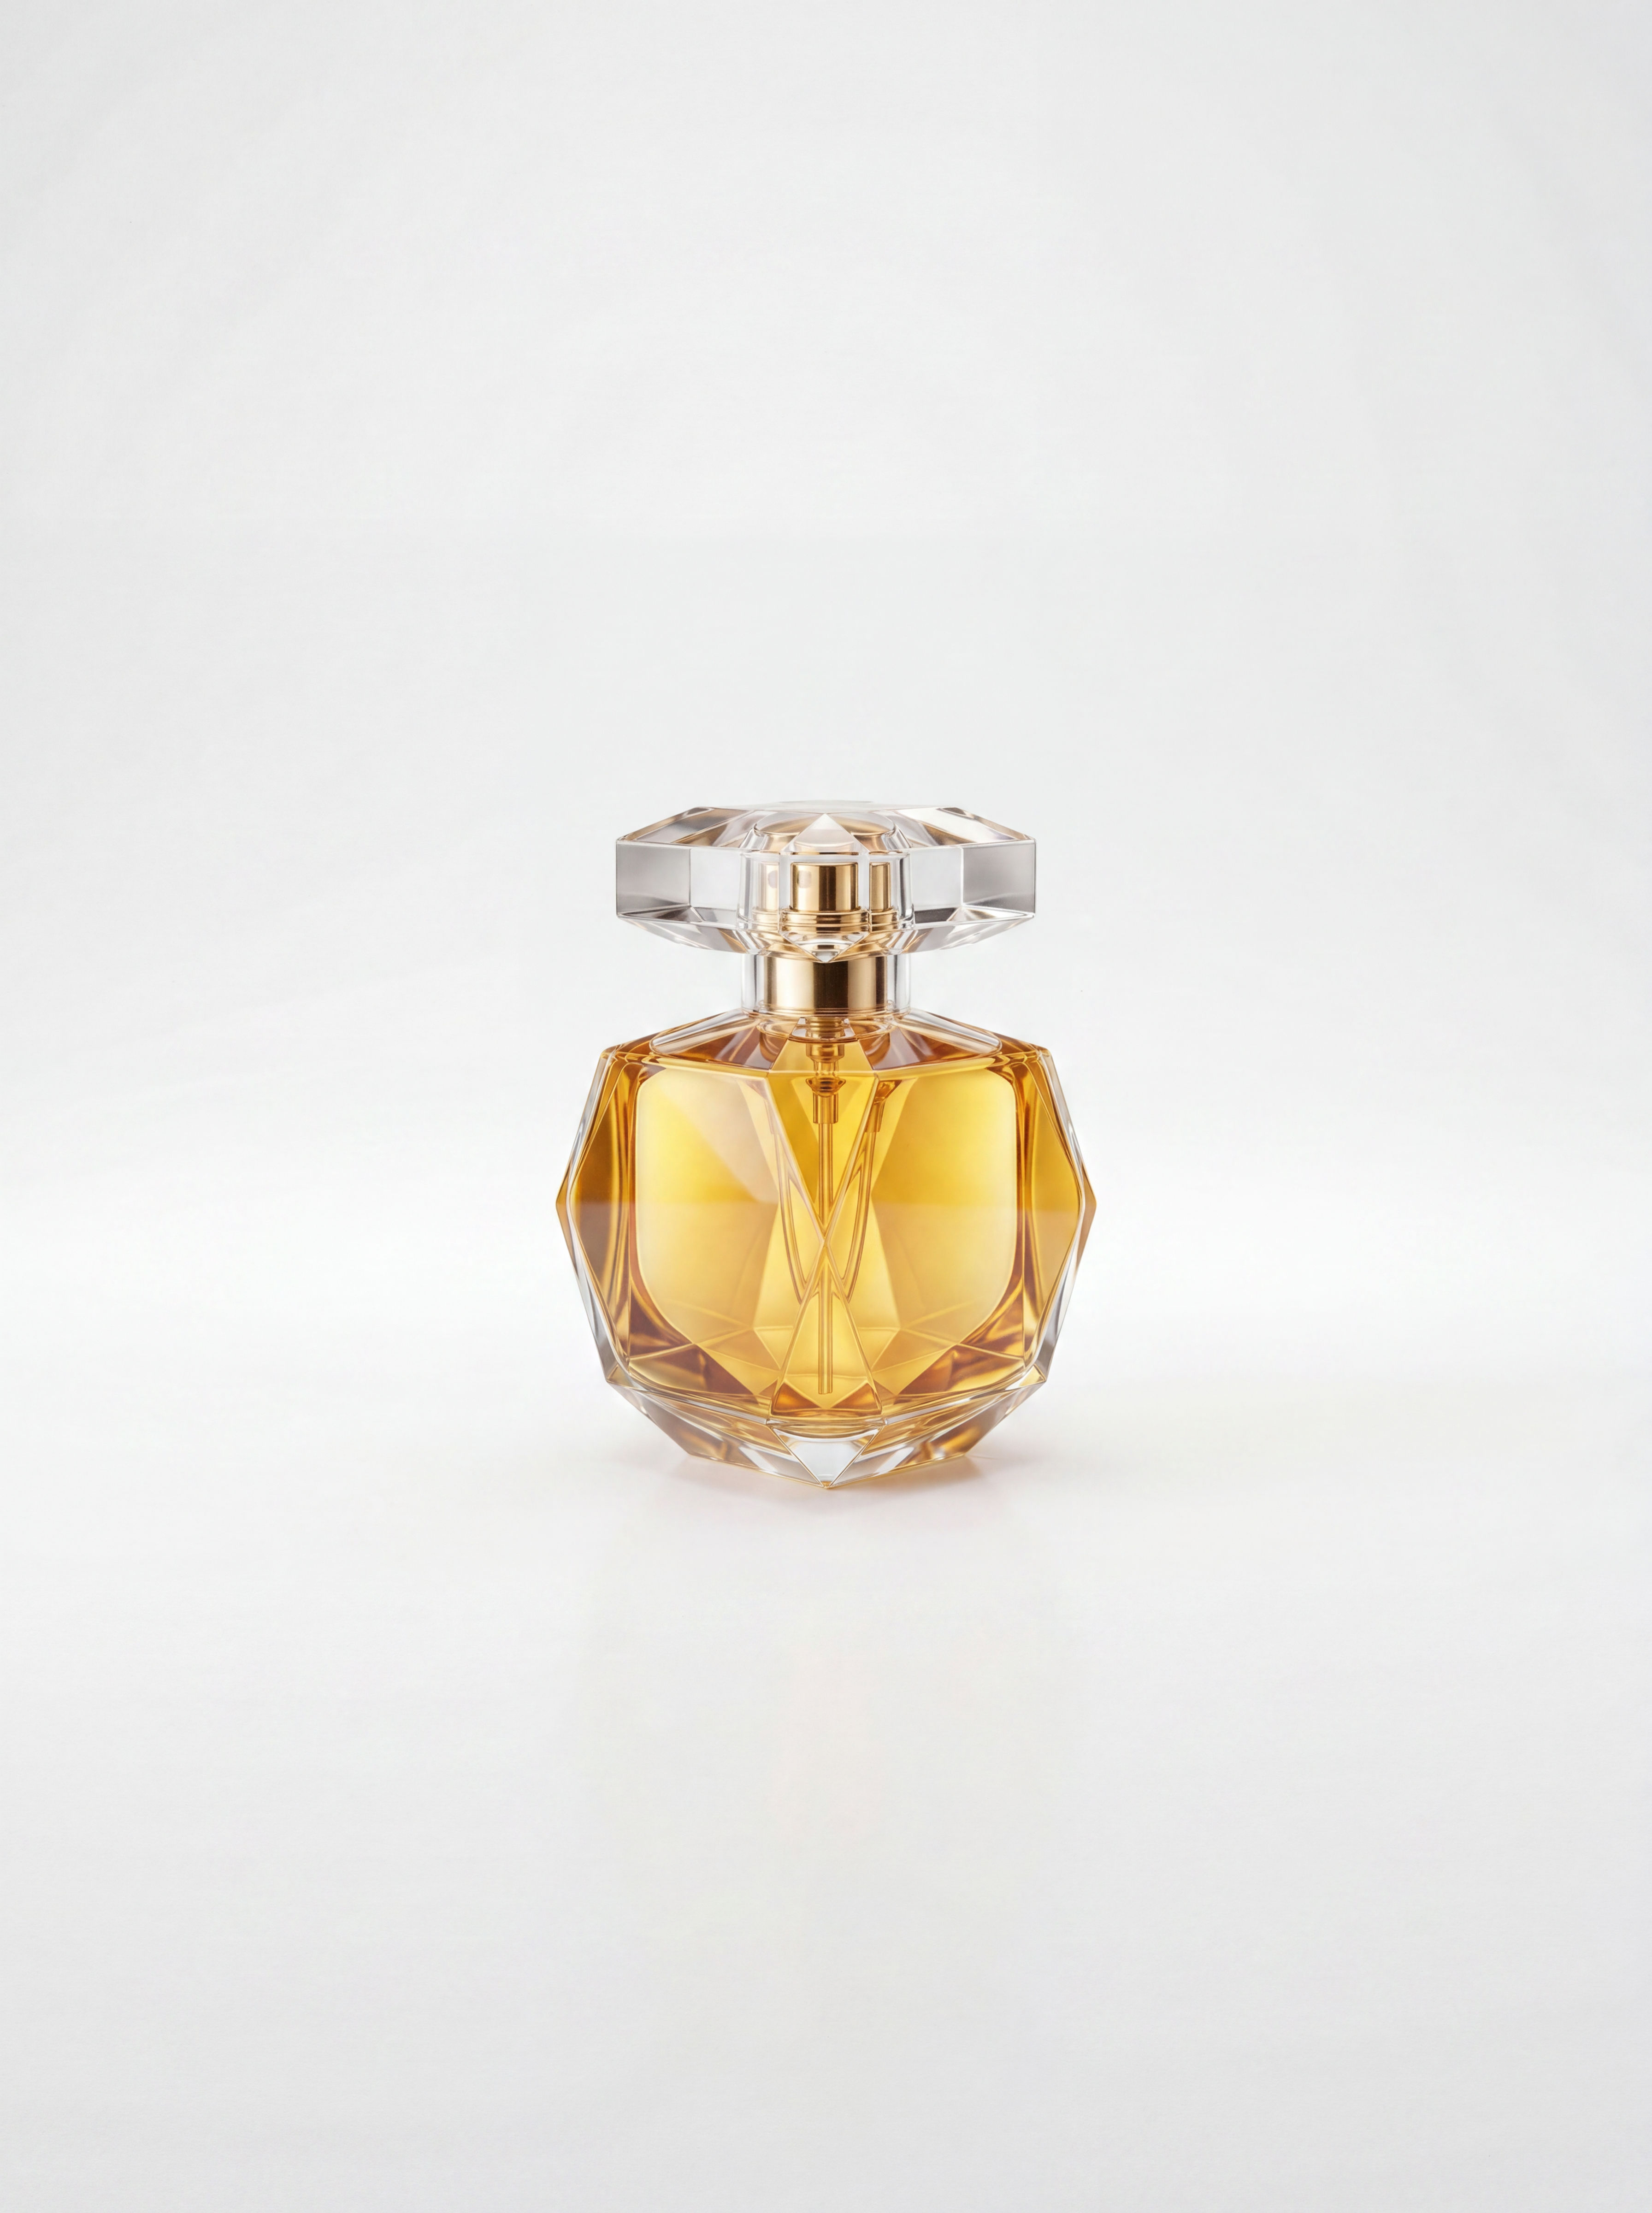 Sketch to Photorealistic Product RendererUpload any product sketch and a style reference.
Get 9 photorealistic renders — rare angles, texture
close-up, top, bottom and underside shots.
Any product. Label-free. Production-ready.
Sketch to Photorealistic Product RendererUpload any product sketch and a style reference.
Get 9 photorealistic renders — rare angles, texture
close-up, top, bottom and underside shots.
Any product. Label-free. Production-ready.Turn a Rough Pencil Drawing into a Photoreal Render with AI Sketch
AI works both ways on one sketch: your rough pencil sketch becomes ONE photoreal render, and that render becomes a clean AI sketch (inked tech-pack line art) — plus two colorways, a graded keeper and a motion reveal. Useful for: designers, illustrators, and product teams who scribble a concept on paper and need it turned into presentable art — a realistic render for the pitch, a crisp inked line drawing, color options, and a short clip — all obviously the SAME design.

Louis Anderson