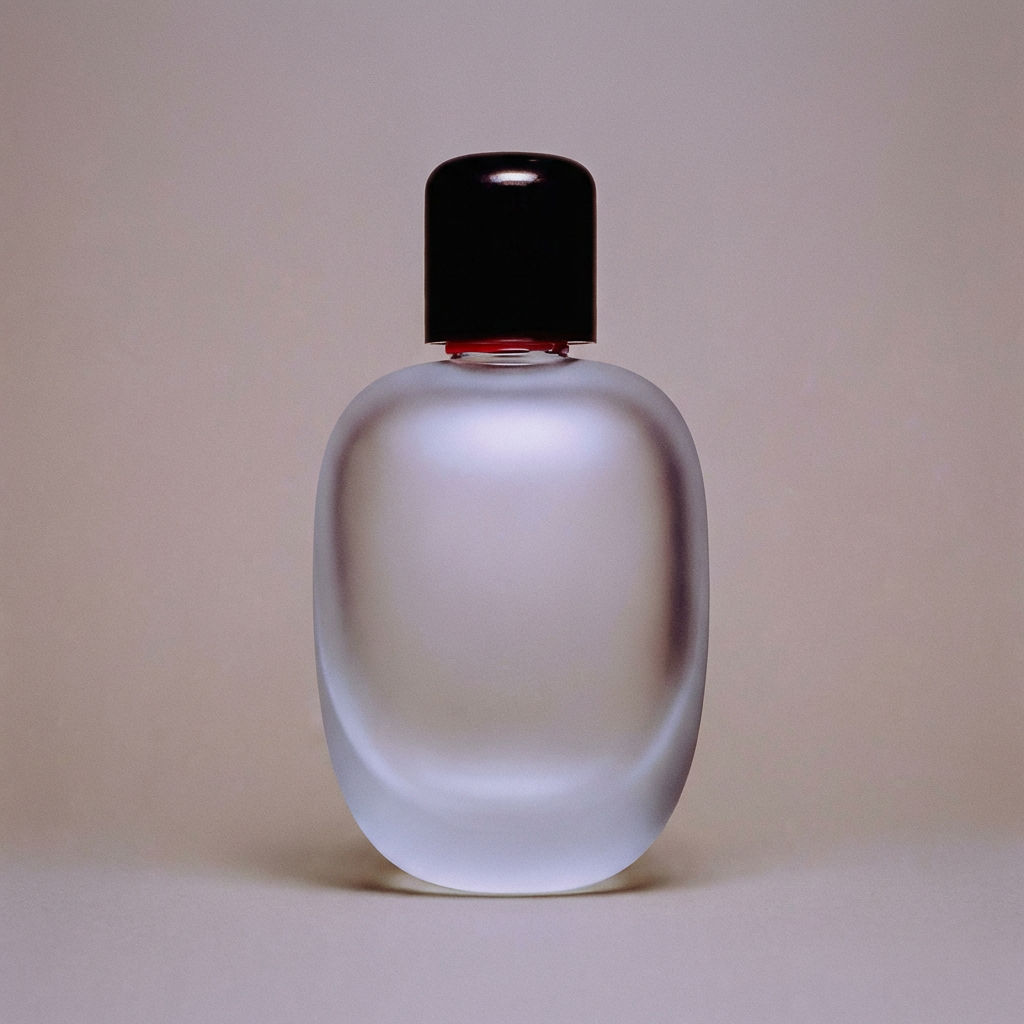
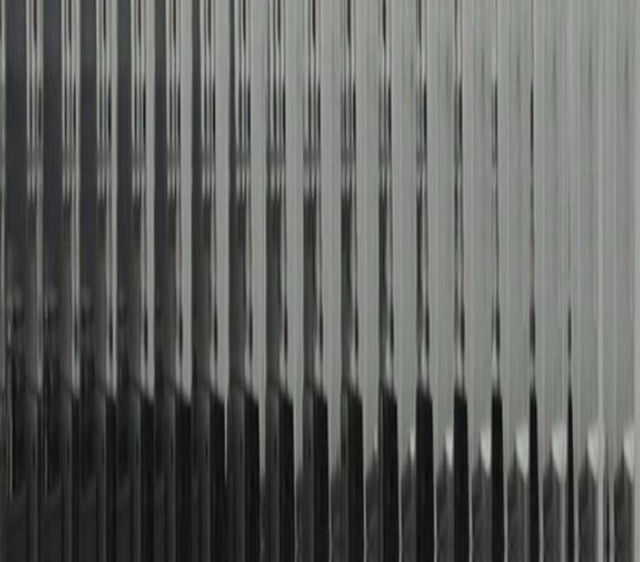
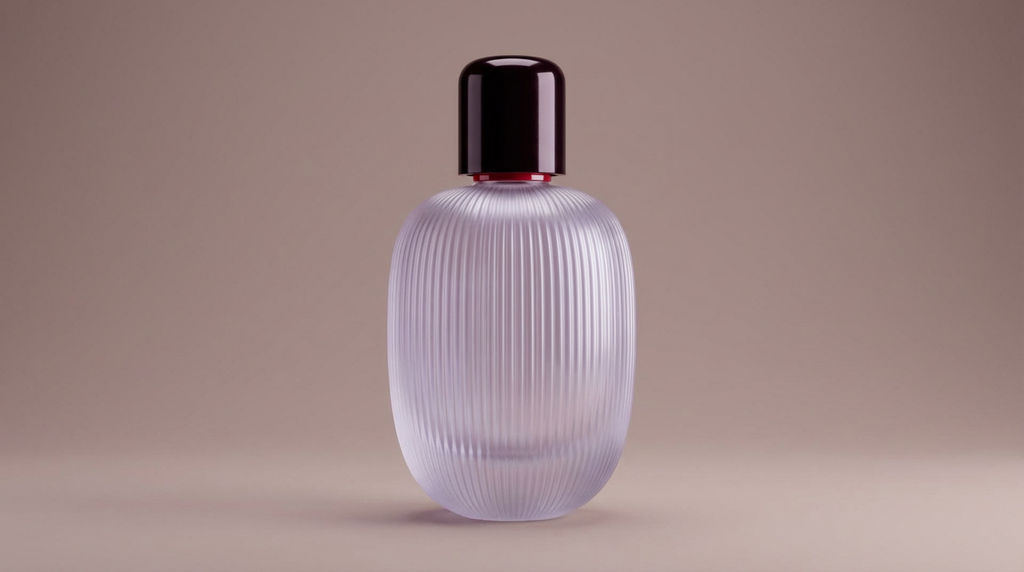
Upload a product image and a texture reference, and the Technique transfers the material onto your product as one 16:9 render.

Product Designers
Product designers reach for this as their AI material generator step, dropping a leather, metal, or fabric reference onto a product photo without a separate material generator or 3D setup.

Furniture and Interiors
Furniture and interior teams use it like a wood texture generator in reverse: instead of generating grain from a prompt, they upload a real wood reference and apply it to a product render.

E-Commerce Visuals
E-commerce teams swap finishes on a product without an online texture generator or photo editor, applying each texture reference to the same product for a consistent catalog look.
How to use Techniques?
Discover how to utilize Texture Match for different scenarios.
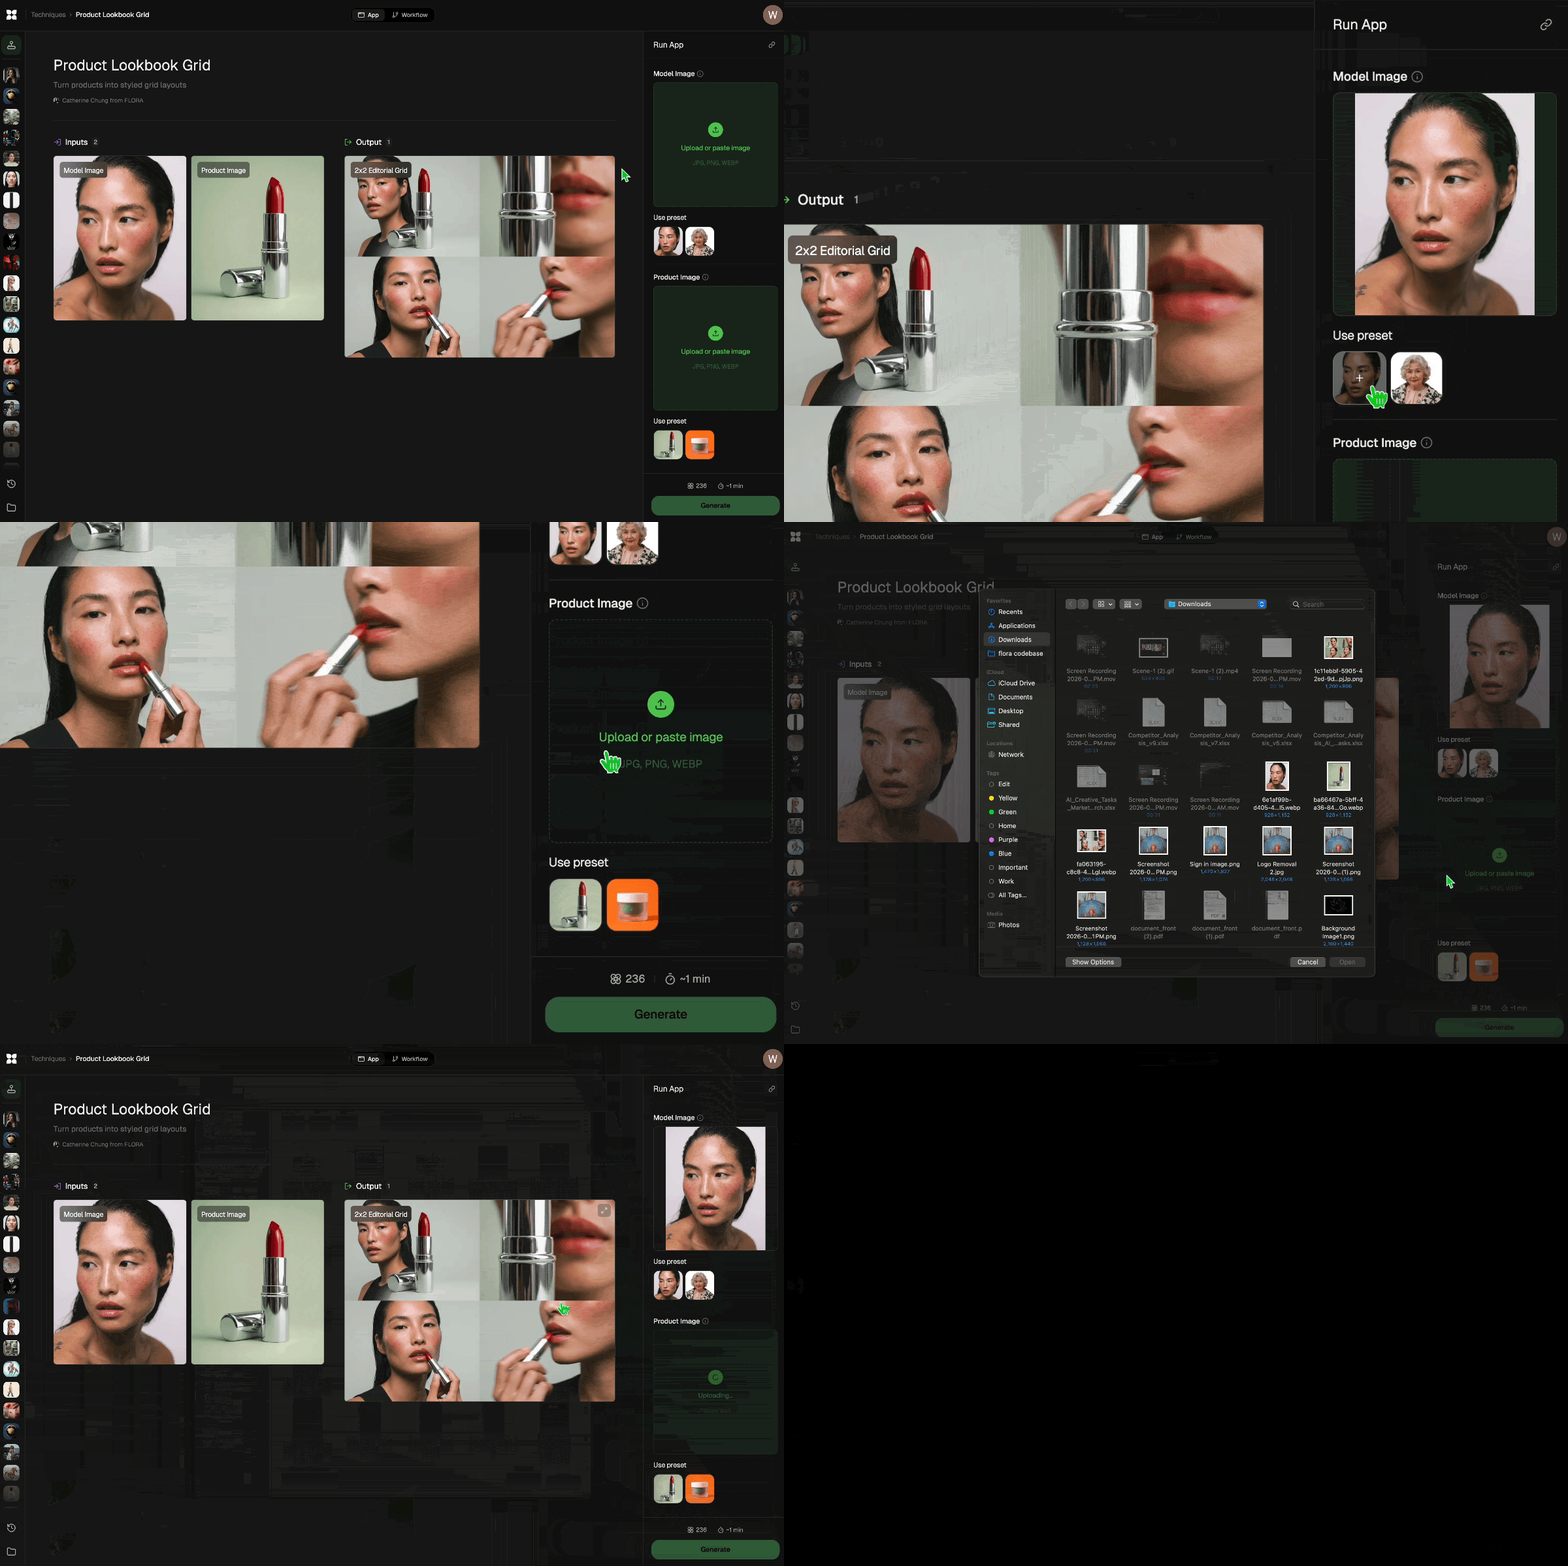
Add inputs
Upload images, videos, or type in the prompts to get started.
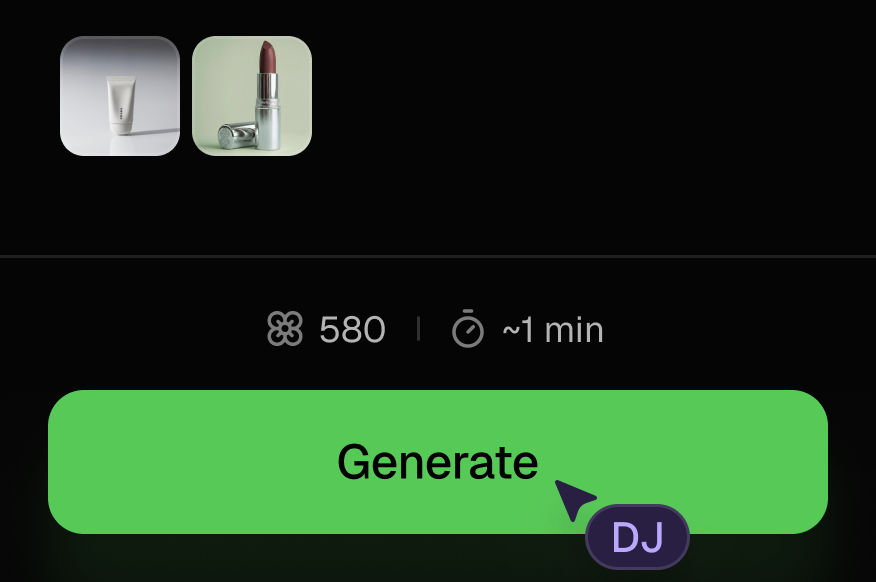
Generate outputs
Next, hit the "Generate" button to start generating your outputs.
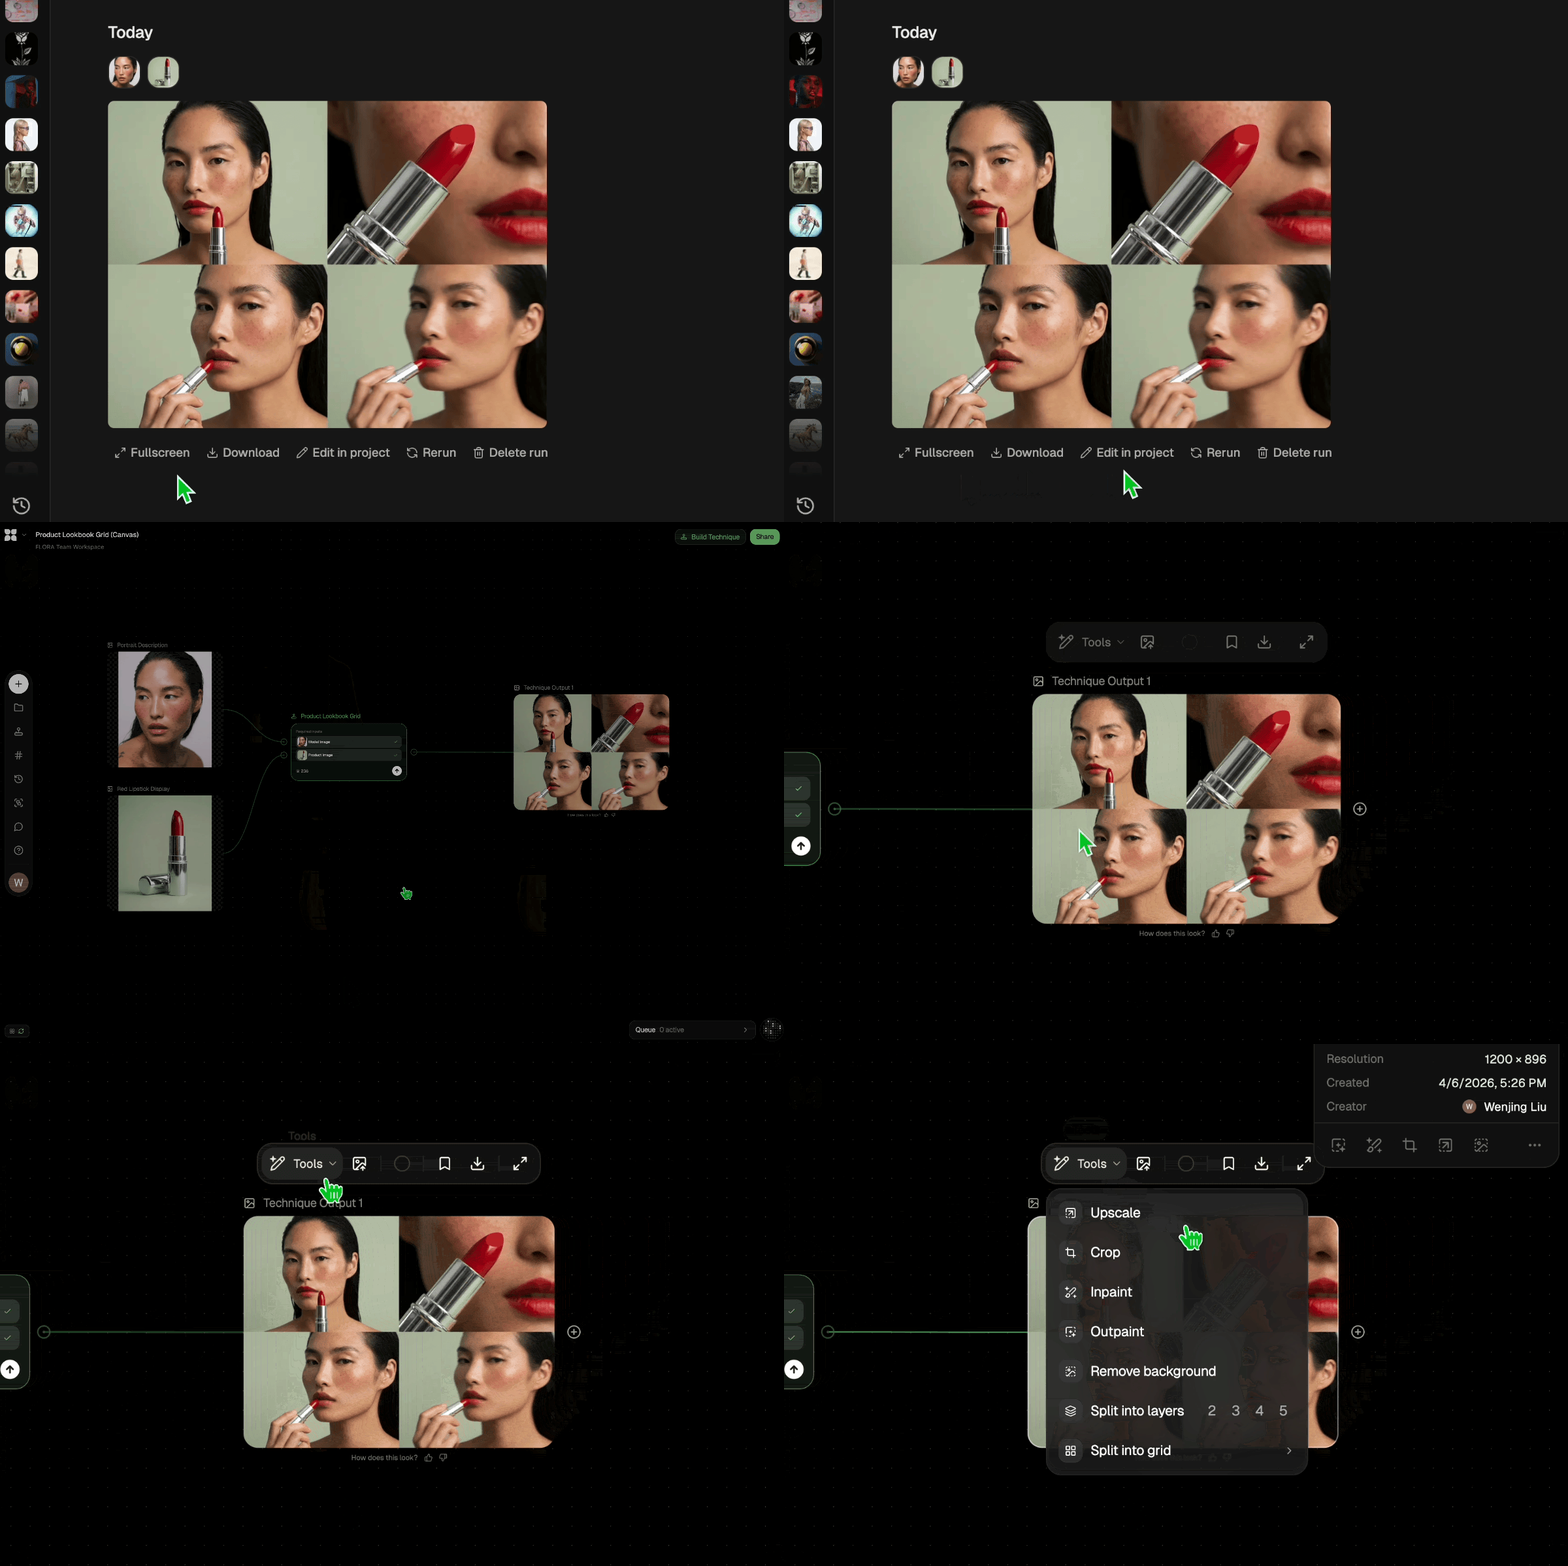
Edit and export
Refine your outputs on canvas, or download them directly.
Frequently asked questions
All you need to know about Texture Match
What an AI texture generator does, and how texture transfer works
An AI texture generator puts a material surface onto an object in an image: leather on a chair, oak on a cabinet, brushed steel on a bottle. This one starts from a reference photo instead of a text prompt. You upload the product shot and a picture of the material, and the model returns a render of that product in that finish, with the grain following the shape and the original lighting kept in place.
Most tools carrying the name do something narrower. A texture generator normally outputs a flat, repeating swatch, and wrapping it onto a shape is left to you and a 3D program. Here the wrapping is the work. Start on FLORA free, add two images, and the render comes back about two minutes later.
How an AI material generator reads your reference image
AI material generator is the more accurate name for what runs, because nothing is being copied and pasted. The run does three things:
- Reads the material. Grain direction, weave density, pore depth, and the way light reflects off the surface.
- Reads the object. Where the form curves, where panels and seams break, and where the light in the photo is coming from.
- Maps one onto the other. The material follows the geometry, so grain bends where the object bends and the highlights stay where they already were.
A material generator that skips the second step gives you a sticker: a flat pattern lying across the photo with the shape ignored underneath. The usual giveaway is a seam or a grain line that runs dead straight across a curve.
Why a wood texture generator answers a different question
A wood texture generator is usually prompt-driven. Describe the grain, get a plausible plank. That works for backgrounds and tiling. It falls down when the walnut has to match a veneer sample the client already signed off on, or when the oak has to be the oak your supplier actually ships.
A reference photo keeps the specifics: the color, the figure, the grain width, the sheen of the finish. The same holds for a fabric swatch, a stone slab, a powder-coat chip, or a material you shot on your phone in a showroom. Shoot the sample flat on and evenly lit if you can, since glare and hard shadows cover up the part of the surface the model needs to read.
Texture maker online, texture editor, or texture engine?
The vocabulary overlaps, but the products behind it do different jobs:
- A texture maker online generates a flat, tileable swatch in a browser.
- A texture editor hands you controls: roughness, scale, tint, seam cleanup.
- A texture engine handles materials at render time inside a 3D scene.
- An online texture generator sits between the first two.
This Technique does none of those. It takes two images and returns one textured product render, with no settings to adjust during the run. To keep going after that, open the output on the FLORA canvas and work on it there alongside other models.
What to do once you make a texture land
The render is usually a step rather than the delivery. Once you make a texture sit correctly on a product:
- Run the same product against a second reference and compare the finishes side by side.
- Recolor the product to see the material across other colorways.
- Replace a printed pattern when the surface is graphic instead of tactile.
- Pull a palette from the texture reference so packaging and campaign art stay in the same family.
- Upscale the render before it goes into a catalog, a deck, or a listing.
- Extract a texture pack when the material has to move into a 3D scene of your own.
All of it runs on the same canvas, so the output of one step becomes the input to the next without a download in between. The FLORA AI image generator page covers the wider set of models an AI texture generator run sits on top of.
Related techniques
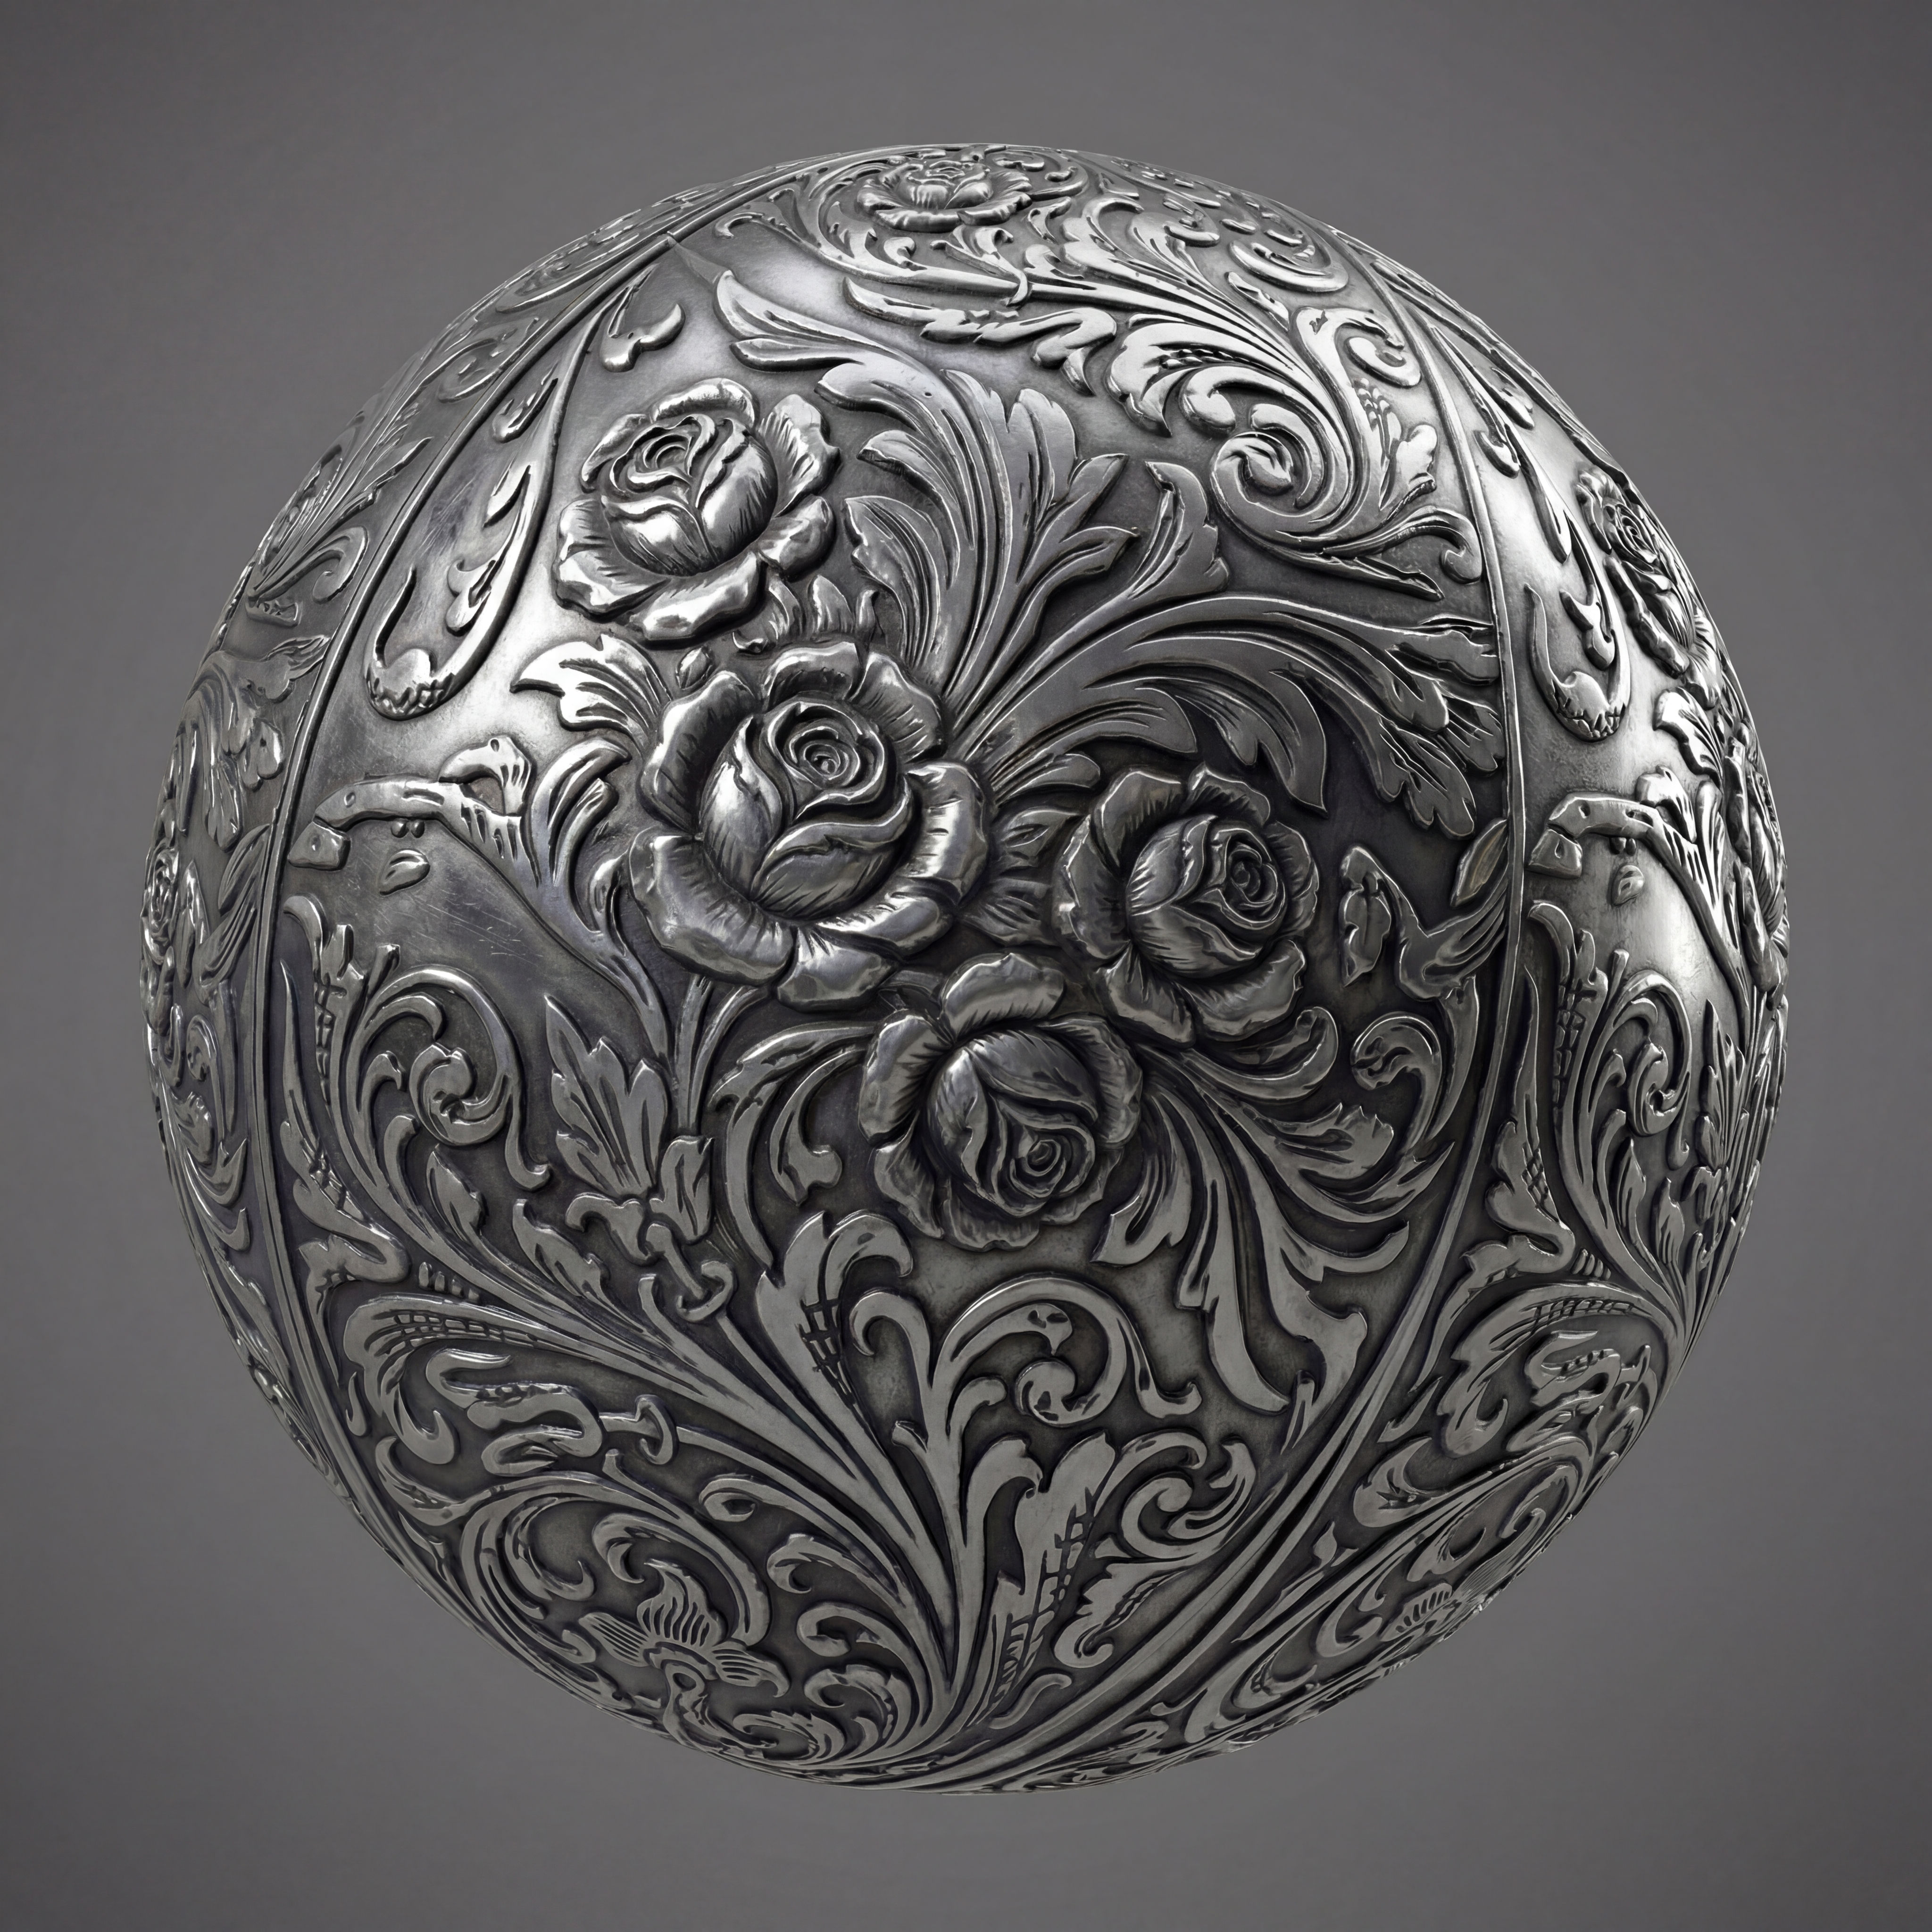 Texture Pack ExtractorExtracts the main material of an object in an image and transforms it into usable textures for 3D projects
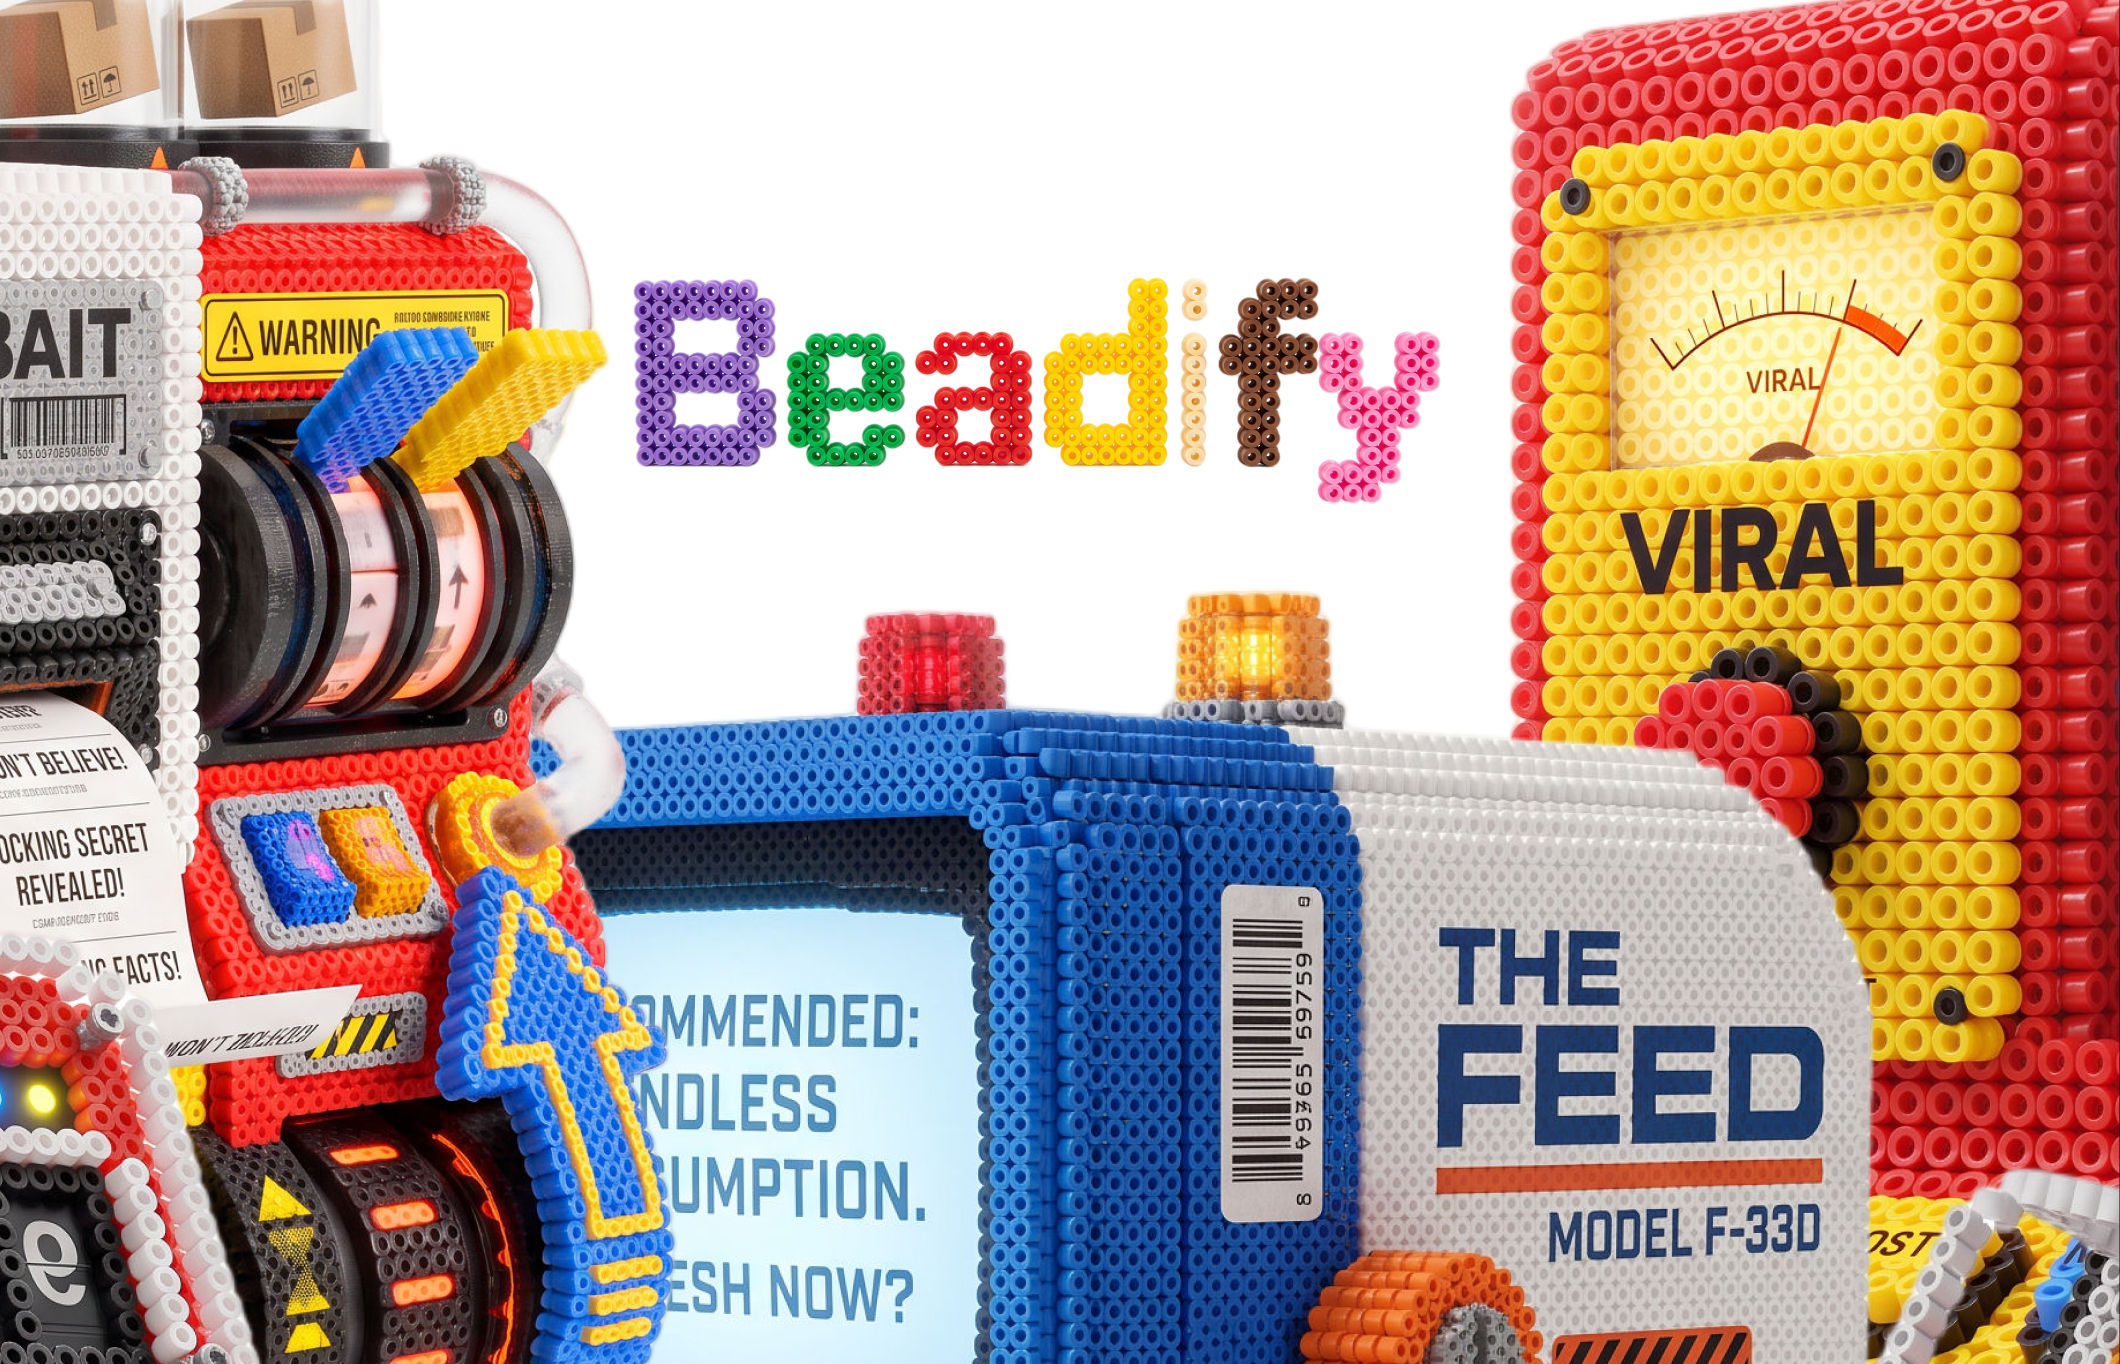 BeadifyTurn any object or 3D render into a physical Perler bead mosaic. Upload a photo — get back a beaded version of it
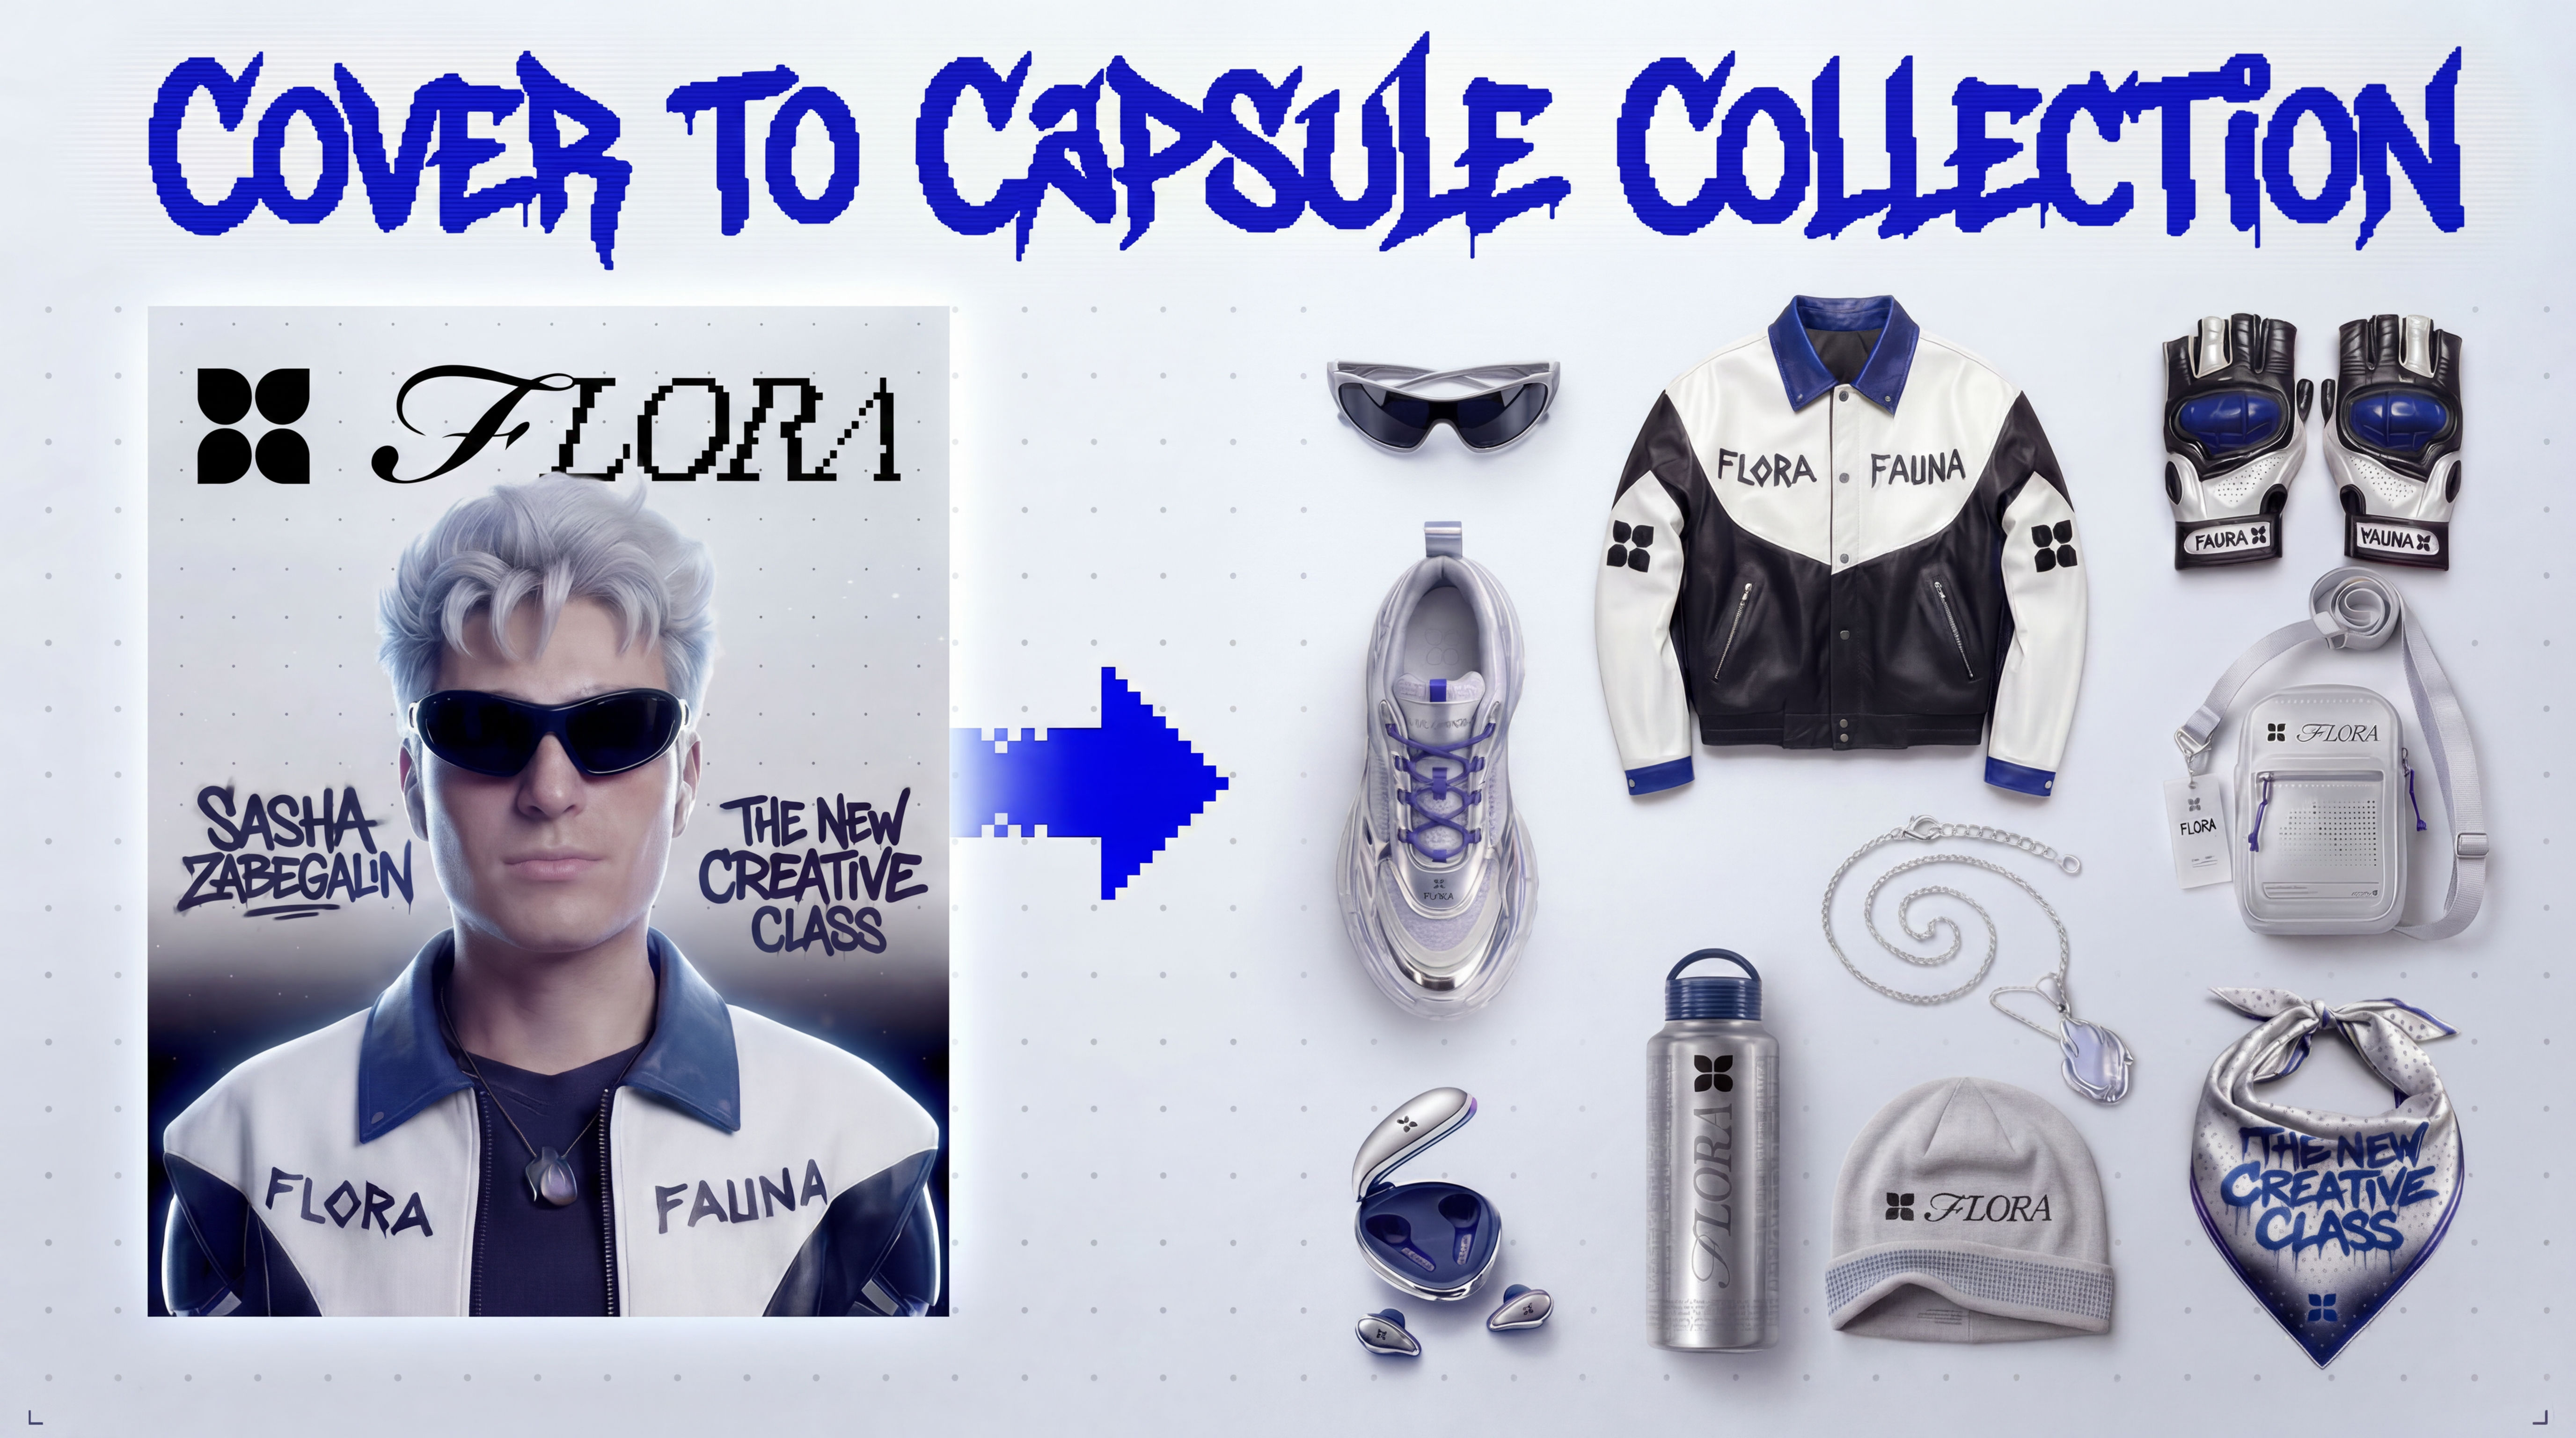 Cover to Capsule CollectionTurn any magazine cover into a 12-piece capsule collection.
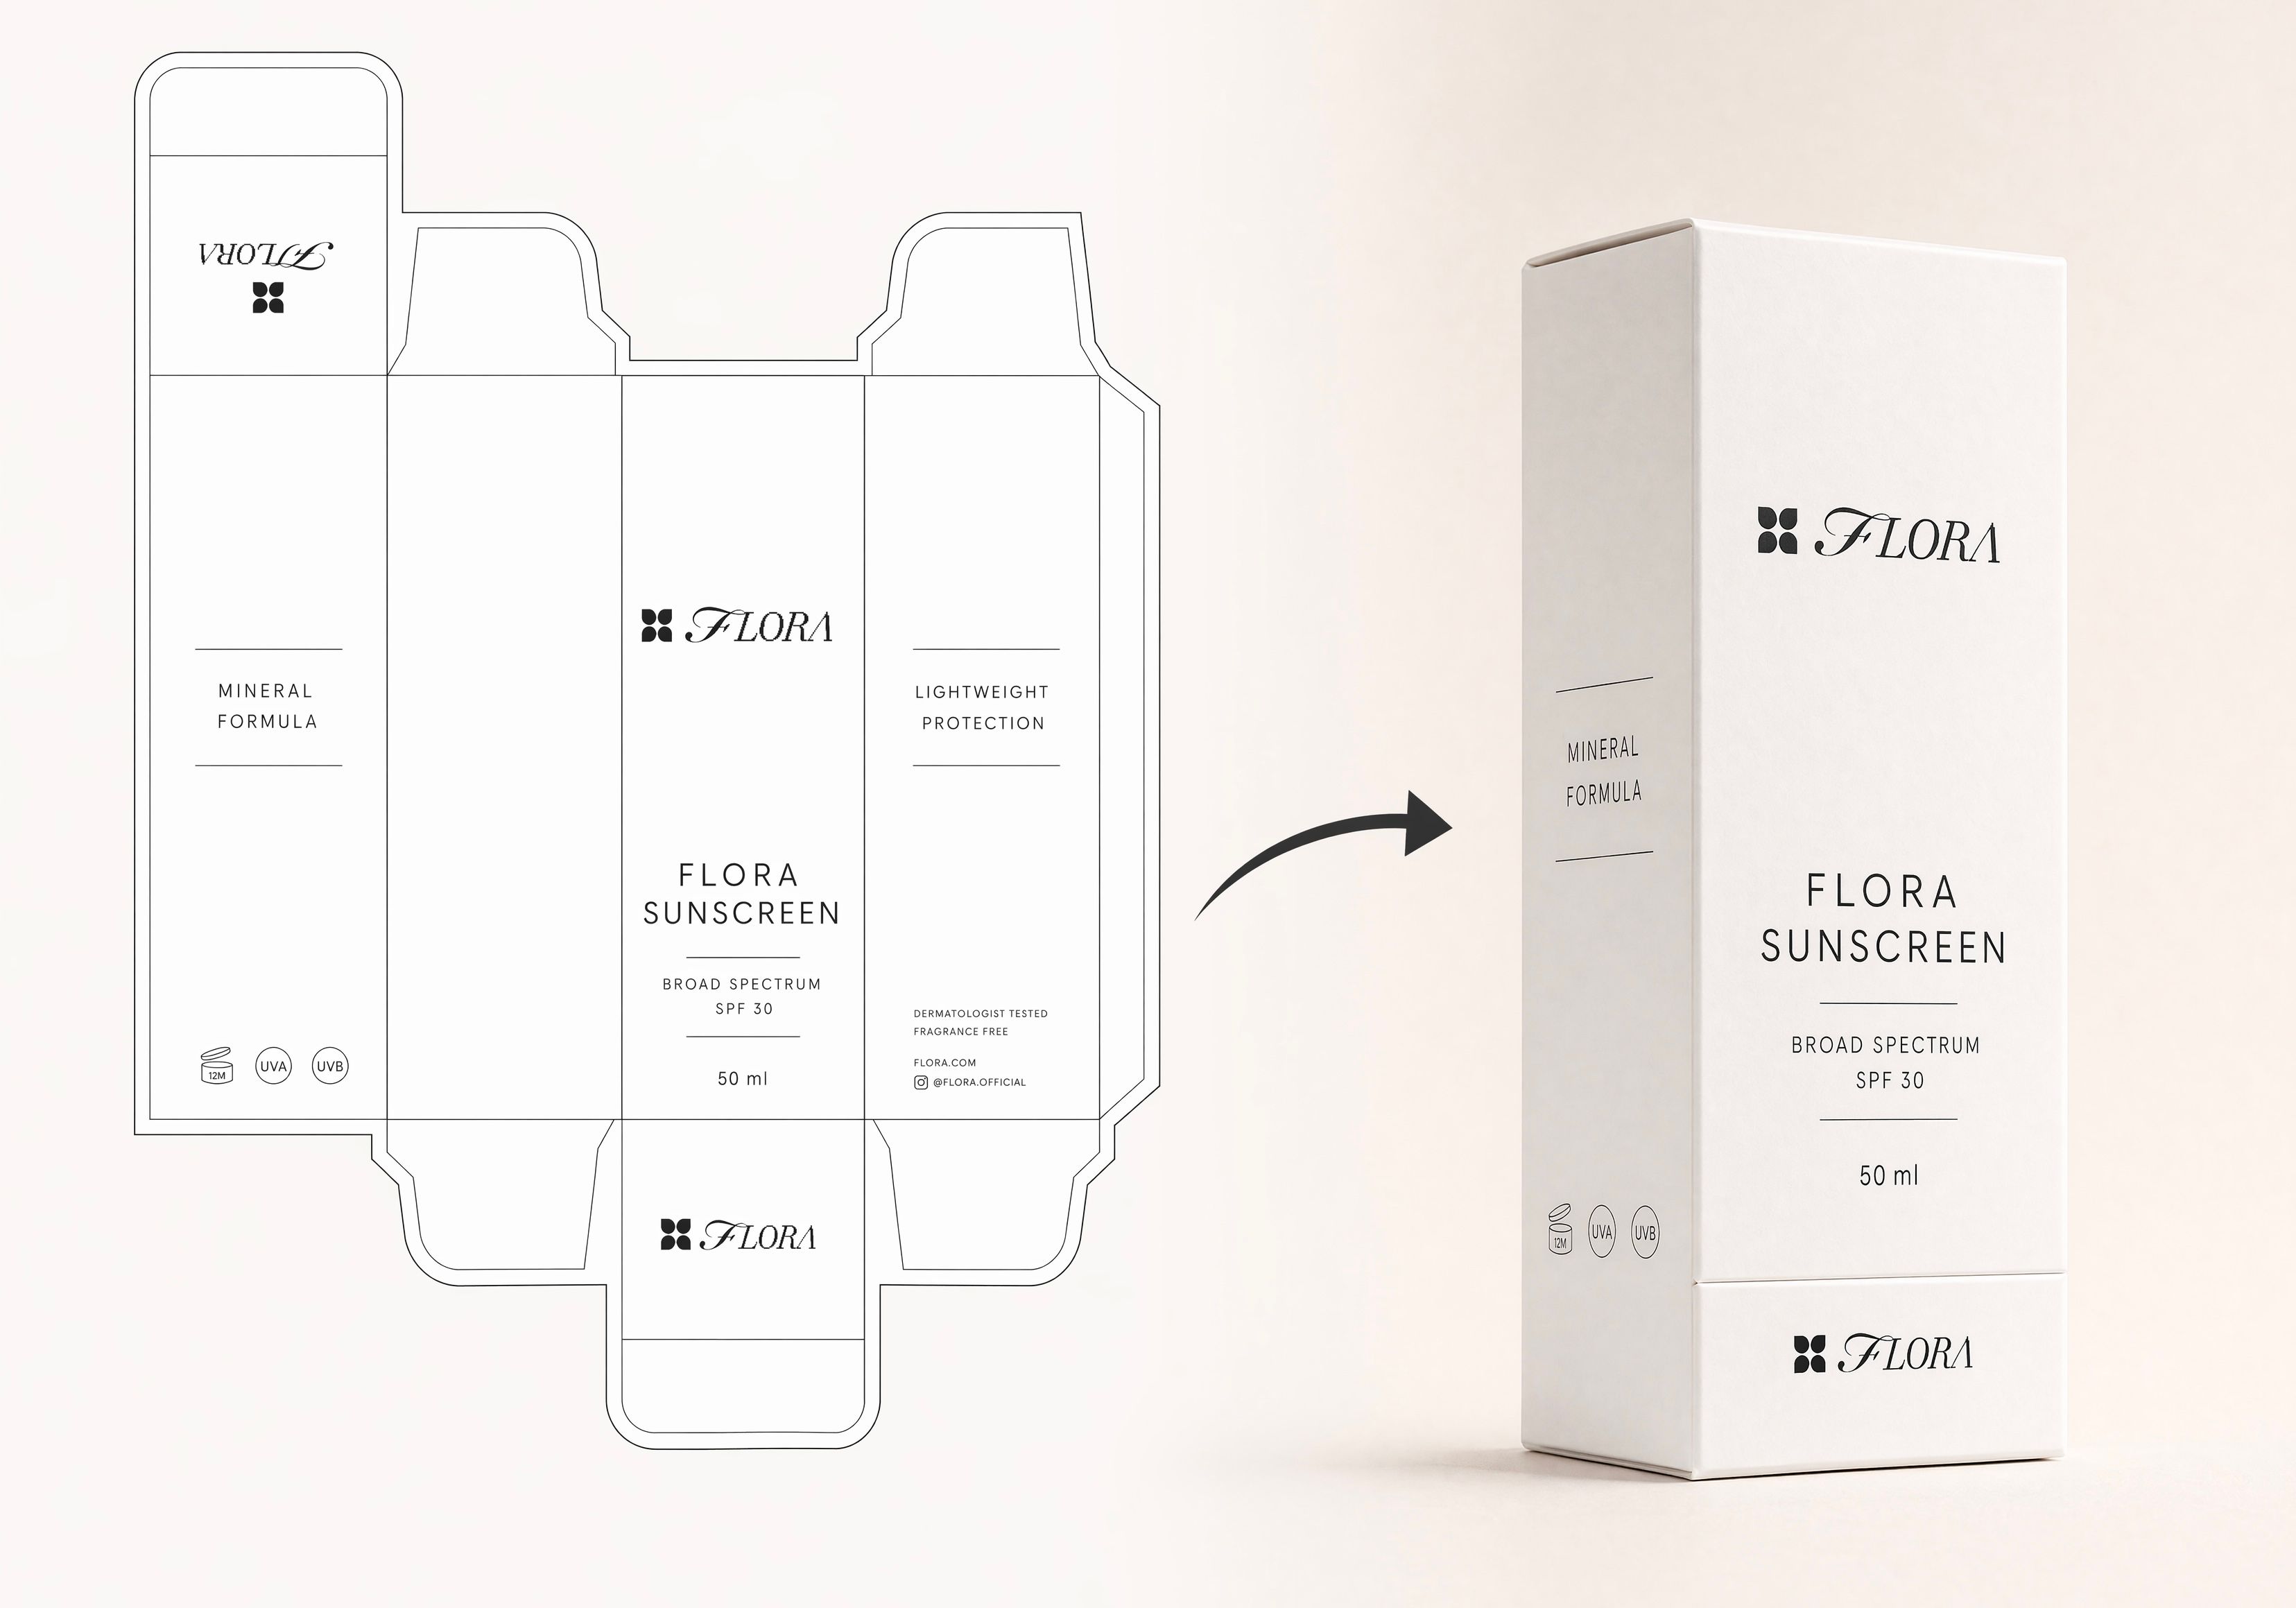 Dieline to 3D PackageTurn any flat package dieline into a production-ready 3D package render.
 Rosé RamblerMake your own custom Cannes Character, presented by Red Antler x FLORA
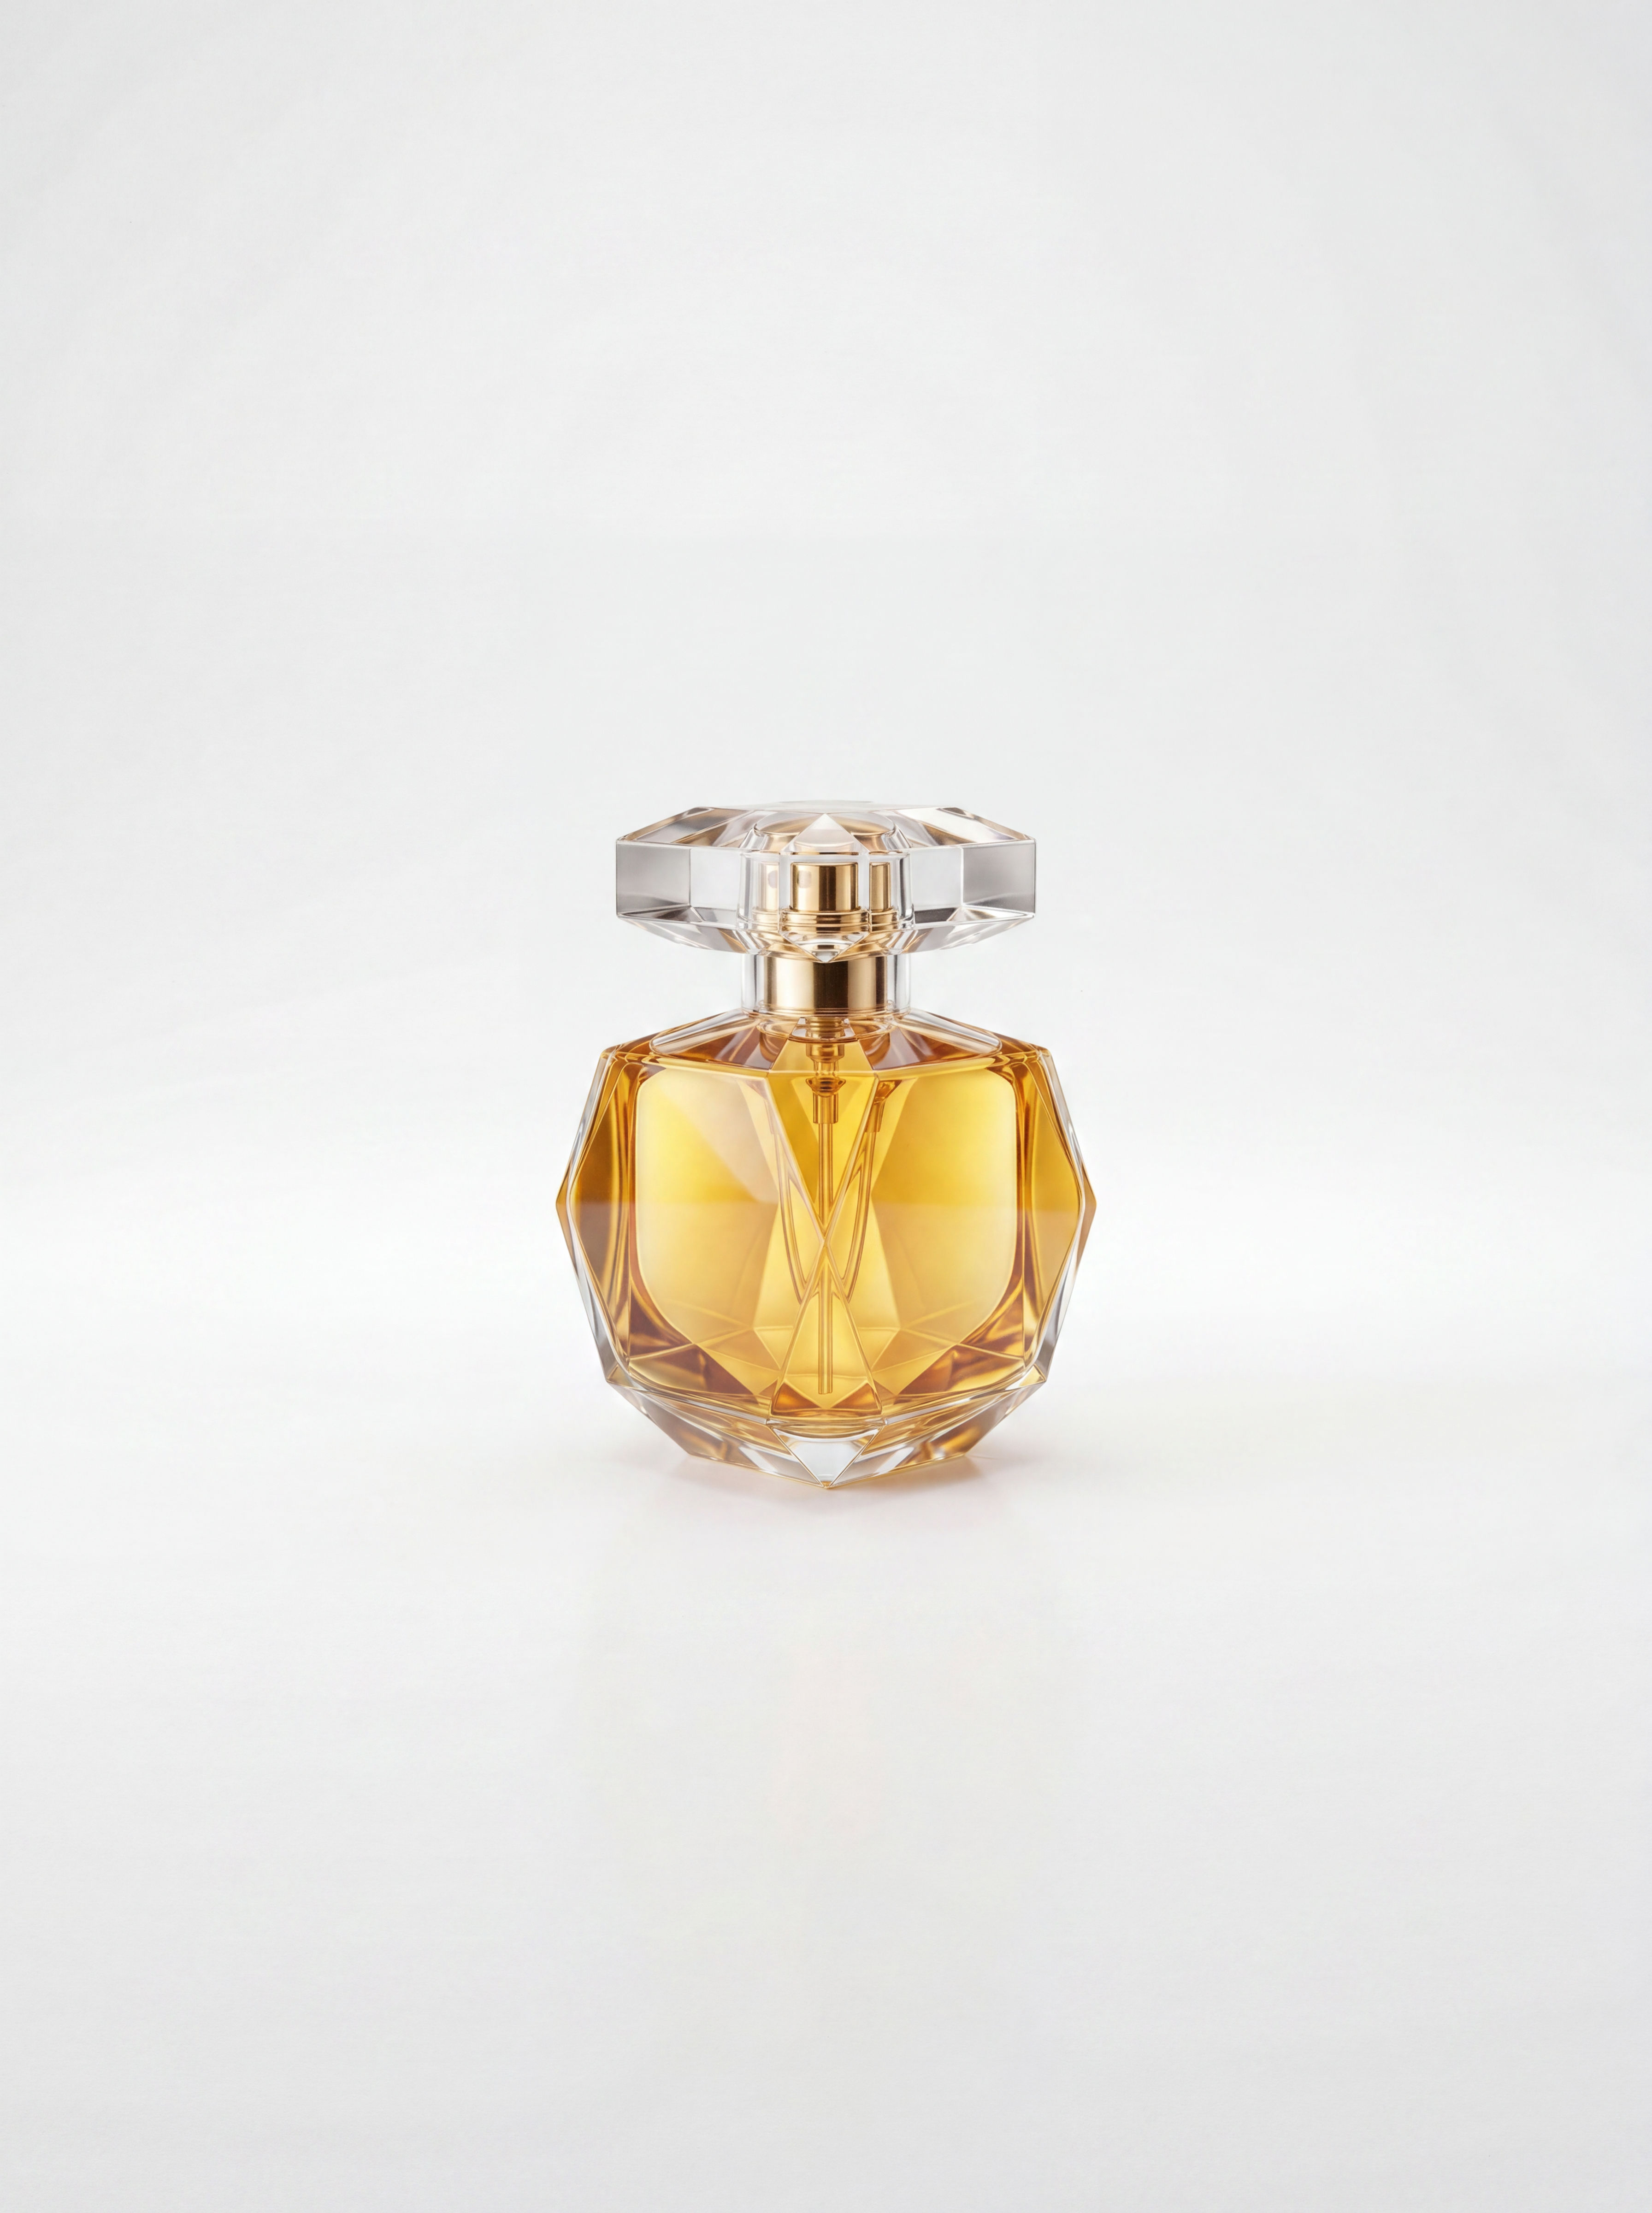 Sketch to Photorealistic Product RendererUpload any product sketch and a style reference.
Get 9 photorealistic renders — rare angles, texture
close-up, top, bottom and underside shots.
Any product. Label-free. Production-ready.
Sketch to Photorealistic Product RendererUpload any product sketch and a style reference.
Get 9 photorealistic renders — rare angles, texture
close-up, top, bottom and underside shots.
Any product. Label-free. Production-ready.AI Texture Generator: Apply a Reference Texture to Any Product
Replicate textures & colors across assets

Tarshaa Krishnaraj from FLORA